
- :
- aggressive auto culture
****************I DID NOT MAKE THIS. *******************
THIS WAS POSTED ON MAZDASNW.COM, MY LOCAL MAZDA CLUB. I THOUGH I WOULD SHARE IT WITH YOU
Sonotube style sub enclosures are not new. They've been around for years now. But due to skepticism, I've never bothered trying until now.
Pros: Cheap to make, easier to make, and very lightweight compared to MDF boxes
Cons: Not able to withstand abuse in your trunk compared to MDF
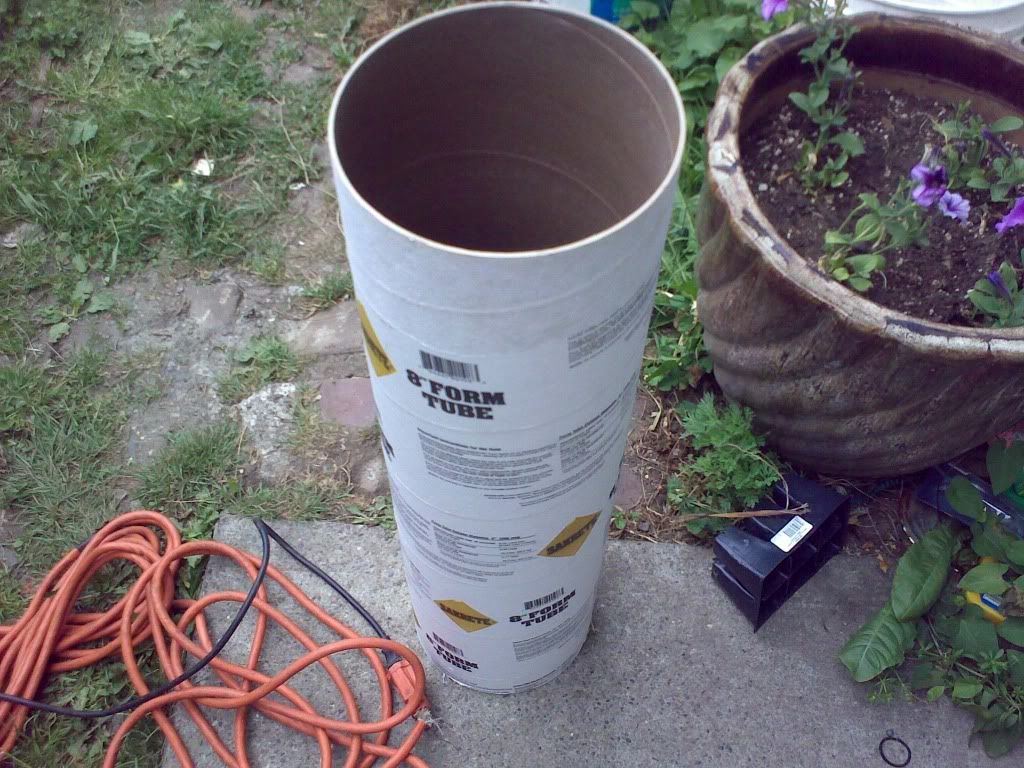
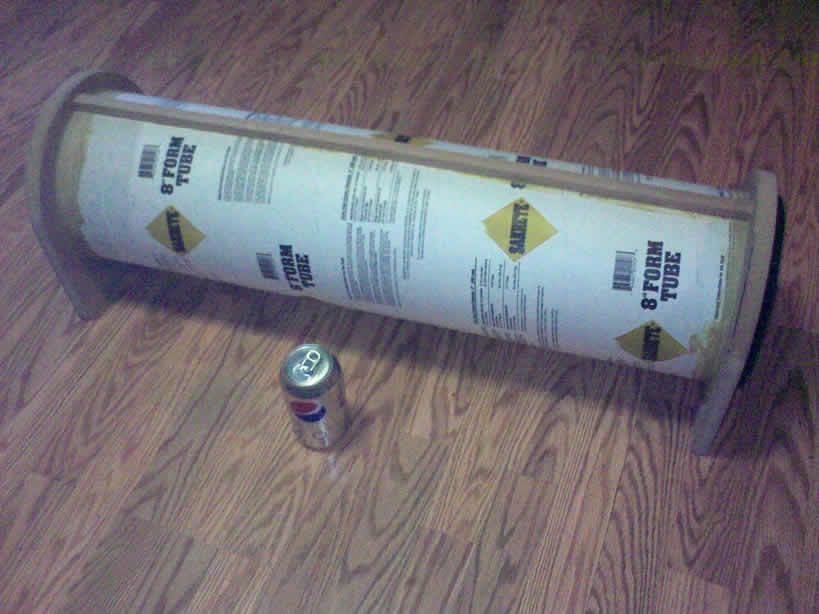
A Sonotube is a concrete form made out of thick cardboard. People use it to create pillars, fence posts, or to create bases for basketball hoops. The best kinds to use are the Sonotube brands since they are thicker but even the ones from HomeDepot can be used which is what I used in this write up. for 4 feet of 8" tubing cost around $6-7.
Tools Used
hand saw
Router
Jasper Circle Jigs
Sander
Caulk gun
Power Drill
Jigsaw
Supplies List
Prices are for this project and rounded to the nearest dollar. for larger speakers, prices will be a little higher.
8" diameter Concrete Form $7
24"x48" MDF board $11
Caulk gun tube of Liquid Nails $3
Speaker wire
screws
Wire Terminals $4
Optional
(If you don't wanna look ghetto)
Carpet
paint
truck bed liner
Step 1 Cut the Sonotube to length depending on your air space requirements of the subwoofer
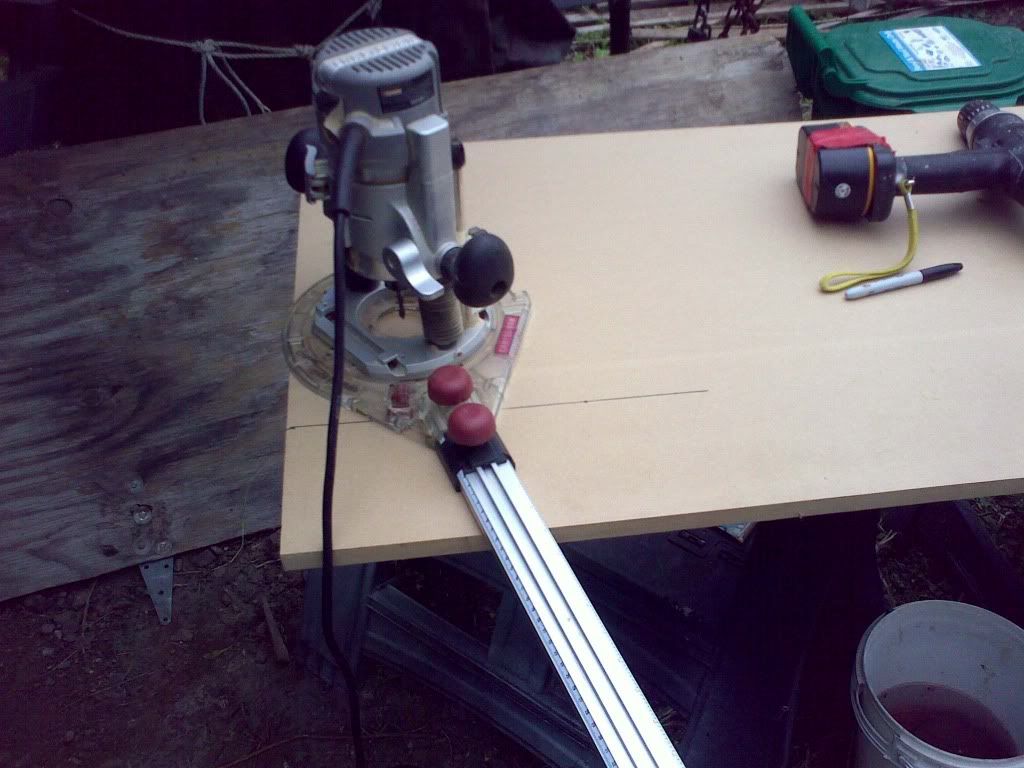
Step 2 Cut out the end caps. to keep costs down I just used 3/4" MDF. I used my router with a circle jig to cut the half circle and then used a jigsaw for the straight edges.
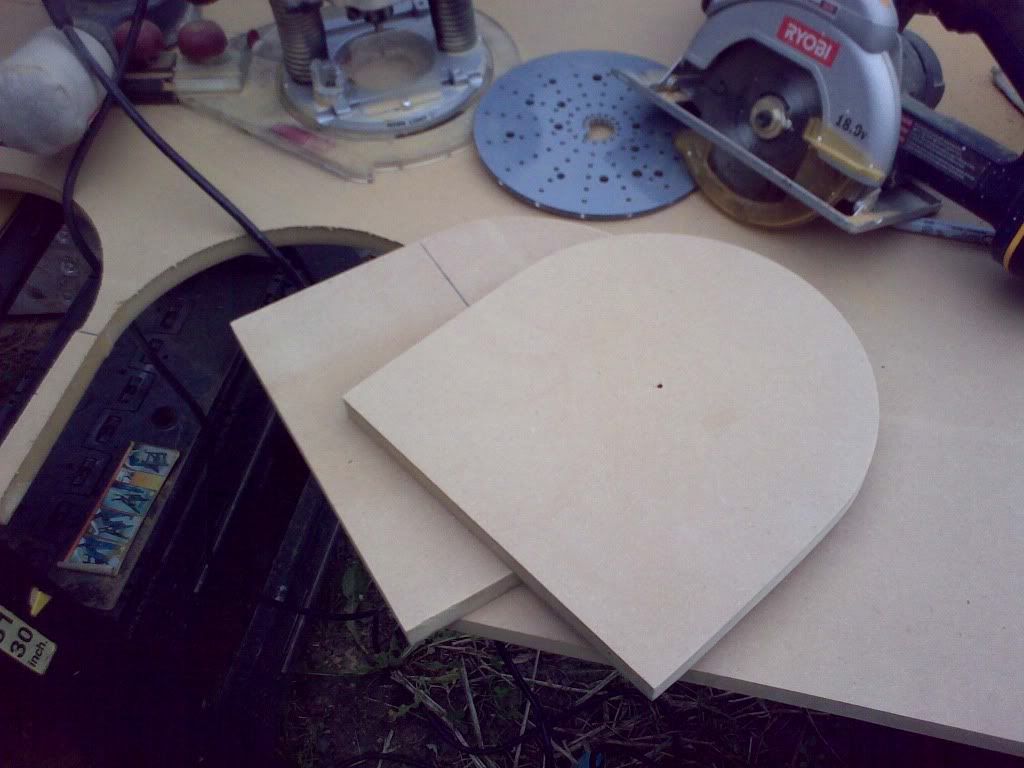
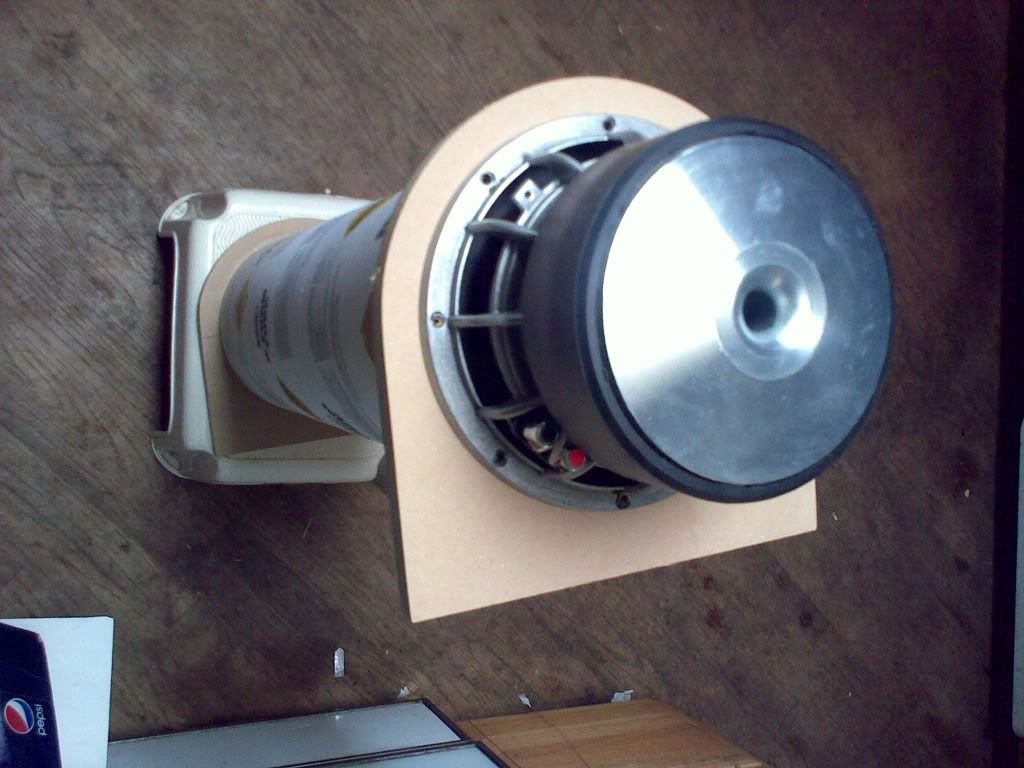
Step 3 cut out holes for the subwoofer. Again i used my router with a circle jig.
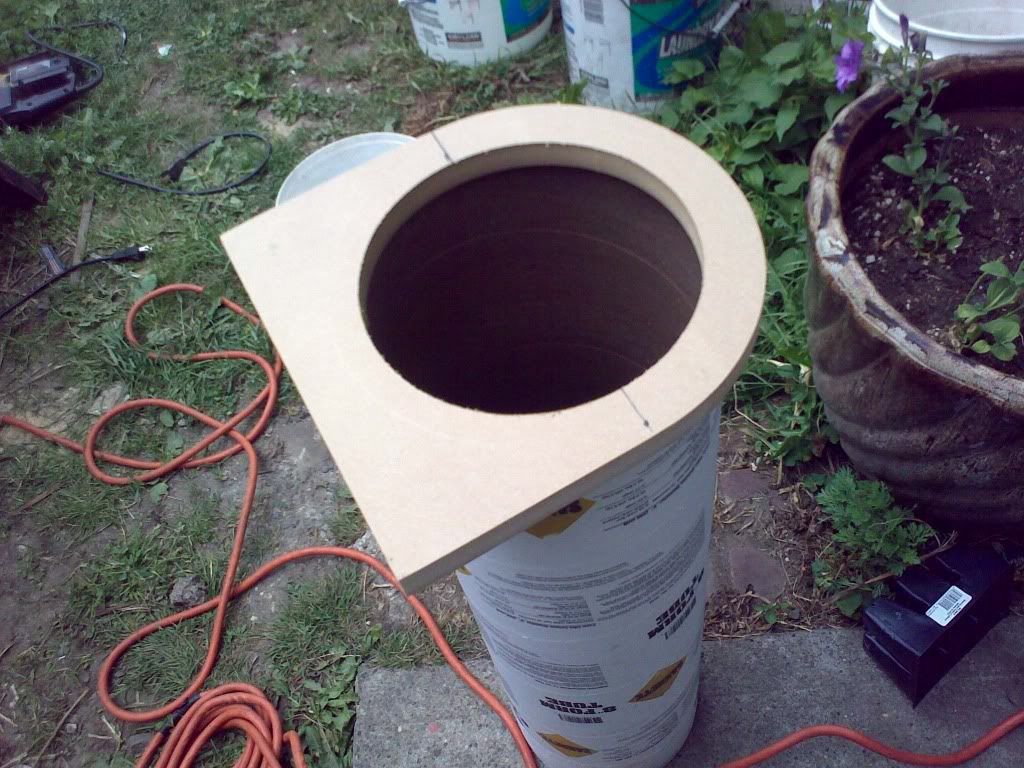
Step 4 Glue the end caps to the tube. apply the liquid nailes to the contact surfaces and caulk the outside and inside walls.
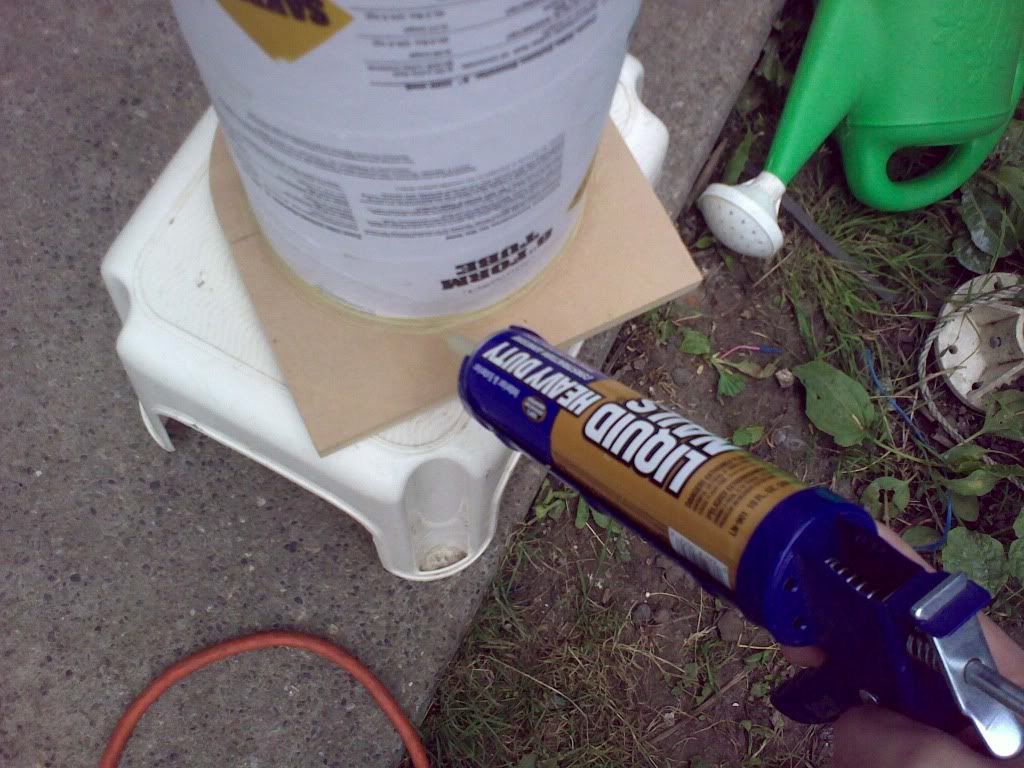
Step 5 Apply weight and wait for glue to dry.
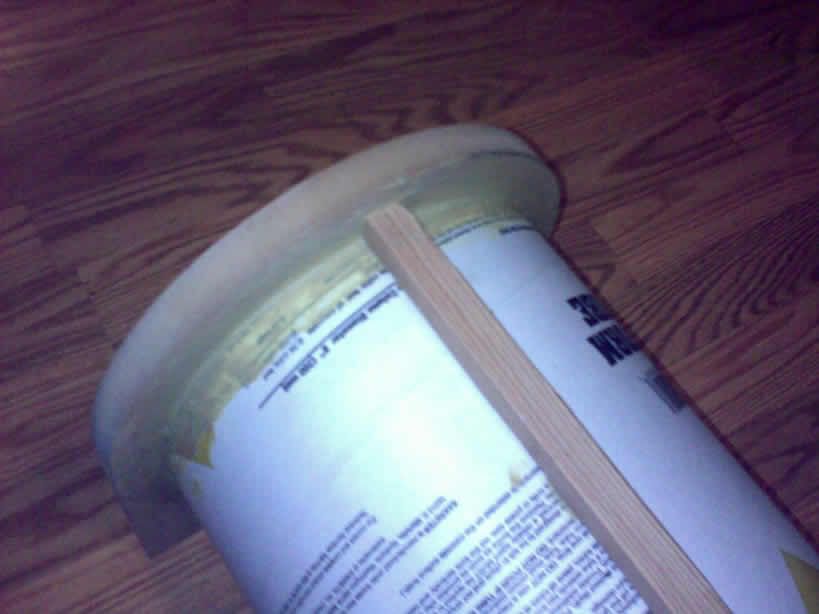
Step 6 - This is optional but I was impatient and wanted to see if this enclosure would work. To add strength to the enclosure I decided to glue 2 1"x1" wood to the sides of the tube. To ensure it stayed in place, I also used a nail gun and nailed each end cap to each piece of wood.
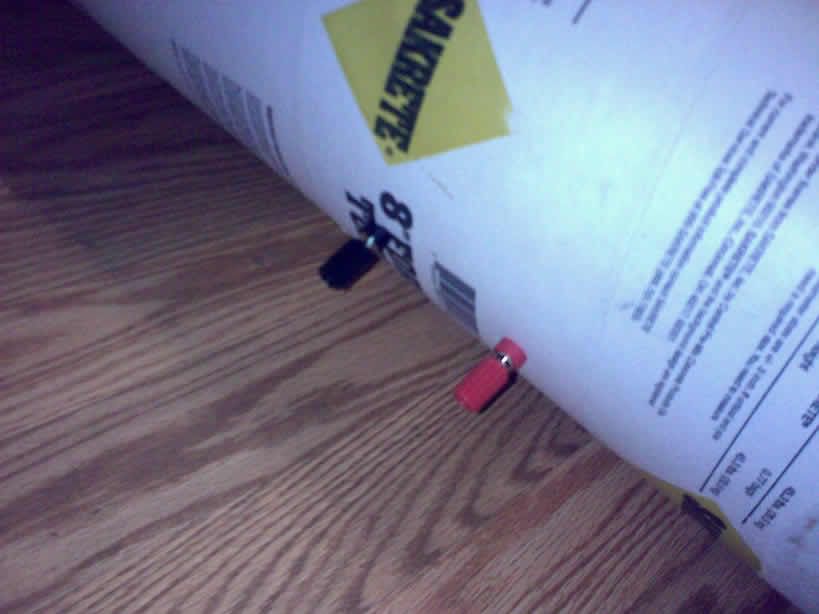
Step 7 - finding a way to wire your sub(s) to the amplifier. For this I visited Radioshack and purchased a binding post for $4. I drilled 2 5/8" holes and pushed each binding post through. Then I tightened a nut and washer in the inside of the tube to firmly mount the posts.
Step 8 - wire it up and mount the sub
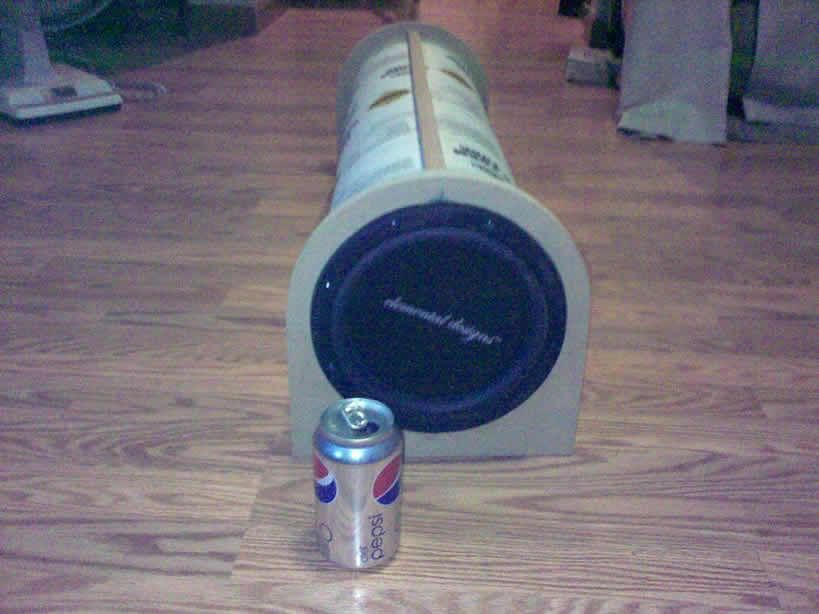
At this point I began testing the sub out. the bass response was very smooth and was very pleased in how the whole thing sounded. I would have continued and finished the enclosure with paint and truck bed liner to make it look good but I made the stupid mistake of turning the volume way too much up. a 1000watt amp vs 2 subs rated at 250each is not a good idea.
I have since purchased 3 more tubes and will post up my progress on those later. Hopefully i'll finish one up this weekend.
will a administrator please put thin in the "How-to" section
hope you like it!
THIS WAS POSTED ON MAZDASNW.COM, MY LOCAL MAZDA CLUB. I THOUGH I WOULD SHARE IT WITH YOU
Sonotube style sub enclosures are not new. They've been around for years now. But due to skepticism, I've never bothered trying until now.
Pros: Cheap to make, easier to make, and very lightweight compared to MDF boxes
Cons: Not able to withstand abuse in your trunk compared to MDF
A Sonotube is a concrete form made out of thick cardboard. People use it to create pillars, fence posts, or to create bases for basketball hoops. The best kinds to use are the Sonotube brands since they are thicker but even the ones from HomeDepot can be used which is what I used in this write up. for 4 feet of 8" tubing cost around $6-7.
Tools Used
hand saw
Router
Jasper Circle Jigs
Sander
Caulk gun
Power Drill
Jigsaw
Supplies List
Prices are for this project and rounded to the nearest dollar. for larger speakers, prices will be a little higher.
8" diameter Concrete Form $7
24"x48" MDF board $11
Caulk gun tube of Liquid Nails $3
Speaker wire
screws
Wire Terminals $4
Optional
(If you don't wanna look ghetto)
Carpet
paint
truck bed liner
Step 1 Cut the Sonotube to length depending on your air space requirements of the subwoofer
Step 2 Cut out the end caps. to keep costs down I just used 3/4" MDF. I used my router with a circle jig to cut the half circle and then used a jigsaw for the straight edges.
Step 3 cut out holes for the subwoofer. Again i used my router with a circle jig.
Step 4 Glue the end caps to the tube. apply the liquid nailes to the contact surfaces and caulk the outside and inside walls.
Step 5 Apply weight and wait for glue to dry.
Step 6 - This is optional but I was impatient and wanted to see if this enclosure would work. To add strength to the enclosure I decided to glue 2 1"x1" wood to the sides of the tube. To ensure it stayed in place, I also used a nail gun and nailed each end cap to each piece of wood.
Step 7 - finding a way to wire your sub(s) to the amplifier. For this I visited Radioshack and purchased a binding post for $4. I drilled 2 5/8" holes and pushed each binding post through. Then I tightened a nut and washer in the inside of the tube to firmly mount the posts.
Step 8 - wire it up and mount the sub
At this point I began testing the sub out. the bass response was very smooth and was very pleased in how the whole thing sounded. I would have continued and finished the enclosure with paint and truck bed liner to make it look good but I made the stupid mistake of turning the volume way too much up. a 1000watt amp vs 2 subs rated at 250each is not a good idea.
I have since purchased 3 more tubes and will post up my progress on those later. Hopefully i'll finish one up this weekend.
will a administrator please put thin in the "How-to" section
hope you like it!
Last edited:
