
TOOLS NEEDED:
3/8" Ratchet
10mm socket
12mm socket
12mm Wrench (Gearwrenchs would be awesome)
#2 philips/10mm socket
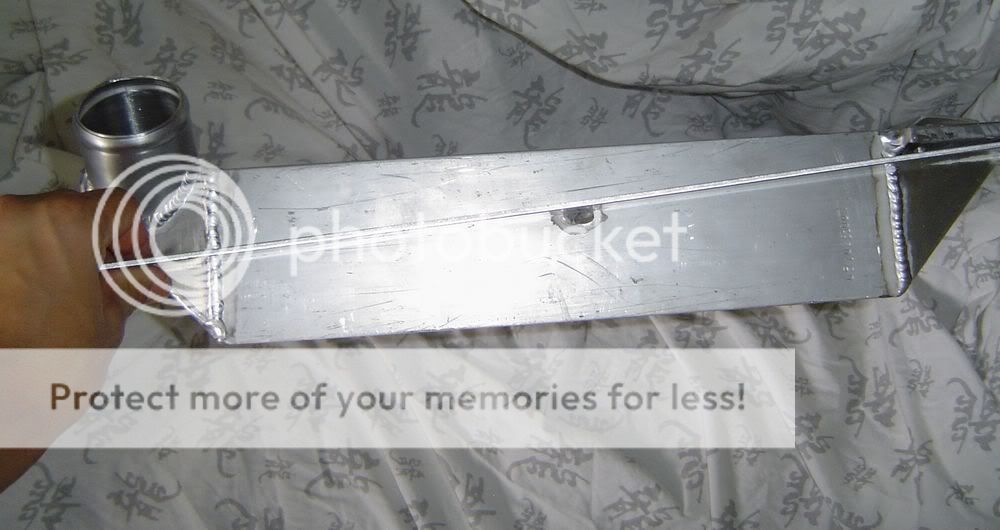
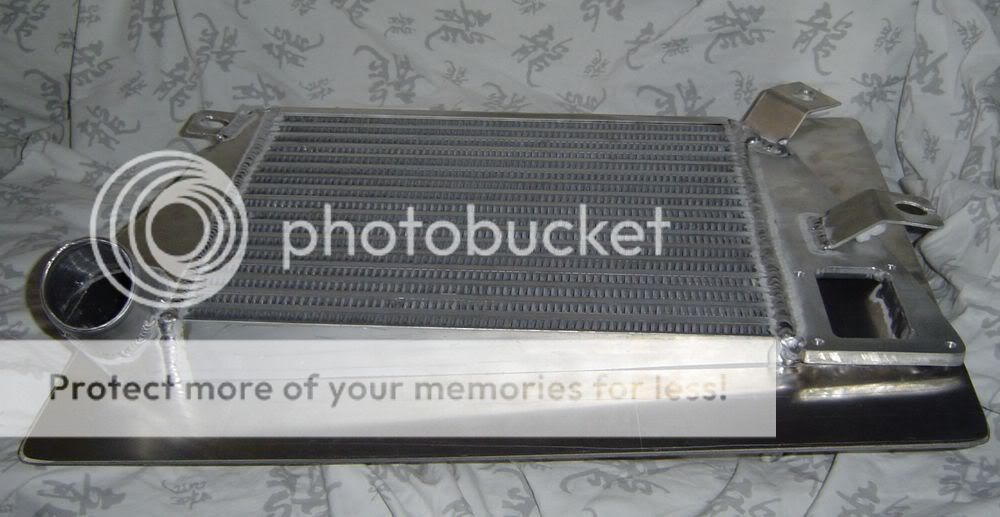
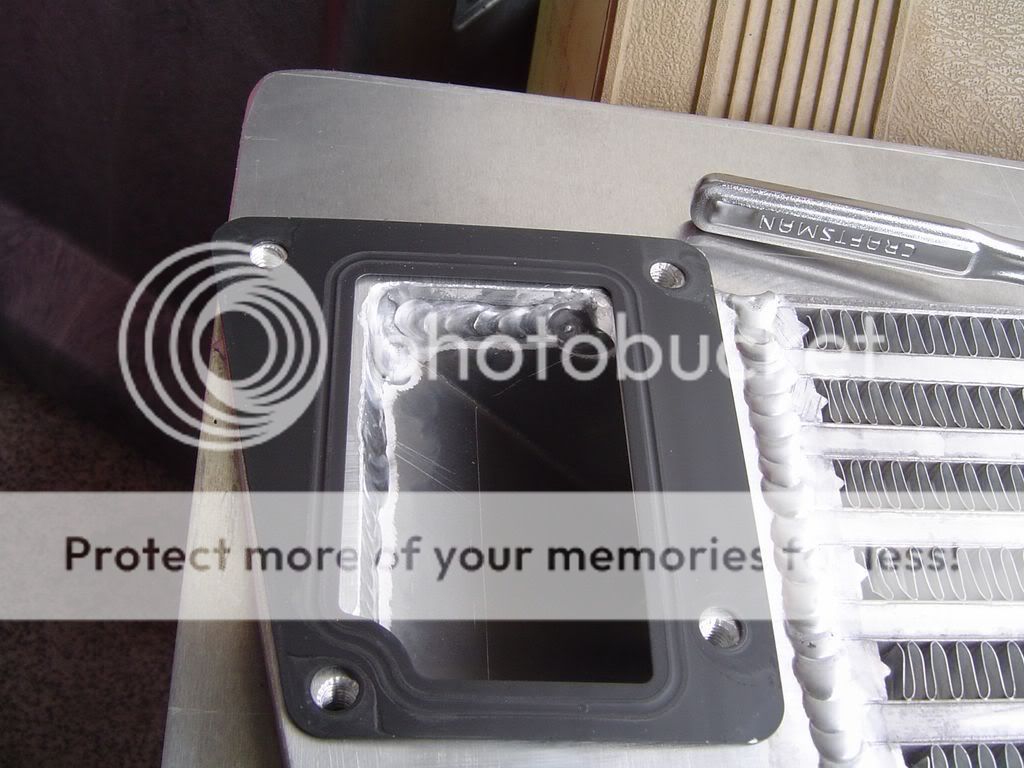
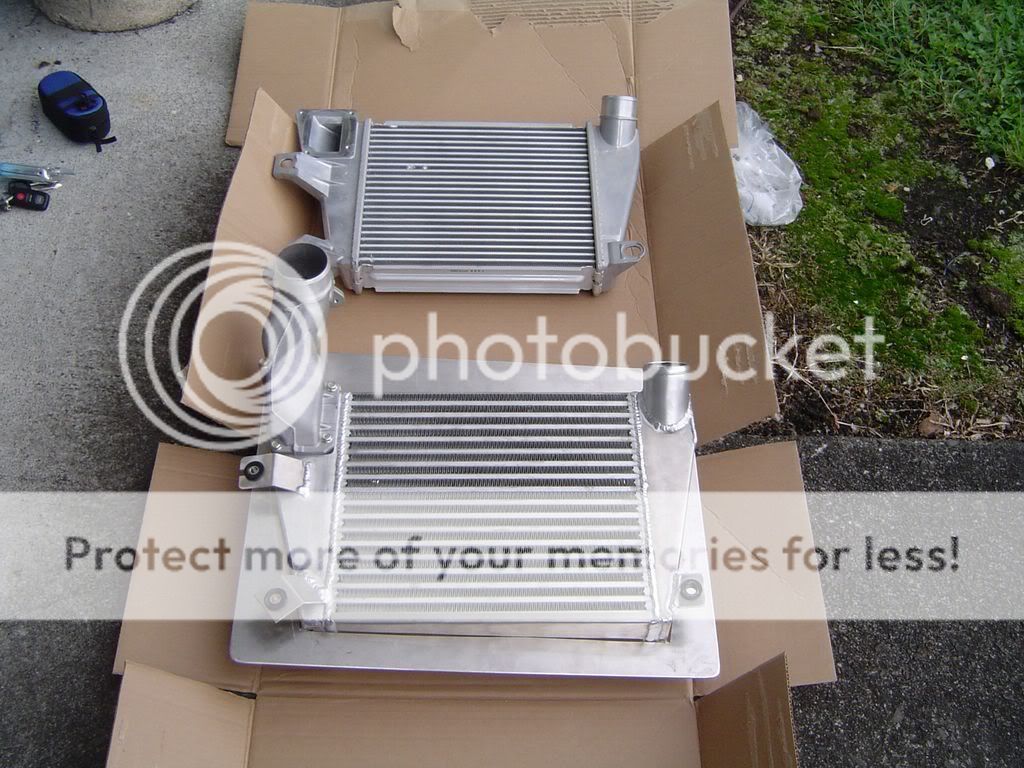
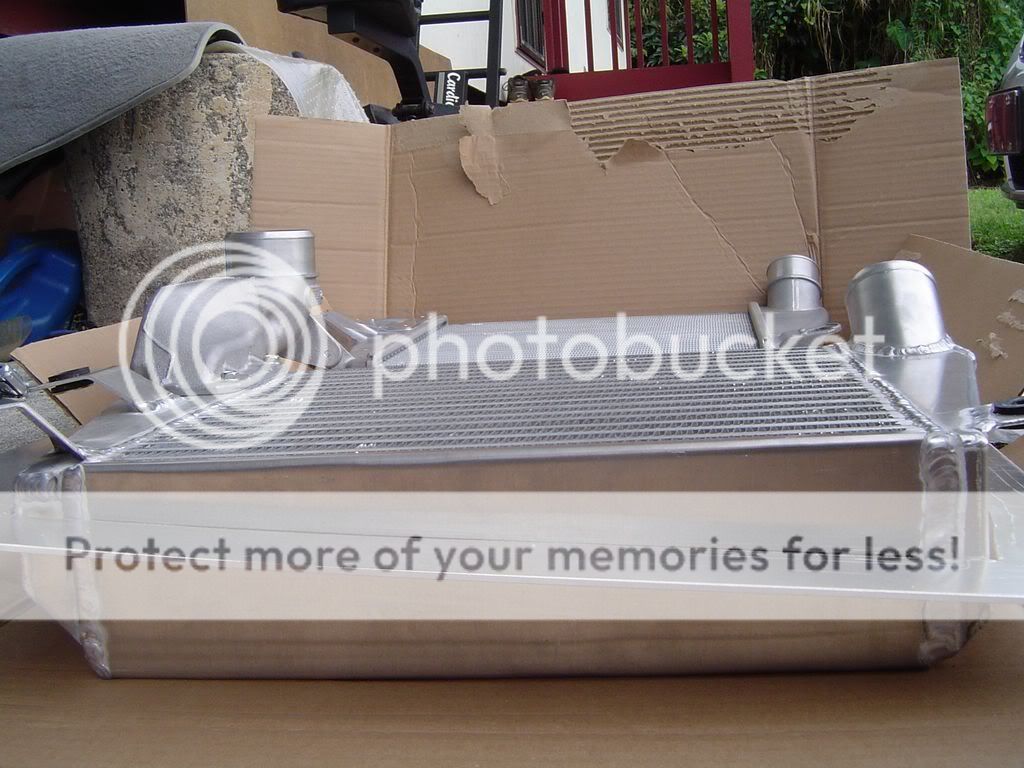
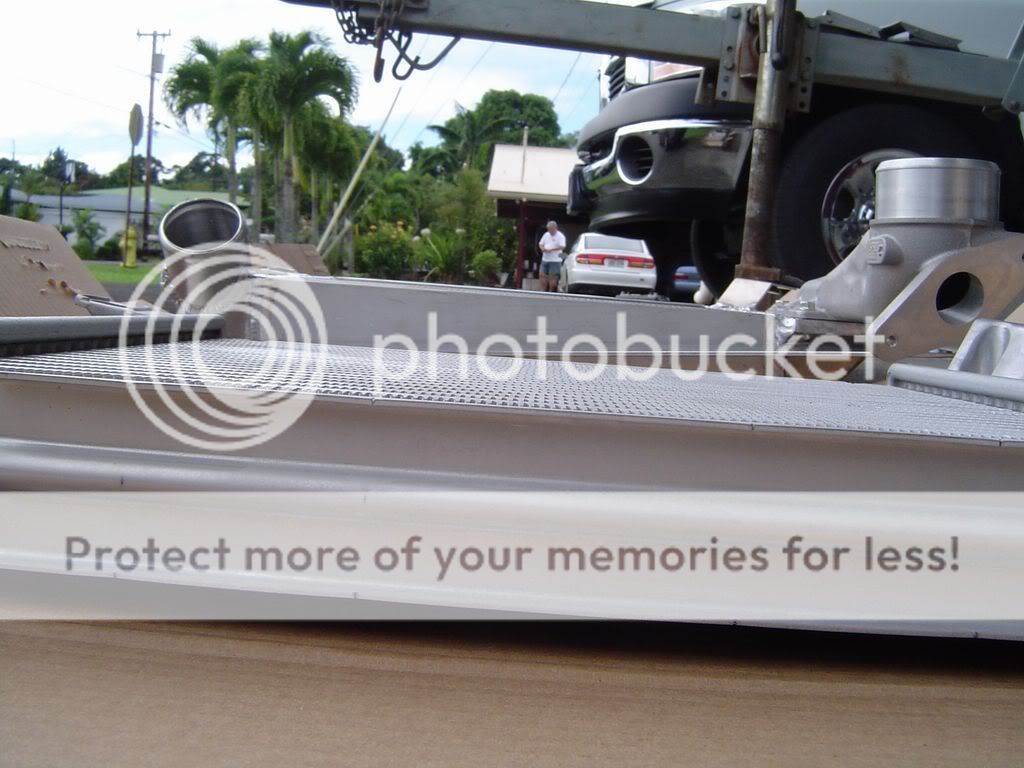
Here is the ETS/protegegarage TMIC. Its so purrty.
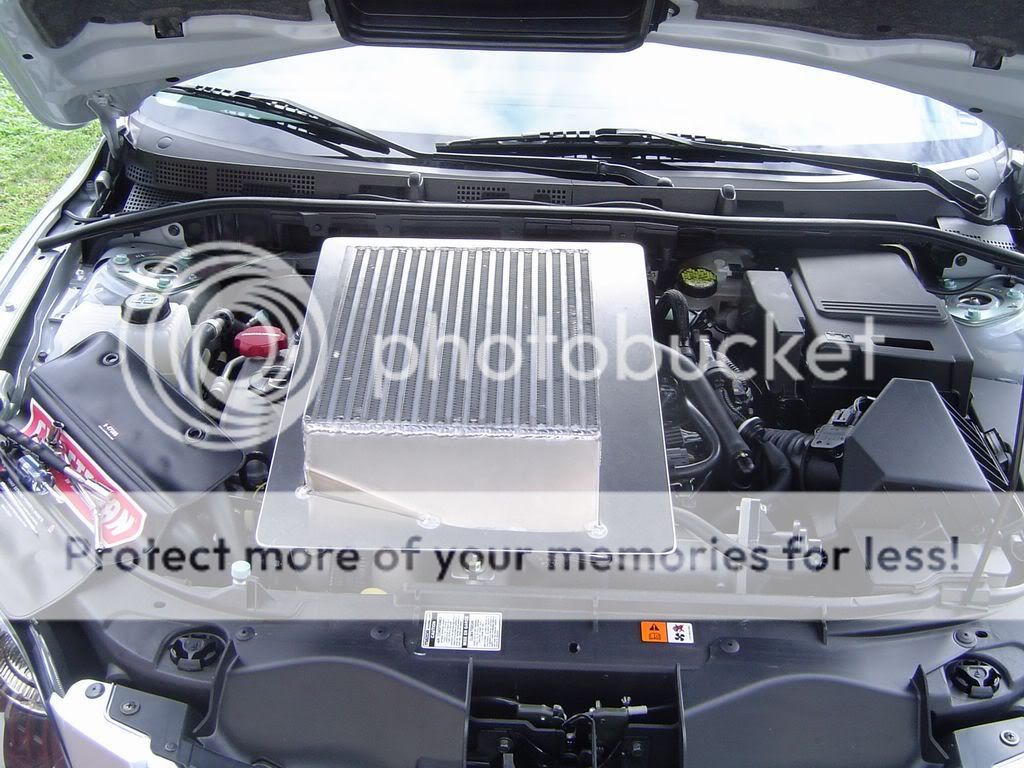
OK! Lets get to it. First off, remove the black plastic cover. (2)two 10 MM bolts
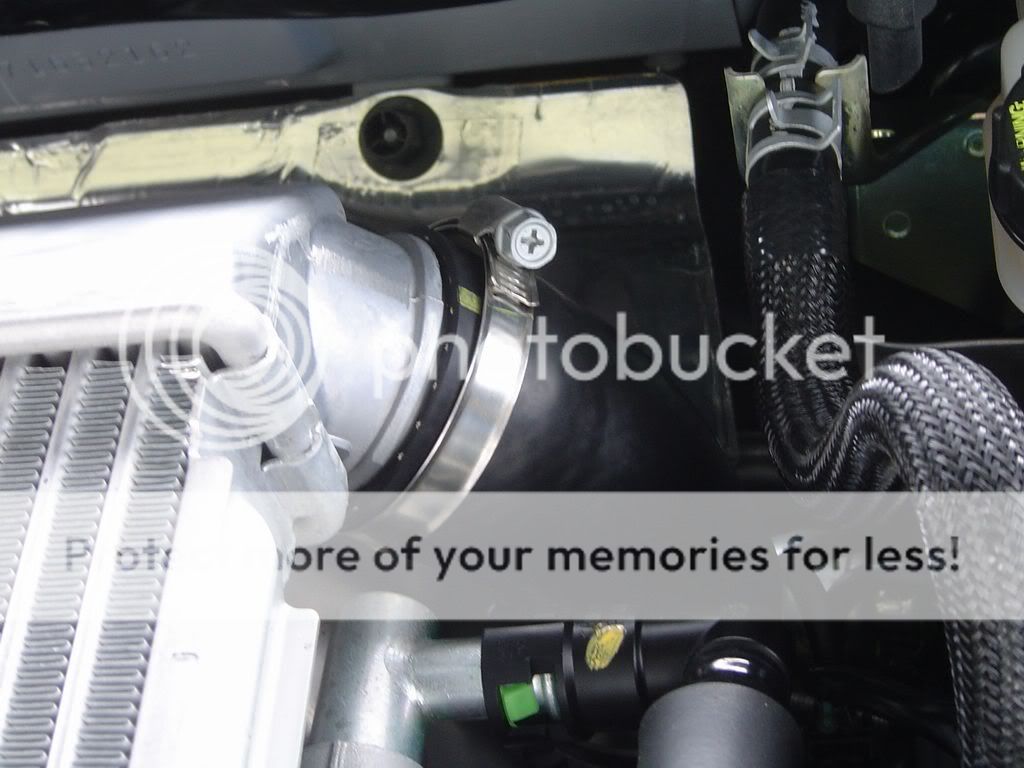
Then, using either a #2 philips with a short handle or a 10mm socket, loosen the clamp on the upper ic hose.
then take off the three 12mm bolts holding the ic down. One up top and two on the bottom.
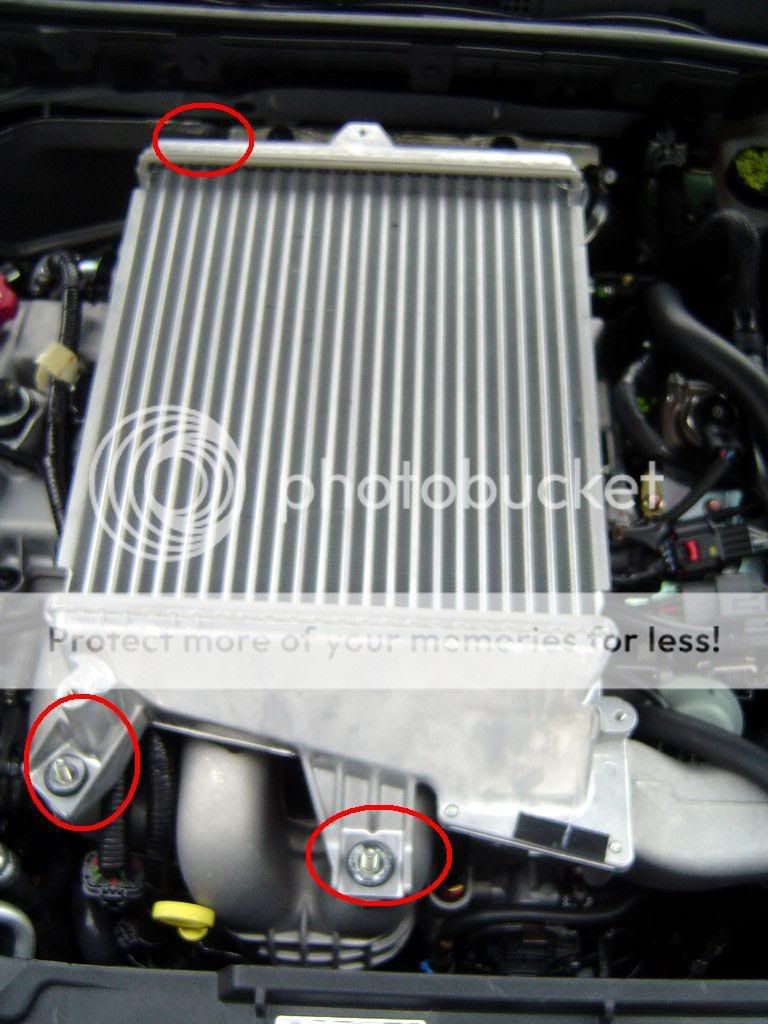
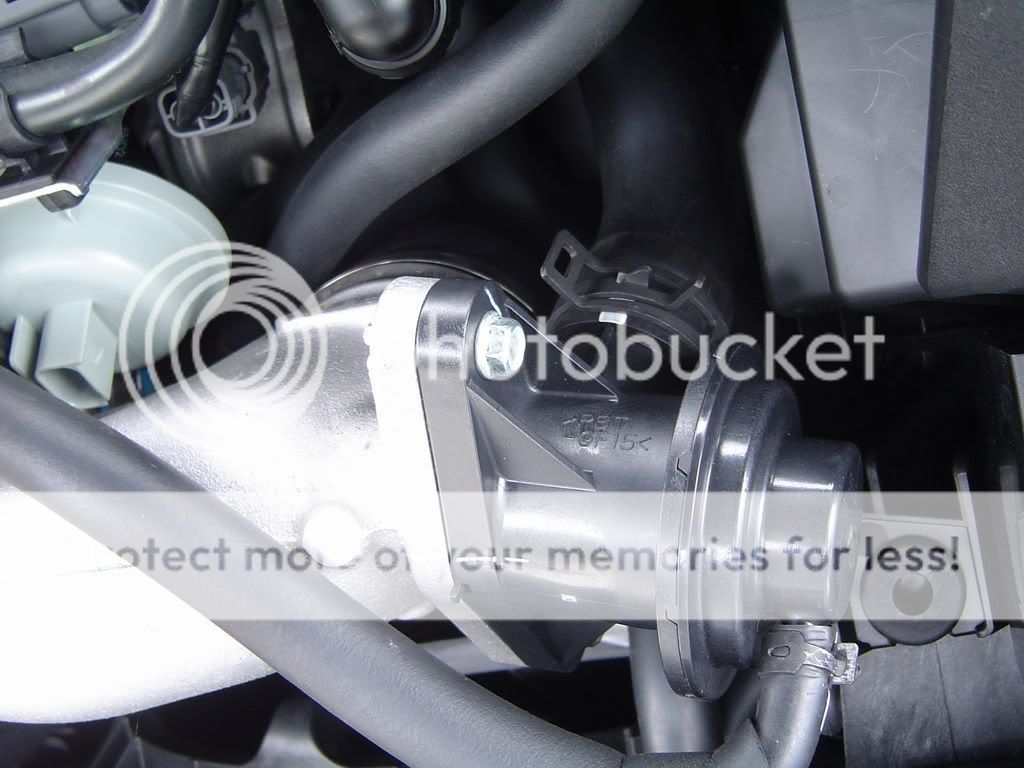
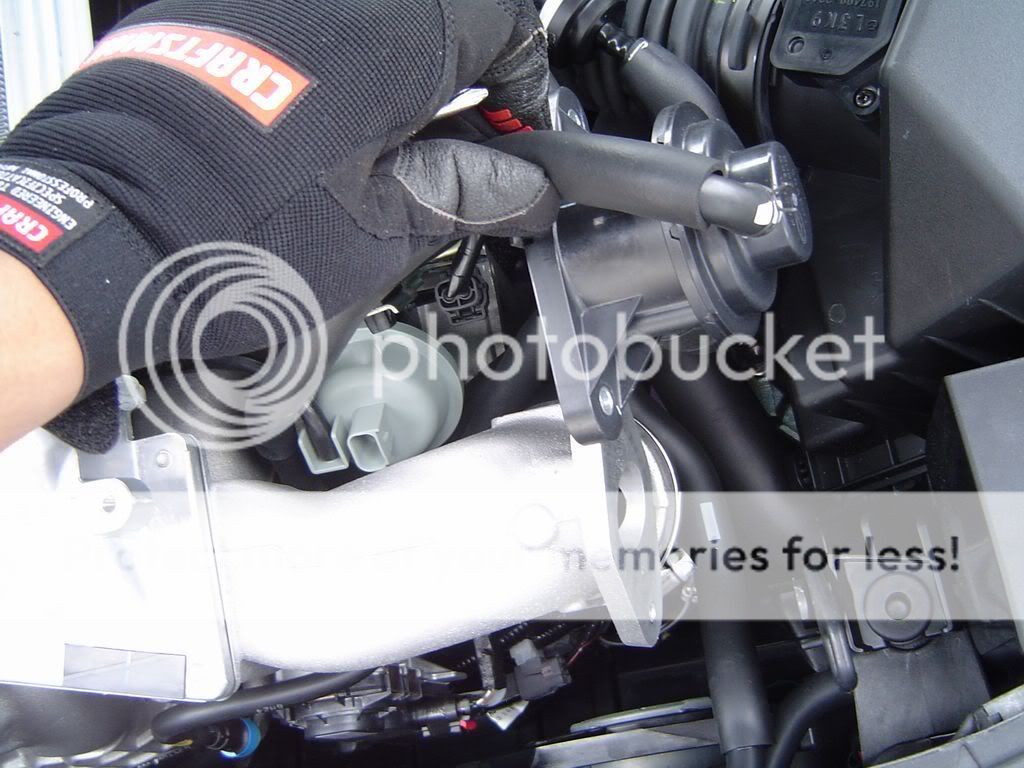
then, take off the two 10mm bolts holding the bpv down. With that out of the way, you can get to the lower IC hose. Loosen that the same way as the top one.
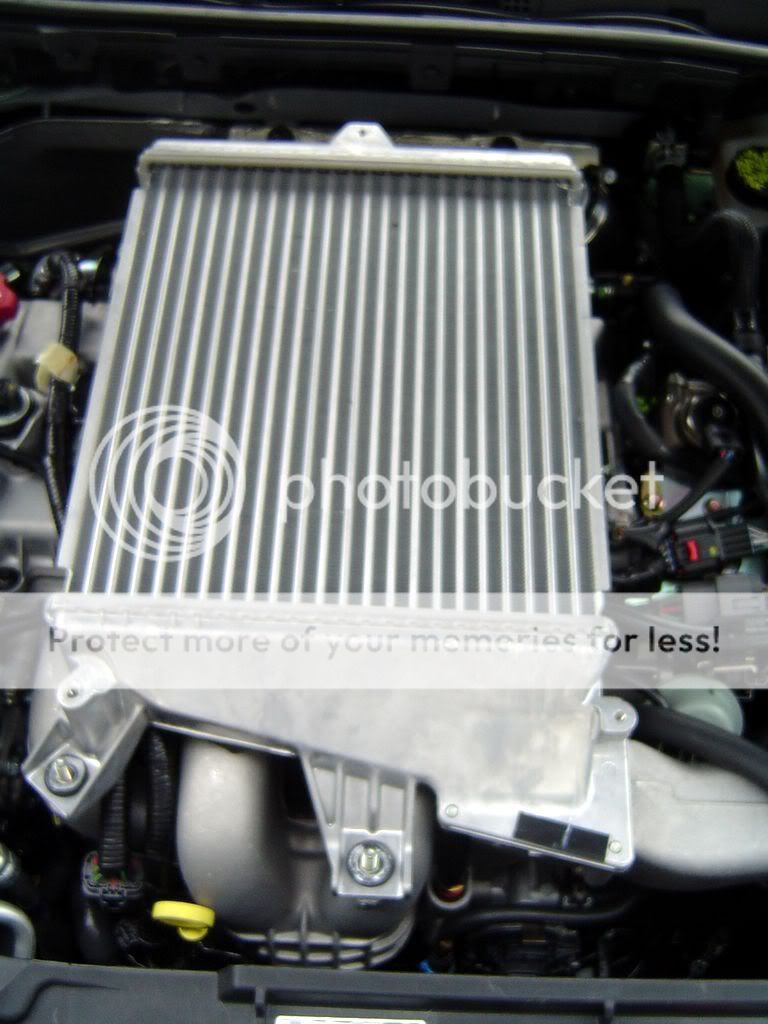
Now you should be able to pull the IC straight up and out of the car. Turn it over and put it down one something that wont smash your fins (If you are planning on reusing it later) I rested it on a flat surface on top of some rags.
There are 4 10mm bolts holding down the _______ whatever pipe that the bpv mounts onto. Take those 4 out. 3 short bolts and one long one. Becareful not to break the black gasket, you will need to reuse it.
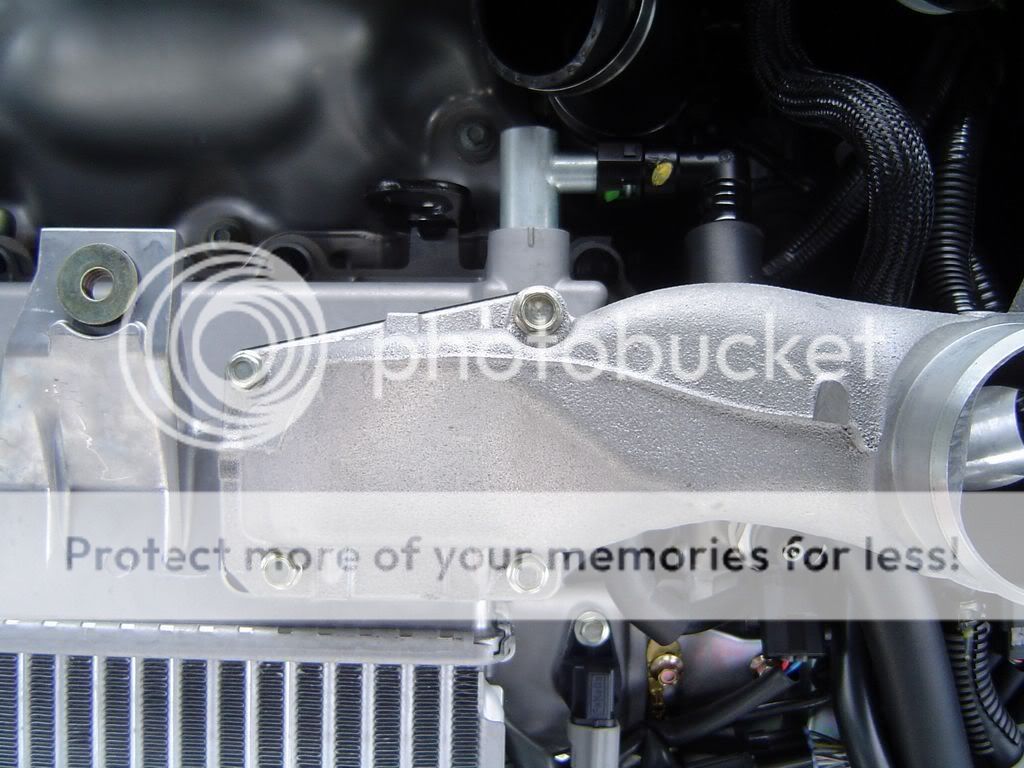
now, put the gasket the new IC and bolt down the ________pipe.
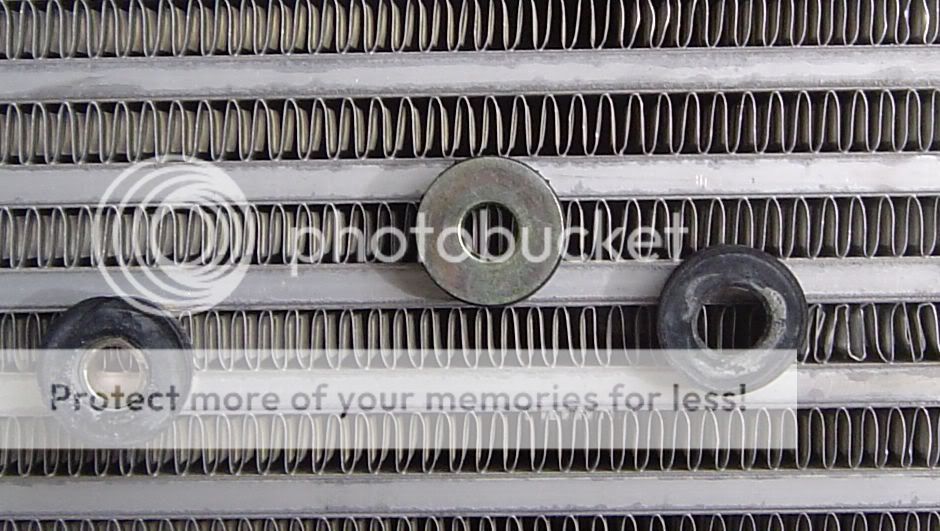
Now grab off the three rubber grommets from the old IC and put them onto the new one. This part is kinda hard as the holes arent completly round on the new ic.
Now you are ready to put it back in the car. YAY!
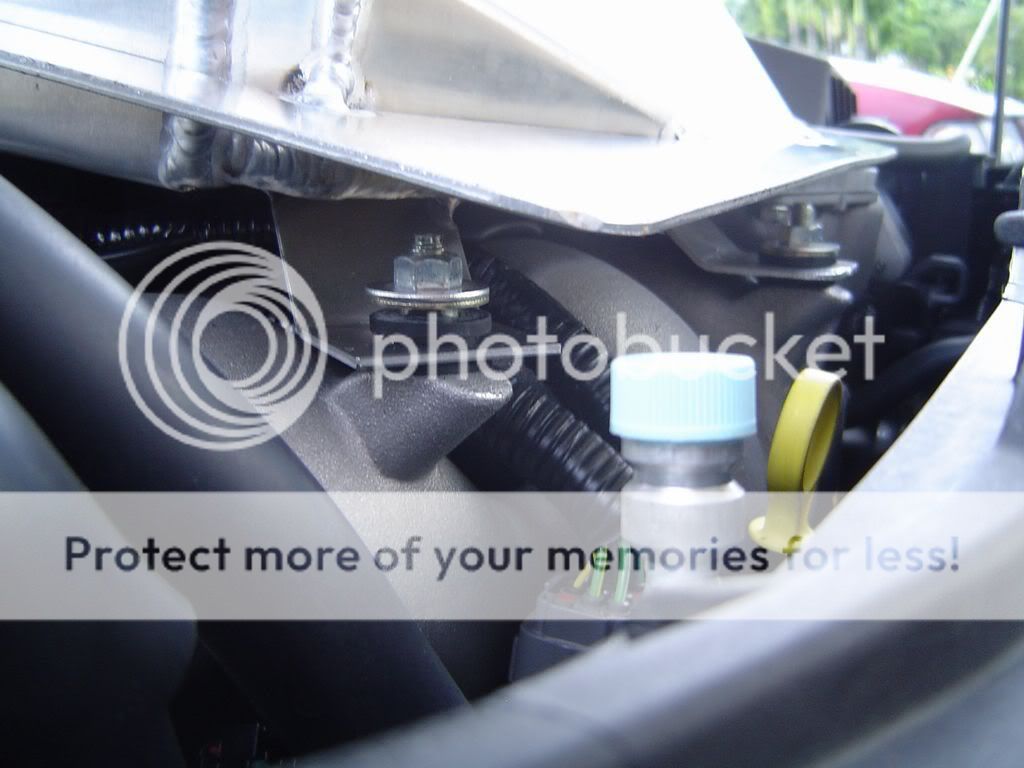
flip it back over and carefully line it up with the mounting bolts. push the top and lower hoses onto the ic first, then guide it down onto the mounting bolts.
tighten up the clamps on the hoses first, then re-connect the BPV with the two 10mm bolts.
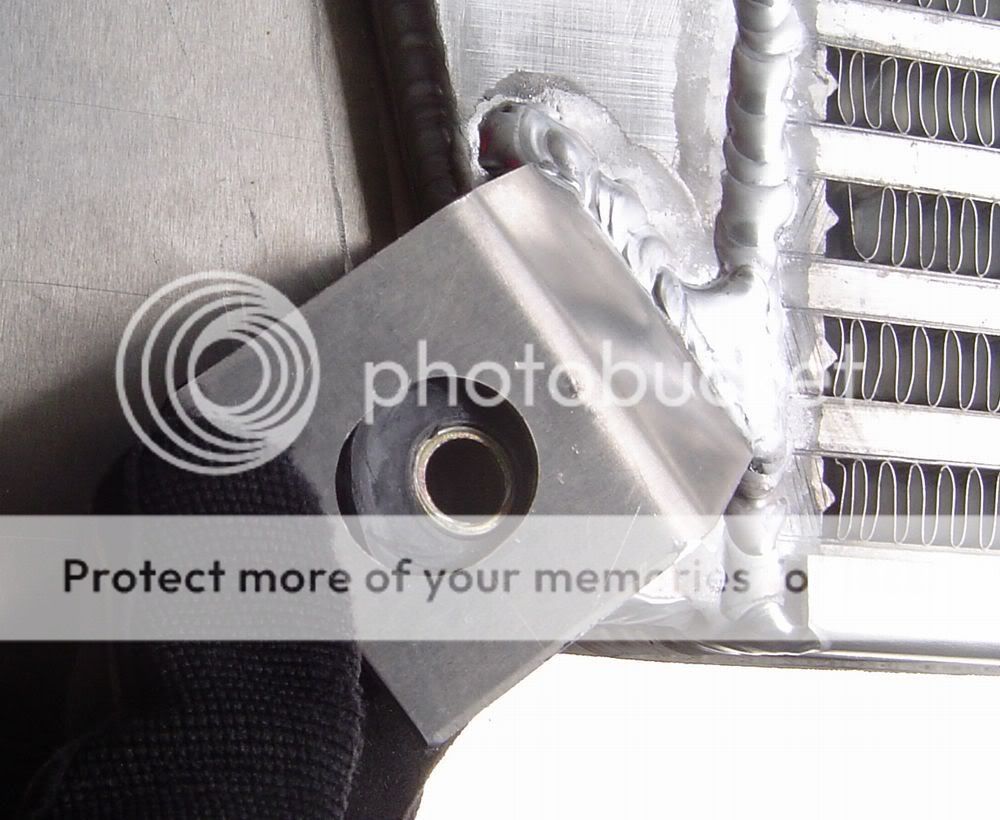
now this next part is really tricky as the new IC has a wide plate/cover running aroudn it. The mounting bolts are all covered now so you have to maneuver the nuts onto the bolts with your fingers and carefully get it started. I dropped all three nuts many times before getting them on there.

I had to use a 12mm wrench to tighten them all down.
There, thats it! you should be all done. Now to take a spin and enjoy the ride!
Write up will come after this.
Comparison Shots
Old VS New
3/8" Ratchet
10mm socket
12mm socket
12mm Wrench (Gearwrenchs would be awesome)
#2 philips/10mm socket
Here is the ETS/protegegarage TMIC. Its so purrty.
OK! Lets get to it. First off, remove the black plastic cover. (2)two 10 MM bolts
Then, using either a #2 philips with a short handle or a 10mm socket, loosen the clamp on the upper ic hose.
then take off the three 12mm bolts holding the ic down. One up top and two on the bottom.
then, take off the two 10mm bolts holding the bpv down. With that out of the way, you can get to the lower IC hose. Loosen that the same way as the top one.
Now you should be able to pull the IC straight up and out of the car. Turn it over and put it down one something that wont smash your fins (If you are planning on reusing it later) I rested it on a flat surface on top of some rags.
There are 4 10mm bolts holding down the _______ whatever pipe that the bpv mounts onto. Take those 4 out. 3 short bolts and one long one. Becareful not to break the black gasket, you will need to reuse it.
now, put the gasket the new IC and bolt down the ________pipe.
Now grab off the three rubber grommets from the old IC and put them onto the new one. This part is kinda hard as the holes arent completly round on the new ic.
Now you are ready to put it back in the car. YAY!
flip it back over and carefully line it up with the mounting bolts. push the top and lower hoses onto the ic first, then guide it down onto the mounting bolts.
tighten up the clamps on the hoses first, then re-connect the BPV with the two 10mm bolts.
now this next part is really tricky as the new IC has a wide plate/cover running aroudn it. The mounting bolts are all covered now so you have to maneuver the nuts onto the bolts with your fingers and carefully get it started. I dropped all three nuts many times before getting them on there.
I had to use a 12mm wrench to tighten them all down.
There, thats it! you should be all done. Now to take a spin and enjoy the ride!
Write up will come after this.
Comparison Shots
Old VS New
Last edited:
")