How time flies. It's already been over a year since I started my second build/rebuild of the GRM Challenge Miata. It's time to get things rolling for this years build and I'm already way behind.
Many of you are already familiar with my previous builds in which I have improved the performance of my built-on-the-cheap turbocharged Miata. It's time to take this car and win with it. In the $2005 challenge, I placed 18/59. In 2006, I took 6/63. I'm in for all the marbles this year. As they say, the third time is a charm .
.
The first build thread can be found HERE
And the second build is HERE
Information on the $2007 Grassroots Motorsports Challenge is Over there.
Purchased as:

The $2005 challenge resulted in this:

For the $2006 challenge, she matured into this:

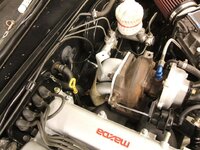
This year's build will improve upon what's already existing. The car has proven to function well, so it's time time to refine the weaker areas.
The current high-end goals are listed breifly as follows:
-Repaint hood and trunk lid
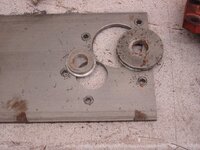
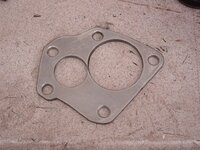
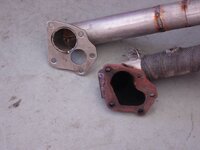
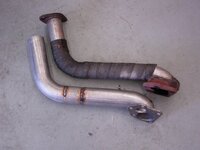
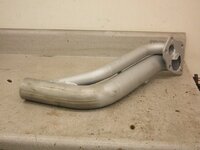
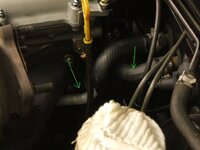
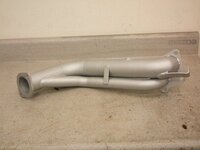
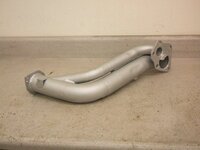
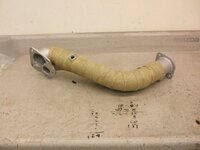
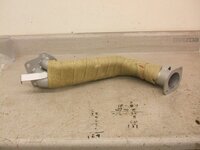
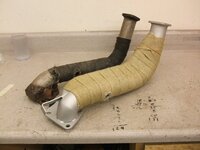
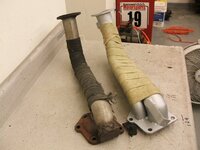
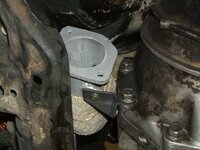
-Fabricate new downpipe
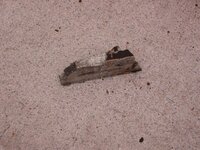
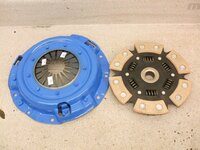
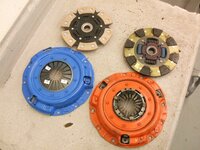
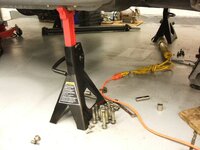
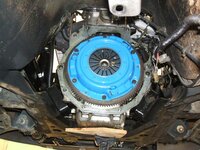
-Replace Clutch
-Replace OE ECU and RRFPR with Megasquirt ECU incorporating launch control, dual maps (auto-x/drag), knock sense, and whatever other feature that strikes my fancy.
-Metallic clearcoat
-Less oversteer (the budget bites hard on this one)
As I have peformed in the past, I will chronicle the build process in this thread for those that are interested and hopefully some usuful information will be provided to others.
Many of you are already familiar with my previous builds in which I have improved the performance of my built-on-the-cheap turbocharged Miata. It's time to take this car and win with it. In the $2005 challenge, I placed 18/59. In 2006, I took 6/63. I'm in for all the marbles this year. As they say, the third time is a charm
.The first build thread can be found HERE
And the second build is HERE
Information on the $2007 Grassroots Motorsports Challenge is Over there.
Purchased as:
The $2005 challenge resulted in this:
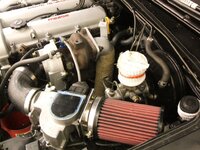
For the $2006 challenge, she matured into this:
This year's build will improve upon what's already existing. The car has proven to function well, so it's time time to refine the weaker areas.
The current high-end goals are listed breifly as follows:
-Repaint hood and trunk lid
-Fabricate new downpipe
-Replace Clutch
-Replace OE ECU and RRFPR with Megasquirt ECU incorporating launch control, dual maps (auto-x/drag), knock sense, and whatever other feature that strikes my fancy.
-Metallic clearcoat
-Less oversteer (the budget bites hard on this one)
As I have peformed in the past, I will chronicle the build process in this thread for those that are interested and hopefully some usuful information will be provided to others
.
Last edited: