Welcome to the 505 build thread. In here you will find one of the highest hp pulls ever done on a stock bottom end.
In addition to the above, you'll also find a shitload of rare and cool parts, back when this stuff was still fun almost a decade ago.
Enjoy.
2002
December ~
- Bought the car on the 6th, drove it for 6 months before the modding began -
2003
June ~
- Injen cold air intake -
First mod was the intake, and I ended up being the first person here to recieve mine. Slight power increase, and LOTS of noise with the thin aluminum piping. The gobbling was cool at first.
August ~
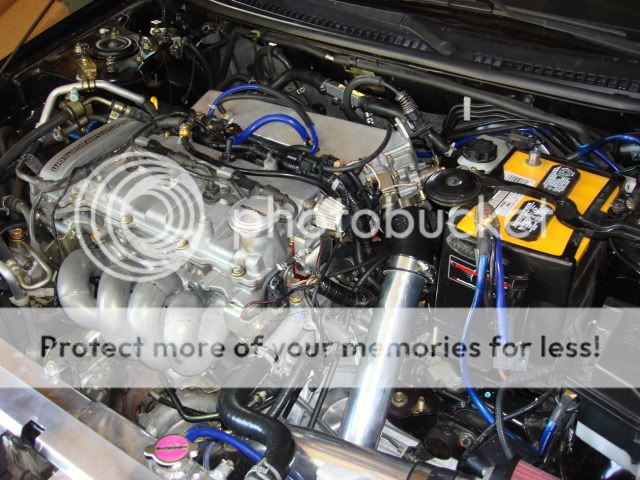
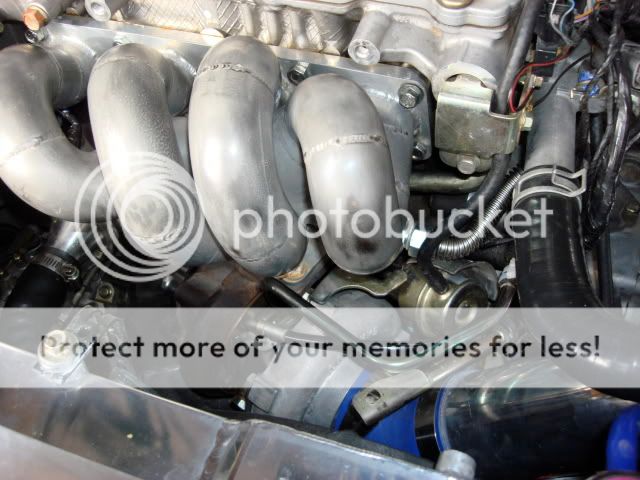
- Magnus 3" J-pipe back exhaust, JoeP FPR kit, BoostSciences Reliaboost MBC, Autometer AFR, Oil Pres, boost gauges -


September ~
- iON FMIC -


October ~
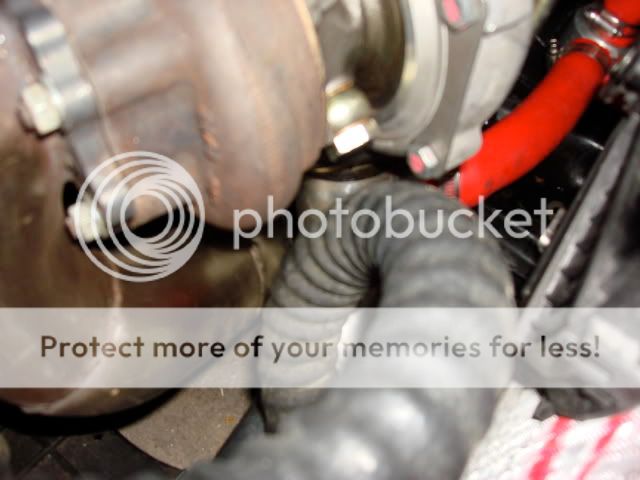
- HKS SSQV with recirculation fitting -


November ~
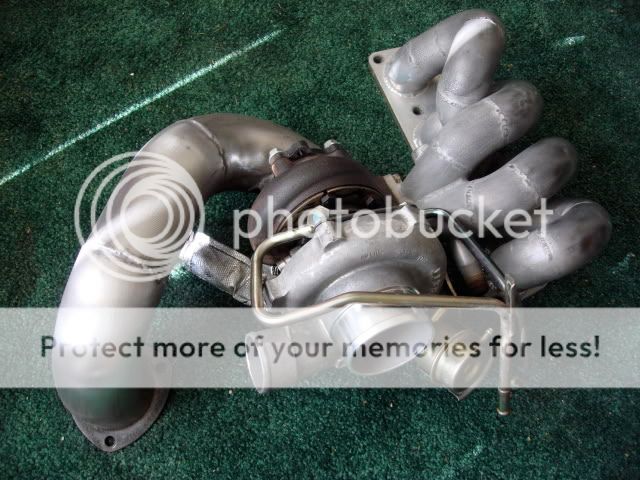
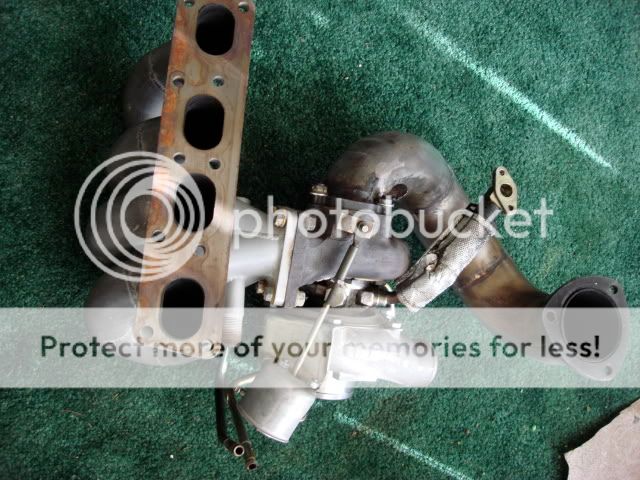
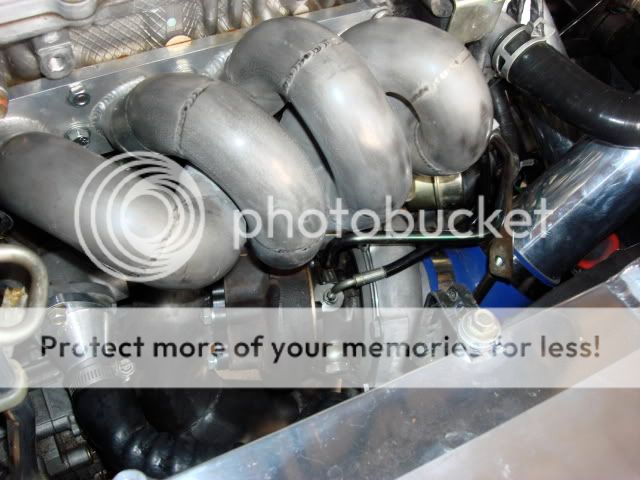
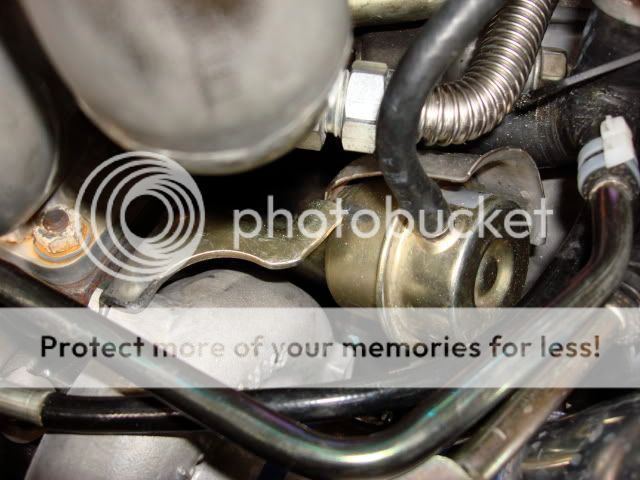
- Reverse gauge overlays, BOV/BPV prototype -
The turkey kill setup had by far the biggest following out of any of my car projects. At last count, there was at least 30 board members from msprotege that were running it.
After installing the recirculating HKS SSQV in place of the stock unit, the gobbling noise became so annoying and loud that I just had to do something.
Sample vid of the sound at that point:
http://www.msprotege.com/members/505zoom/MOV00495.mpeg
See what I mean? How anyone finds that sound desireable is beyond me.
At this point in time, there was heavy debate about the source of the noise. It has always been my strong opinion that the stock 5/8" inlet and outlet fittings on the BPV system is the cause. This undersized in/out can not handle the needed flow to keep the ball bearing GT series turbo from surging, so reflected air from the throttle plate gets thrown back into the compressor fins and causes the gobble sound (much like when you speak into the blades of a spinning house fan). My attempts at using simple means of fixing the problem failed, so I decided to add a second valve. I had the stocker laying around, so with very little modification to the existing setup, I was able to run the HKS open vent and recirculate the stocker. This setup completely killed the surging, and had an added unforseen benefit... the car no longer stalled from the overly rich mixture that goes hand in hand with BOV equipped MAF cars. Since then, people have used other ways to get either result, but no other setup kills the turkey without stalling as easily and safely as the BOV/BPV setup.


Sample vid of the new sound:
http://www.msprotege.com/members/505zoom/mov00516.mpg
A little bit of tweaking and re-doing the vac lines resulted in this:
http://www.msprotege.com/members/505zoom/mov00533.mpg
Slight tension adjustment on the BOV, and that's more like it:
http://www.msprotege.com/members/505zoom/mov00540.mpg
This one shows how much better the RPM behaves after a idle vent... on a normal BOV setup (with no MAF relocation), the RPM's would fall much faster and drop down to 500 or lower. It would then either die or kick itself back up to 800ish. I prefer the new way:
http://www.msprotege.com/members/505zoom/mov00590.mpg
December ~
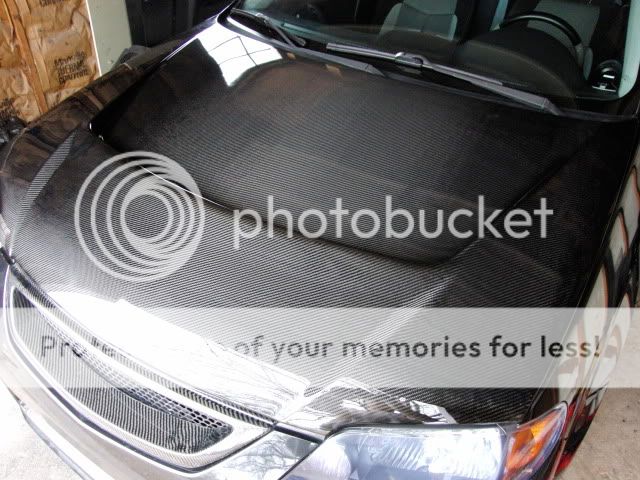
- WingsWest CF hood -

All in all a good year for me and the car. Only a precursor for what is about to happen in 2004 though.
In addition to the above, you'll also find a shitload of rare and cool parts, back when this stuff was still fun almost a decade ago.
Enjoy.
2002
December ~
- Bought the car on the 6th, drove it for 6 months before the modding began -
2003
June ~
- Injen cold air intake -
First mod was the intake, and I ended up being the first person here to recieve mine. Slight power increase, and LOTS of noise with the thin aluminum piping. The gobbling was cool at first.
August ~
- Magnus 3" J-pipe back exhaust, JoeP FPR kit, BoostSciences Reliaboost MBC, Autometer AFR, Oil Pres, boost gauges -
September ~
- iON FMIC -
October ~
- HKS SSQV with recirculation fitting -
November ~
- Reverse gauge overlays, BOV/BPV prototype -
The turkey kill setup had by far the biggest following out of any of my car projects. At last count, there was at least 30 board members from msprotege that were running it.
After installing the recirculating HKS SSQV in place of the stock unit, the gobbling noise became so annoying and loud that I just had to do something.
Sample vid of the sound at that point:
http://www.msprotege.com/members/505zoom/MOV00495.mpeg
See what I mean? How anyone finds that sound desireable is beyond me.
At this point in time, there was heavy debate about the source of the noise. It has always been my strong opinion that the stock 5/8" inlet and outlet fittings on the BPV system is the cause. This undersized in/out can not handle the needed flow to keep the ball bearing GT series turbo from surging, so reflected air from the throttle plate gets thrown back into the compressor fins and causes the gobble sound (much like when you speak into the blades of a spinning house fan). My attempts at using simple means of fixing the problem failed, so I decided to add a second valve. I had the stocker laying around, so with very little modification to the existing setup, I was able to run the HKS open vent and recirculate the stocker. This setup completely killed the surging, and had an added unforseen benefit... the car no longer stalled from the overly rich mixture that goes hand in hand with BOV equipped MAF cars. Since then, people have used other ways to get either result, but no other setup kills the turkey without stalling as easily and safely as the BOV/BPV setup.
Sample vid of the new sound:
http://www.msprotege.com/members/505zoom/mov00516.mpg
A little bit of tweaking and re-doing the vac lines resulted in this:
http://www.msprotege.com/members/505zoom/mov00533.mpg
Slight tension adjustment on the BOV, and that's more like it:
http://www.msprotege.com/members/505zoom/mov00540.mpg
This one shows how much better the RPM behaves after a idle vent... on a normal BOV setup (with no MAF relocation), the RPM's would fall much faster and drop down to 500 or lower. It would then either die or kick itself back up to 800ish. I prefer the new way:
http://www.msprotege.com/members/505zoom/mov00590.mpg
December ~
- WingsWest CF hood -
All in all a good year for me and the car. Only a precursor for what is about to happen in 2004 though.
Last edited:


") We are going to finish the wiring of the mpi tuner and turbo module now! The software looks great, and I am starting to realize the possibilities with this unit. The injectors got pushed back to next week, but that will give me some extra time to get familiar with the software at stock boost levels so I don't make any costly mistakes. Nick was extremely helpful with my problems, and it turns out that I just needed to install the older software to get in with the key I have, and then update to the newer software after I was in. Strange, but I am just glad it's running.
We are going to finish the wiring of the mpi tuner and turbo module now! The software looks great, and I am starting to realize the possibilities with this unit. The injectors got pushed back to next week, but that will give me some extra time to get familiar with the software at stock boost levels so I don't make any costly mistakes. Nick was extremely helpful with my problems, and it turns out that I just needed to install the older software to get in with the key I have, and then update to the newer software after I was in. Strange, but I am just glad it's running.