My footwell lighting and power accessories project

Can u post link to your rgb kit


Sent from my iPhone using Tapatalk
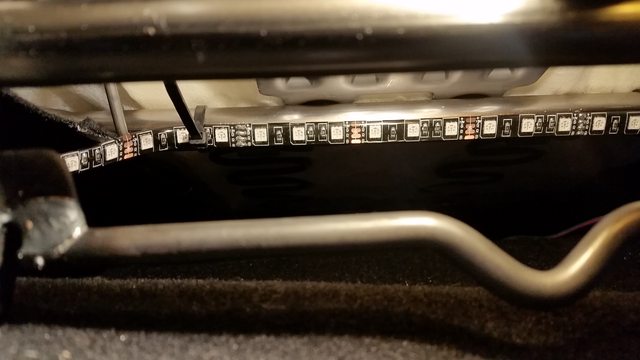
here it is:
Got a box in today!
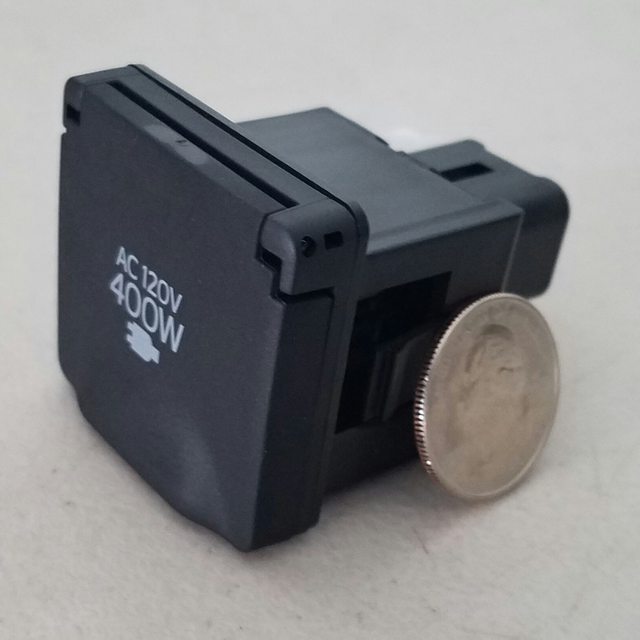
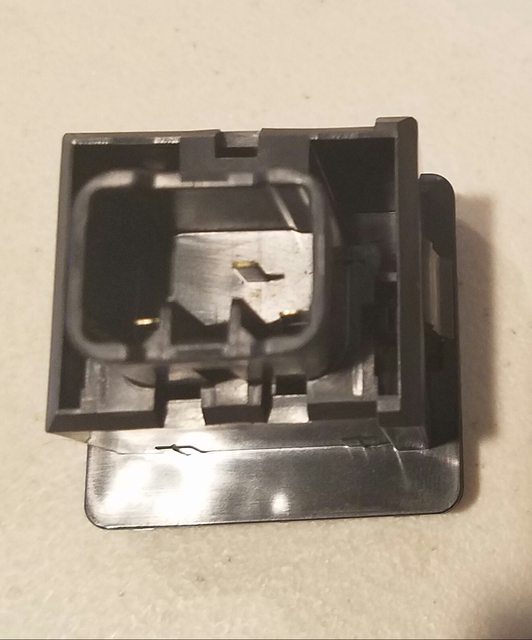
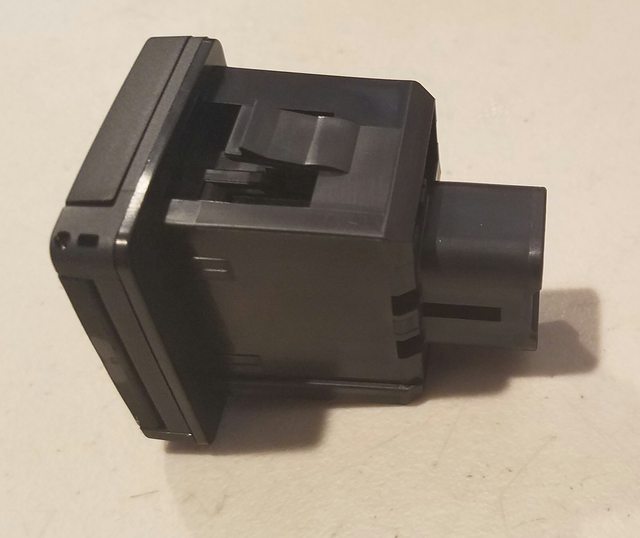
Here is what I bought: (Some items I did not use!)
1x Multicolor LED Footwell kit with Rear footwell addon and extra Bluetooth RGB Controller: $125
There are a number of other items if you look back at that post. (second one in this thread) I have only used the kit and an RGB extension so far I believe. Maybe a connector or two...


I've done this in every car I've owned. Thank you for your write up, as it may just push to do it again in my CX5. I'm waiting to see some finished photos from you. What color you looking to stick with? I used blue in my 13 elantra as it matched the interior lighting scheme perfectly. Not sure what would go with the CX5. Perhaps red?
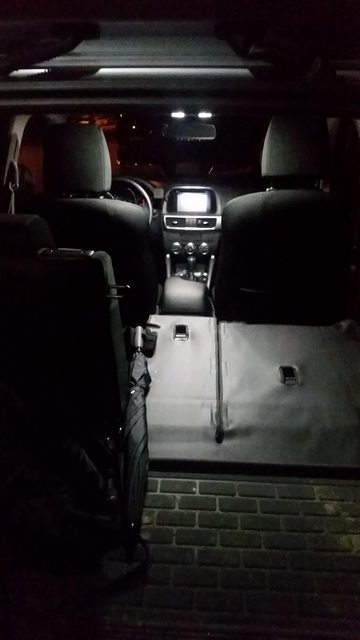
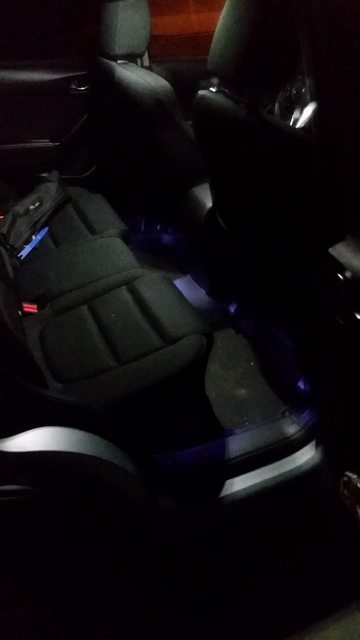
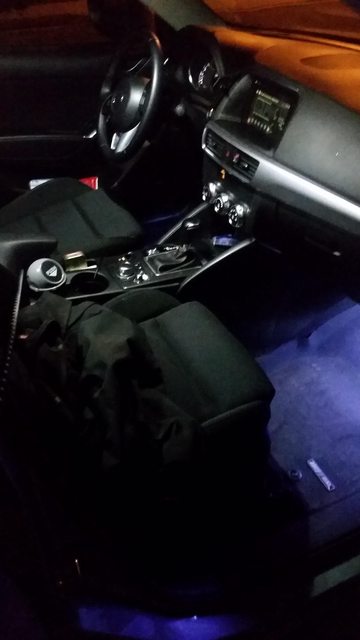
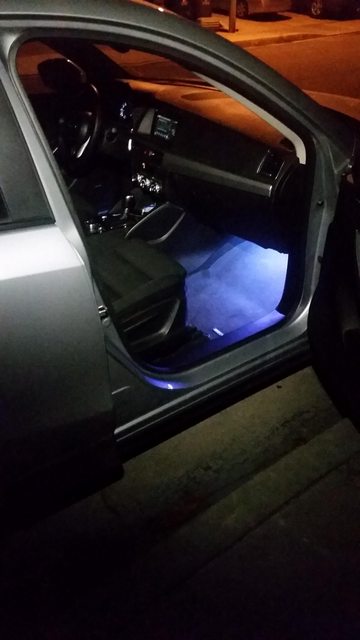
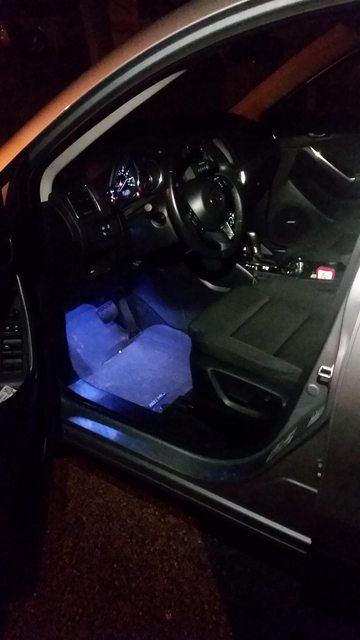
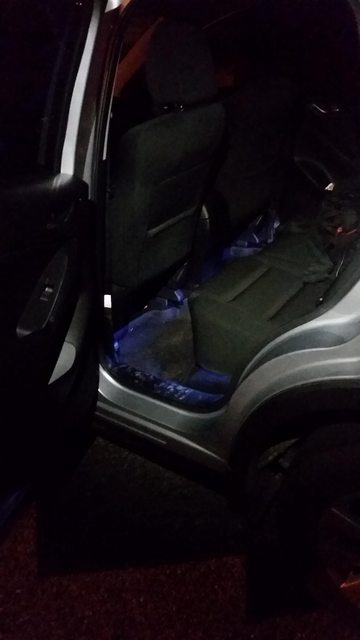
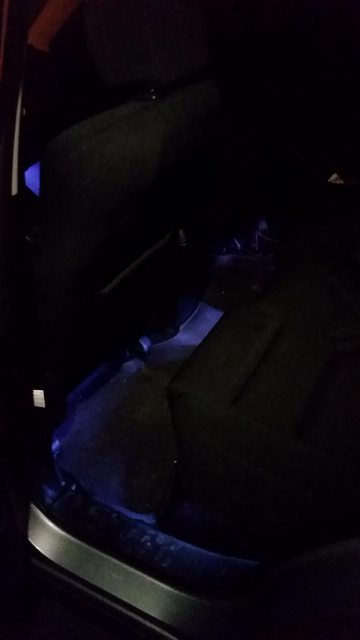
Been sticking with more white to blue based colors. Static "white" (I made it a true white since I can customize it very nicely with the phone app) and then a custom color fade scheme that cycles a number of "washed out" colors if you will so they are mostly white still. Again, super nice with the phone app to do this!

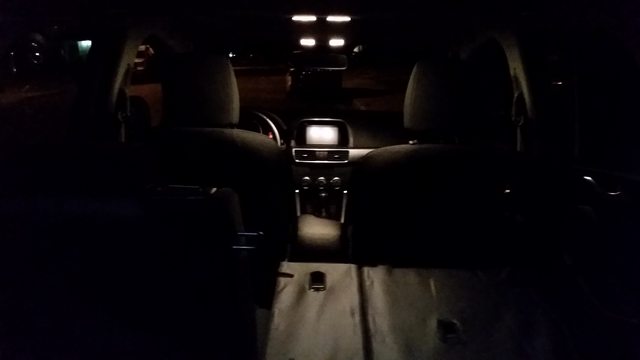
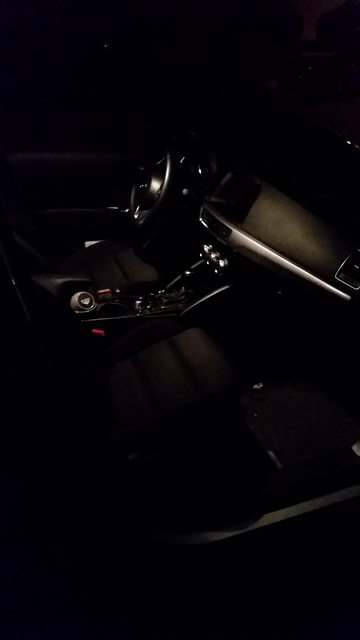
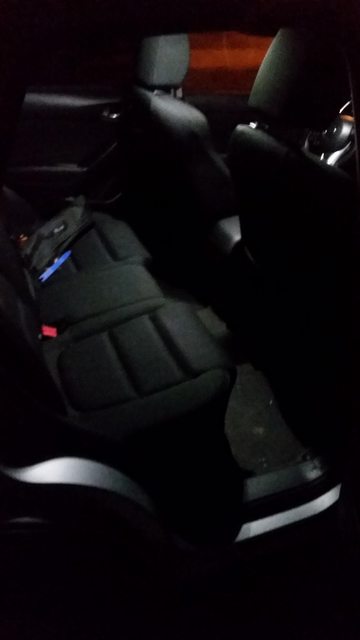
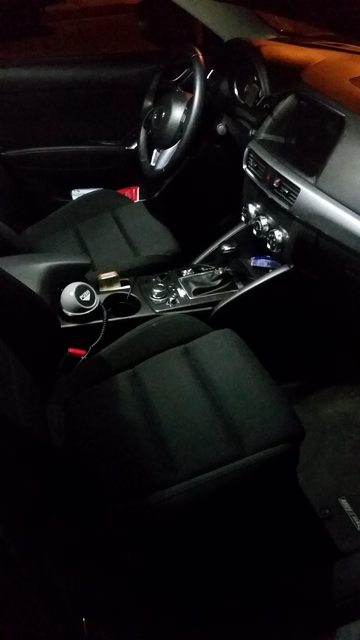
I will go and take a few shots now for you Edit: Posted below. Enjoy!
 
Last edited:
Here are some pictures! Sorry for crappy quality. Pictures do not do it justice btw. Looks way way better in person!
Let me know if there is anything else in specific you want to see

Before I replaced the dome/map/ cargo lights:
uoXYLhNl.jpg
oRF5GlYl.jpg


New dome lights
KuFUGHtl.jpg
dOdc46rl.jpg
YT54IDdl.jpg


Now with the LED lights on too! This is just the true white (prob 5-6k?) color I am using. Looks blue because of the amber street light outside.
UsLvlFwl.jpg
Ea6zbLCl.jpg


I turned off the dome lights and am using a "warm" flashlight with a very even beam spread to help keep the camera working right
1EUB8FHl.jpg
JwQDSlFl.jpg
SfoTdr6l.jpg
YbNPO0Vl.jpg
 
Last edited:
I did my 2016 footwell lights and door sill lights already. I would say 100% the easiest way is to tie into the wires in the rear run them forward to the front and bam. I did it for a total of less than 30 roughly. Got a deal on stainless led sills on eBay. Bright and looks great!! ( but my god the CHEAPEST wires I've ever seen in my entire life.... Yarn would be more consistent. ) but then I got 2 12 in blue led bars at a discount place nearby called Ollie's.IMAG0397.jpg
 
Tho not too thrilled at the colors or the footwell brightness. ( bars were like 3 bucks, I'll deal for now. ) and I'd rather have a green accent lightings. Might solder my desired colors later
 
I did my 2016 footwell lights and door sill lights already. I would say 100% the easiest way is to tie into the wires in the rear run them forward to the front and bam. I did it for a total of less than 30 roughly. Got a deal on stainless led sills on eBay. Bright and looks great!! ( but my god the CHEAPEST wires I've ever seen in my entire life.... Yarn would be more consistent. ) but then I got 2 12 in blue led bars at a discount place nearby called Ollie's.View attachment 213095

Wait so what did you use for power and ground from the back? Definitely want to do this in my cx5(footwell lighting), but in every car I've done it in, I've just tapped into a fuse. I'm guessing you from whatever source you use use, you just connected all the footwell lights together?
 
It really surprises me that there isn't a fuse or wire that can be tapped under the dash that will allow lights to come on with the doors open and turn off when the doors close. The dome lights have to be wired to something down there.
 
Where did you install the strips, at the second row?

I mounted them under the second row seats. There is a bar that goes across the seats that I just zip tied them to, if you look under yours you will see it. Be sure to leave enough slack so you can still put the seats up and down!

5) I didn't want to cut either of these strips so that the light would remain even, so I started on both sides from the outsides and worked my way in. There is a nice bar under the seats I attatched the light strips to and made sure the lights were angled to the opening.
9o1hAtLl.jpg

Once I got to the middle, I couldn't reach in anymore, so I ended up having to fold up the middle "20" of the 40/20/40 seats. The plastic trim gets removed and with the two bolts taken out, it lifts up very easily. When wiring the middle, make sure to leave ample amounts of slack in the line so the seats can fold down. You only need to mess with the middle seat to test this. After that, getting the slack managed is a bit tricky, but doable.
 
Last edited:
Any ever use just single 5050 SMD LEDs instead of a whole strip? I'm thinking of giving them try and ordering some from superbrightleds.com. My idea would be to place one for each footwell and try to figure out how to get them to go off with door close. I'm also thinking I'll try placing one to shine on the center console storage in front of the shifter that stays all the way on. I want something that nots to bright and I'm thinking a single led might do the trick. If they're too bright I could always add another resistor or replace the resistor to one with more resistance couldn't I?
 
Got another package in last week...

eX6l504h.jpg


All from VLEDS.
2x Vanity lights
4x 3175 lights for dome/ map
1x 3022 light for Cargo area


Nice job so far. I too would love to have some footwell lighting, but will hold off until someone finds the positive and negative leads on the dome lights as I would only want them to work in sync with the doors.
On a side note, where did you find the part numbers for your bulbs? I've been trying to find out all the part numbers for every single bulb on the while vehicle interior/exterior. I noticed you have the interior part numbers for the bulbs. May I ask where you got that info? Thanks

I actually found the interior light sizes from VLEDs or whatever website they linked me to, however I believe they are listed in the manual for replacement bulbs. Check the CX5 lighting thread though.
 
So I have not had much time to do a whole lot more work, but hopefully I will have some more time soon. I just purchased 2 outlets to install, one will go in the cargo area, and the other will be either behind the center console at the rear seats area, or in the front center cuby as it is pretty small.

TOYOTA\LEXUS 8553035050C0 GENUINE OEM POWER OUTLET. Just do a google search and multiple sellers should pop up, I got mine from ebay
I should note that the pins on the back are in a unique connector so it will be hard to find. You can use wire spade connectors, but the ones my local auto parts store had that fit the small flat pins can only go up to 18 Gage wire. Its AC so it should be fine, but just a warning.
PgyYYAil.jpg


I also had my dealer print up a diagram of the center console. Its not really what I was looking for as it does not list steps for disassembly, however it might be helpful. I will try and scan and upload tomorrow.
 
Last edited:
Could you please post a picture, with the rear of this rear outlet?

Let me know if you find a connector, I would feel more comfortable with thicker wire

waq2vlul.jpg
lNfEpZpl.jpg
 
Last edited:
Doesn't really surprise me. I think the older systems had a basic door switch. Aka there is power in the fuse box but the switch closes the circuit with the light. You could tap that in series but not in parallel. Newer ones the switch is monitored by a simple ic that tells the light what to do.
 
How about, cutting that protective plastic square off and solder two wires with female spades?
 
I took apart my center console today and installed some lights in the front cubby, the cup holder acrylic pieces, the glove box, and the center console storage. With that I will be composing a how-to soon with everything I used. I did not do any other electrical work with the outlets or 12v socket today. Here is a link to the how to for the 2016 center console: http://www.mazdas247.com/forum/showthread.php?123856681-2016-Center-Console-Removal

Also, I edited the install post, but one of the lights under the back seat got pinched from the seats going up and down - not because of not enough slack, but from the pressure exerted on it. I re-ran the back seats by lifting up all 3 seat sections and then running the cable from the middle back and out to each side seat. This way there is no chance of the cable being pinched anymore, and the connections are serviceable from behind the second row of seats under the carpet between the cargo area and back of the seats
 
I took apart my center console today and installed some lights in the front cubby, the cup holder acrylic pieces, the glove box, and the center console storage. With that I will be composing a how-to soon with everything I used.
Very nice! I really want some lights in those areas you mentioned! Looking forward to seeing your write up. :)
 
Back