Wow!
I know right, people actually drag race at drag strips! I thought drag strips only existed so autocrossers could use their parking lots to hold events (rlaugh)

Wow!
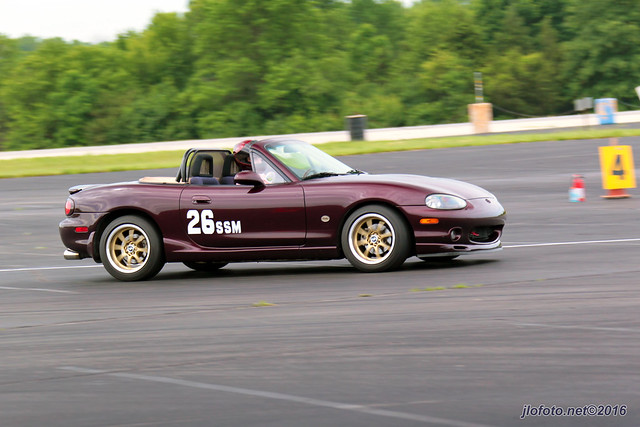
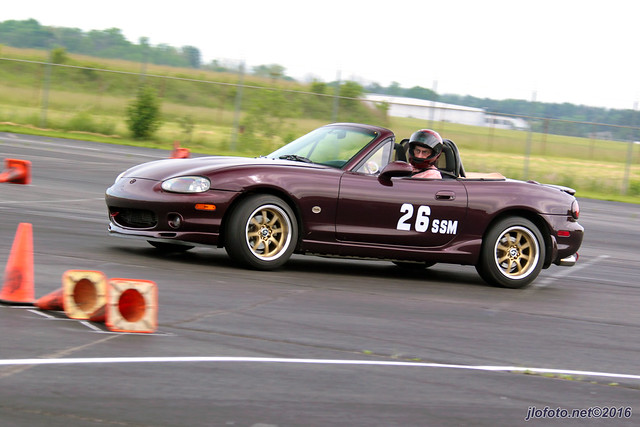
Nice!! I have a bunch of those old school Mazda logos in sliver....I had them on my black rfp1's....I have bronze ones now on the wideopens
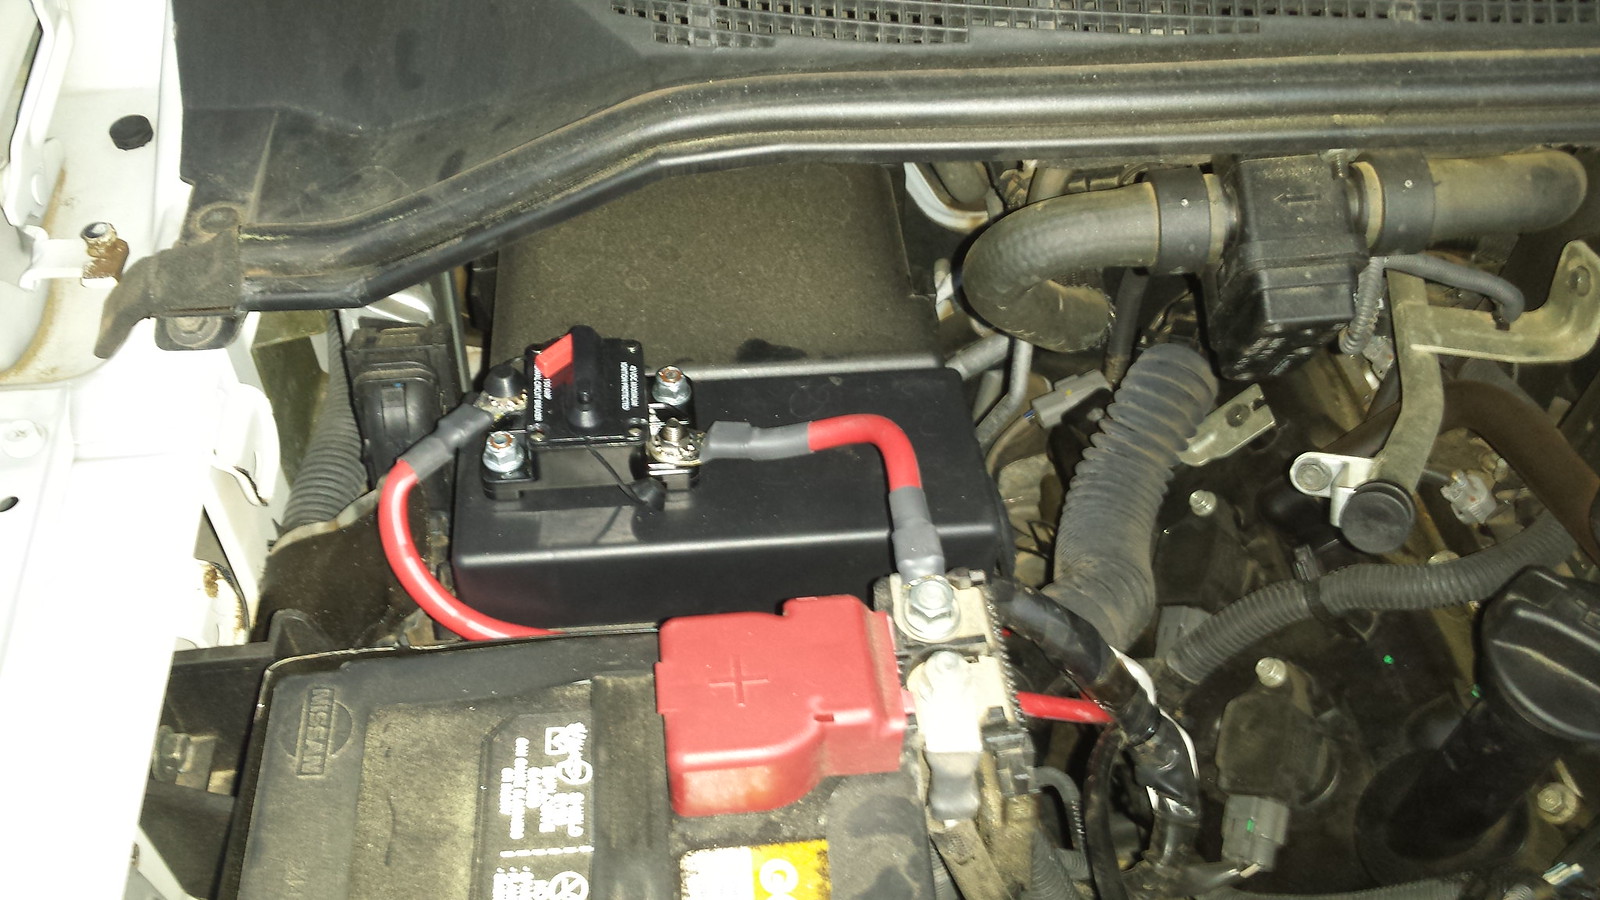
Very nice. I love those add a fuse taps.