
UPDATE Front install found here: http://www.mazdas247.com/forum/show...E-INTENSIVE)&p=6348439&viewfull=1#post6348439
Hey All!
So I got a set of VLEDS Triton V3 Amber bulbs for both the front and the back, but decided to tackle the rear's first, as the assembly is easy to remove and work on. Well good thing! Since some light modding was required to the housing that will make it easier to see what's needed for the front. Of note, there is not a lot of room behind the tail lights of the 2013+ CX-9, it's molded in back there! With that, let's get underway! (Also, this is my first write up, so please offer suggestions if something isn't clear/could be clarified better") )
)
Check out the product page for images of the system: http://www.vleds.com/v3-triton/bulb-system/amber/v3-a.html
So, first things first: A comparison of stock vs. the LED. Triton Left, stock on the right (Youtube):
http://youtu.be/gVlTSnYc6ho?list=UUDlNyir_sZHiGYerJxV0XLA
You'll notice the bulb is at least as bright as stock, but is much more crisp in it's activation. The Trition's come with their own load balancer, so there is no need to splice resistors to maintain flash rate.
Removing the tail light is as simple as two screws. Remove them and pull straight back on the assembly. A trim removal tool may help you pop it out of the two clips that hold the light in other than the screws.
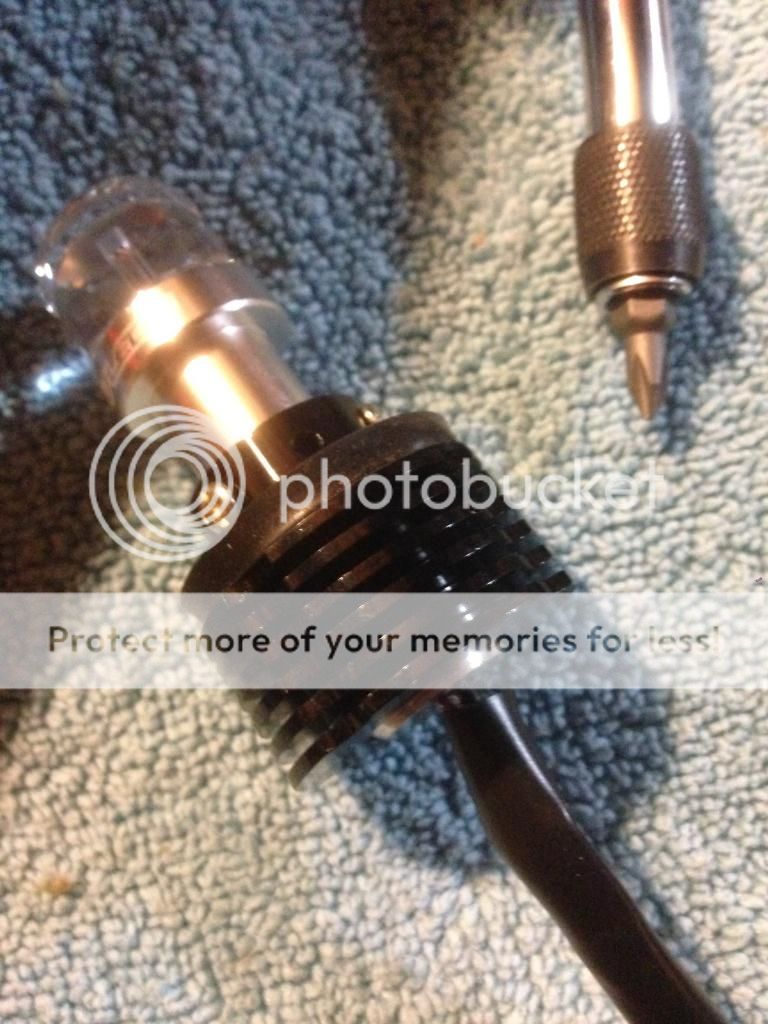
So, popping out the stock bulbs and unclipping the wires on the back the assembly comes free pretty easily. Now the Triton’s are designed to be able to go in practically any application and come with a myriad of screws, collars, and gaskets to be able to use. However, one issue arose right away. The plastic surrounding the hole is raised in order to stop the stock bulb holder from rotating freely. However, the heat sink of the Trition bulb is too close to the screws in this situation to fit.
This will need to be shaved down for the new bulbs to be able to engage with the hole.
Here you can see the screw options of the bulb and the gasket installed.
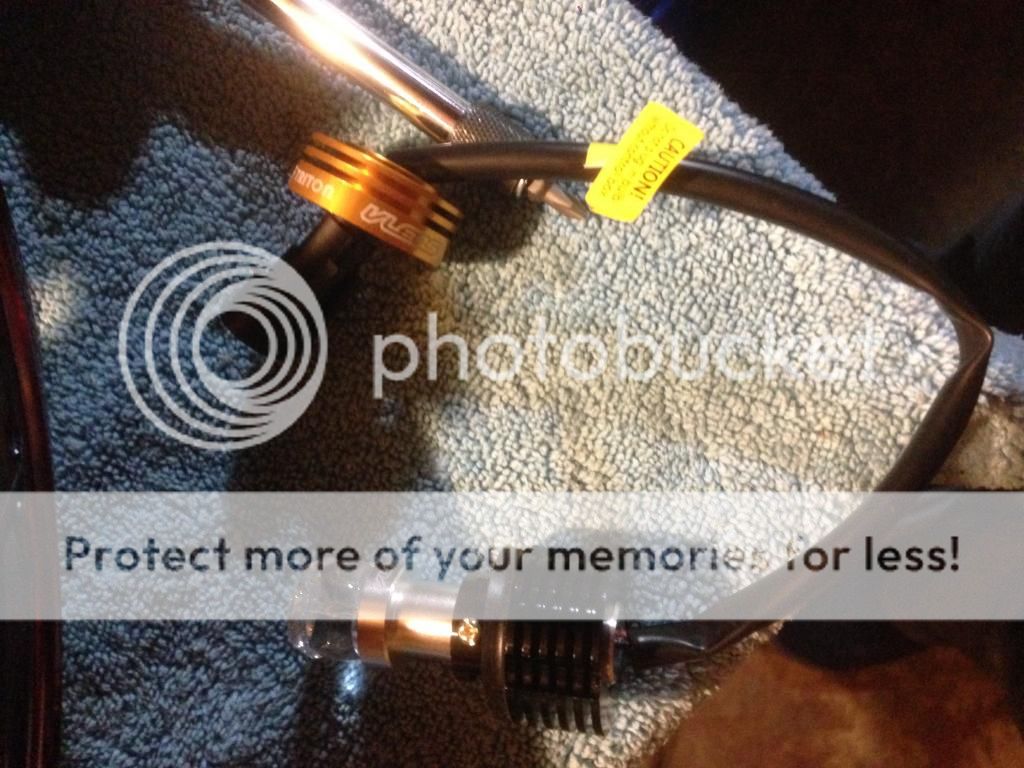
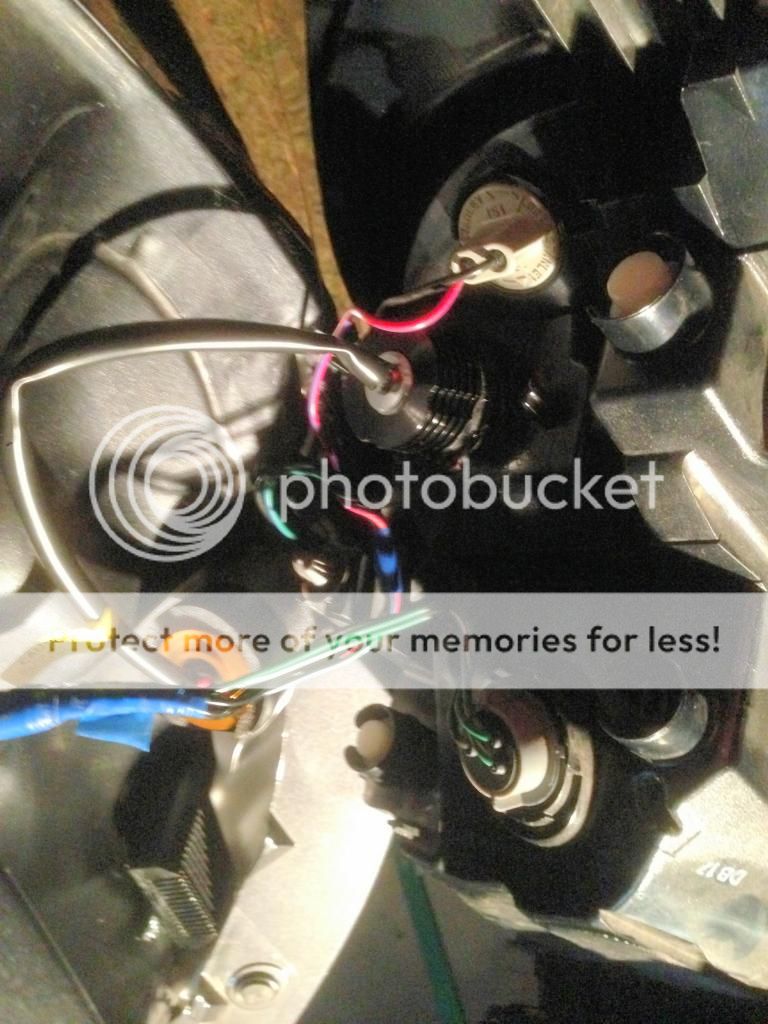
And we will run into more clearance issues. Explanation: The Tritions also have adjustablitly into how far they stick into the housing/focus on the reflectors. However, due to how tight it is behind the assembly, this adjustment has to be backed all the way in so that the bulb/heatsink don’t stick out. As the adjustment lock (the orange part in the photo below) is usually on the tail end of the bulb, it has to live down by the connector, where it can’t be slid off due to the size of the plastic. However, I had a solution to prevent this from knocking around too much:
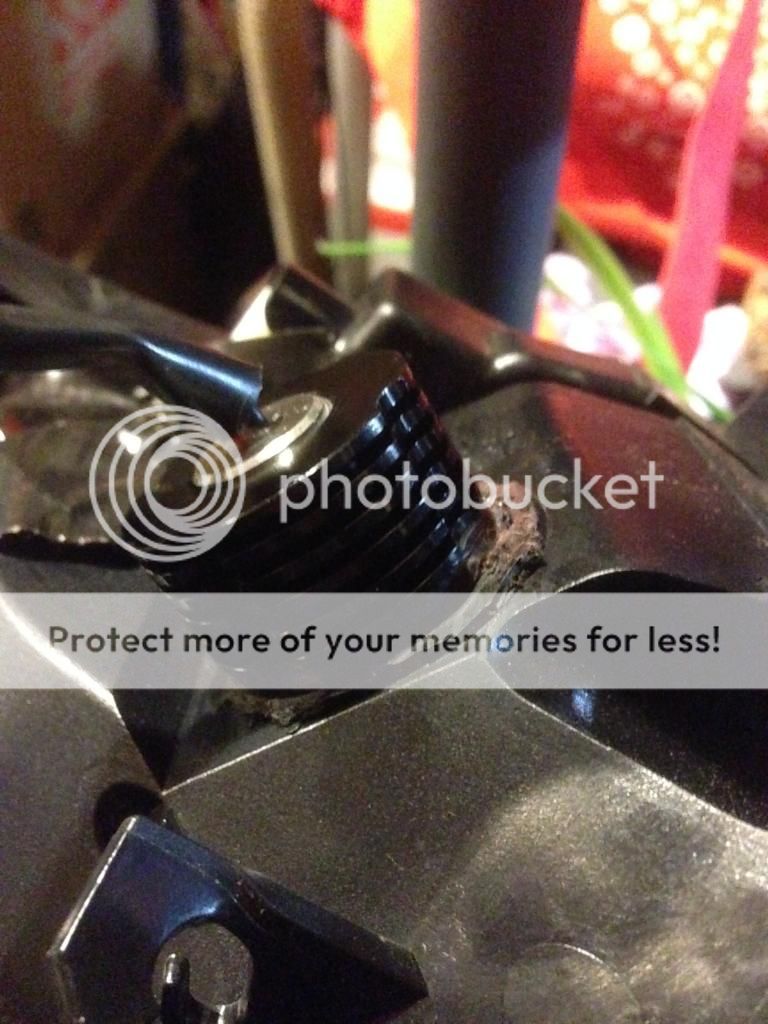
After shaving, we have the bulb in!
So the Tritions have these control boxes, that normally wouldn’t be a problem… If i had room… However, there is just enough to set it down below the assembly in a gap in the body and plastic of the bumper cover. Here I hard mounted it, and ran the cables from below it up around a white plastic spacer that was back there.
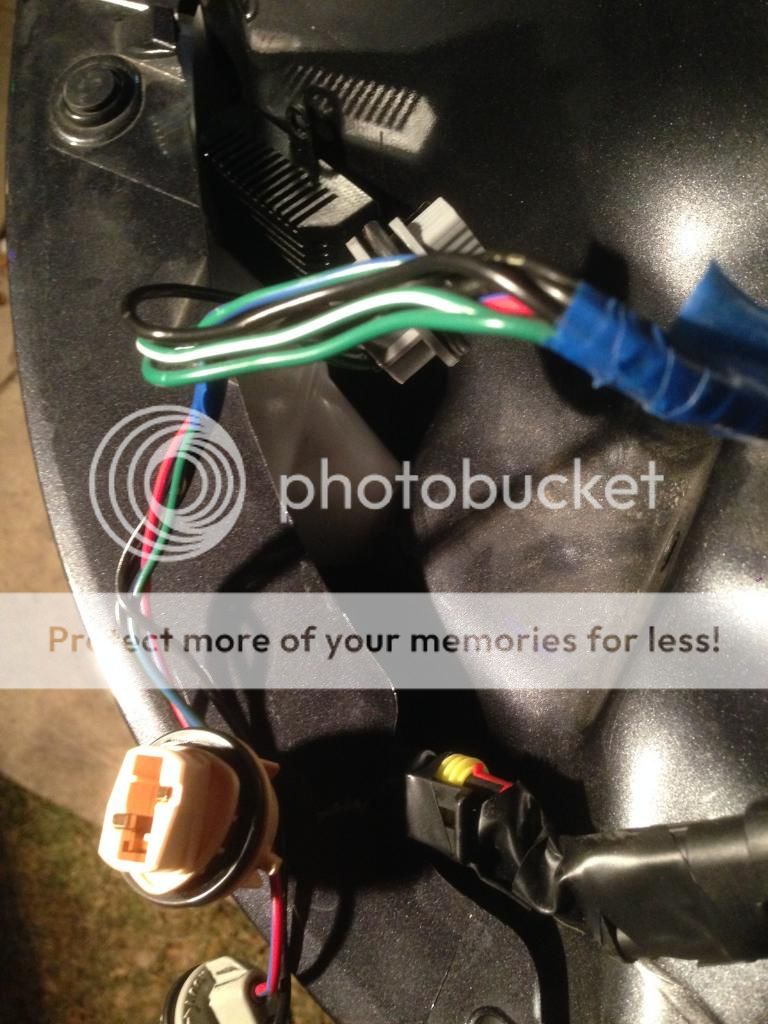
From this picture you can see the box mounted at the top, the white spacer in the bumper, and the triton cables coming out at the bottom.
So, again the triton system is very modular, so the adapter to the 7443 bulb in addition to the stock socket are kind of a long assembly (about 4”)… This needs to go somewhere, and not rattle around. So I decided to use some 3/4” pipe foam insulation I had lying around and wrap it around the connectors. This then got shoved down into the space between the steel of the body and the plastic of the bumper.

Everything wired back up, and the connector assembles snugged down into the bumper (shown in the left of this picture, the anodized orange part)
And the finished product:

Final Thoughts:
The light output is pretty impressive, I would says slightly brighter than the incandescent 7443 bulbs. Not crazy bright, but the activation is so much more crisp that they really grab your attention. Total time for both assembilies was probably about 2~2.5 hours, mostly because I had to figure out how to route everything, and I was in no rush/didn’t want to damage anything. Even with the shaved down plastic, I checked to make sure the stock bulb assemblies still work, and they do if I ever need to go back to stock. Final video of both bulbs replaced:
http://youtu.be/77IdbU4-f8Y?list=UUDlNyir_sZHiGYerJxV0XLA
Hey All!
So I got a set of VLEDS Triton V3 Amber bulbs for both the front and the back, but decided to tackle the rear's first, as the assembly is easy to remove and work on. Well good thing! Since some light modding was required to the housing that will make it easier to see what's needed for the front. Of note, there is not a lot of room behind the tail lights of the 2013+ CX-9, it's molded in back there! With that, let's get underway! (Also, this is my first write up, so please offer suggestions if something isn't clear/could be clarified better
)Check out the product page for images of the system: http://www.vleds.com/v3-triton/bulb-system/amber/v3-a.html
So, first things first: A comparison of stock vs. the LED. Triton Left, stock on the right (Youtube):
You'll notice the bulb is at least as bright as stock, but is much more crisp in it's activation. The Trition's come with their own load balancer, so there is no need to splice resistors to maintain flash rate.
Removing the tail light is as simple as two screws. Remove them and pull straight back on the assembly. A trim removal tool may help you pop it out of the two clips that hold the light in other than the screws.
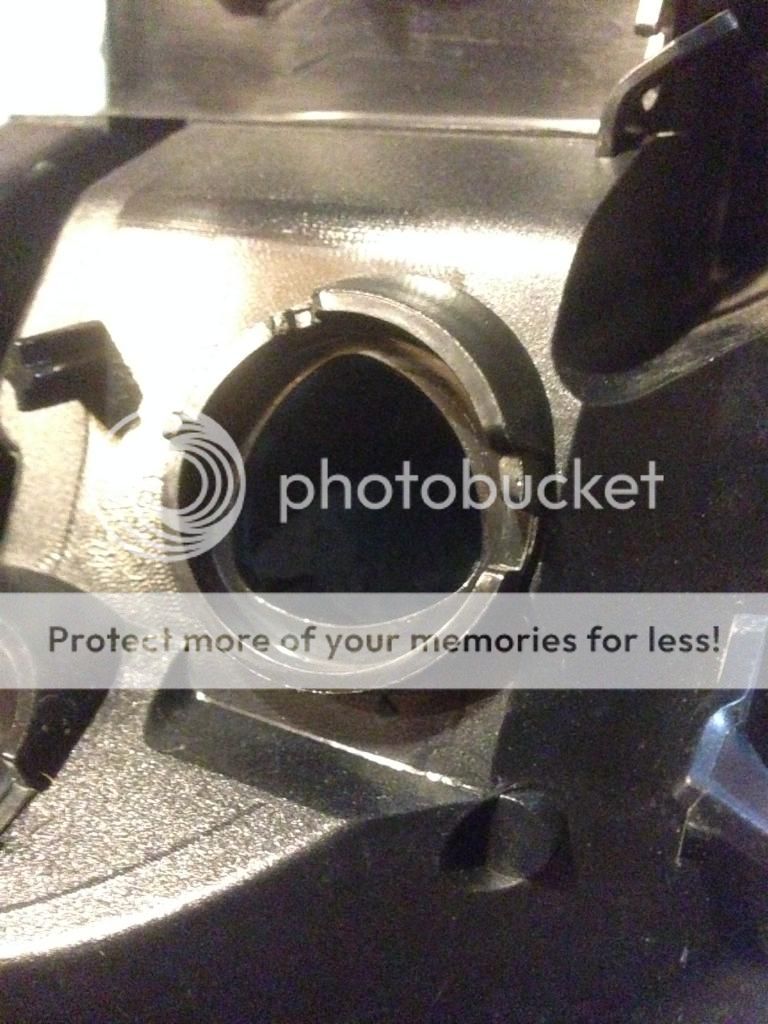
So, popping out the stock bulbs and unclipping the wires on the back the assembly comes free pretty easily. Now the Triton’s are designed to be able to go in practically any application and come with a myriad of screws, collars, and gaskets to be able to use. However, one issue arose right away. The plastic surrounding the hole is raised in order to stop the stock bulb holder from rotating freely. However, the heat sink of the Trition bulb is too close to the screws in this situation to fit.
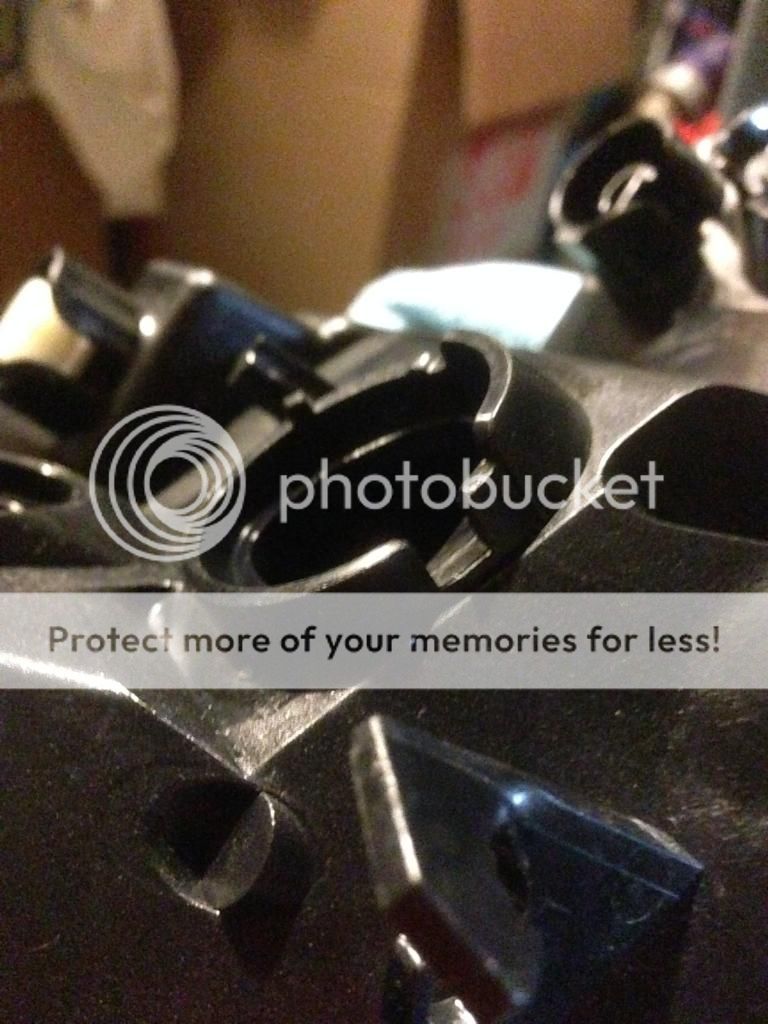
This will need to be shaved down for the new bulbs to be able to engage with the hole.
Here you can see the screw options of the bulb and the gasket installed.
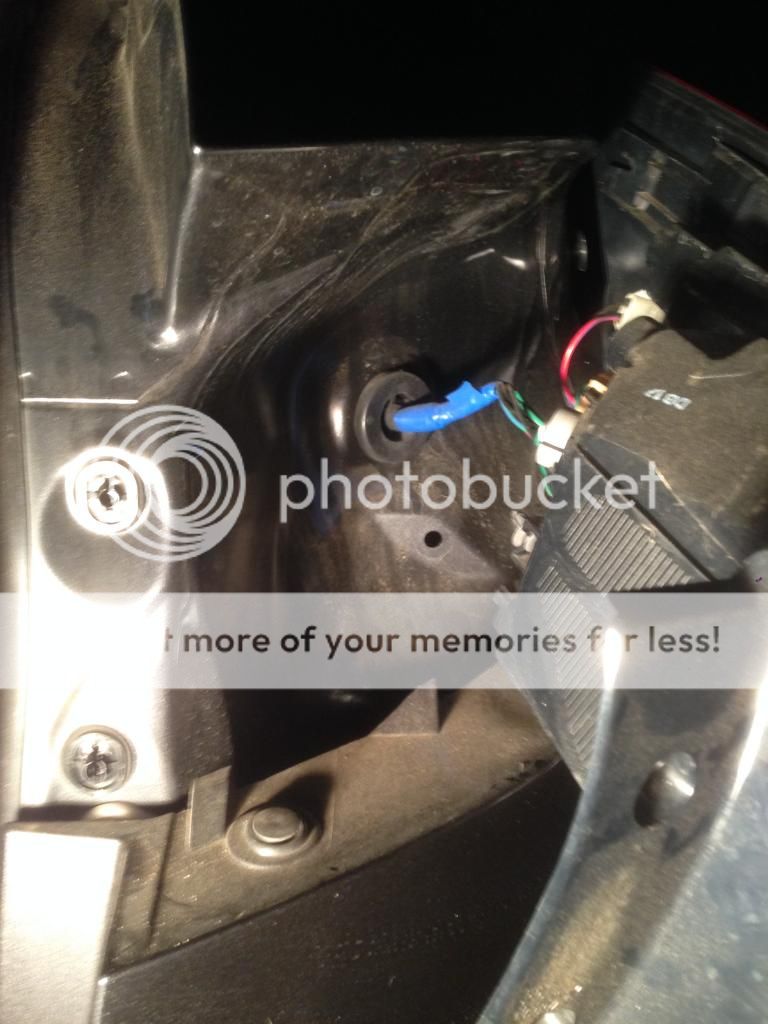
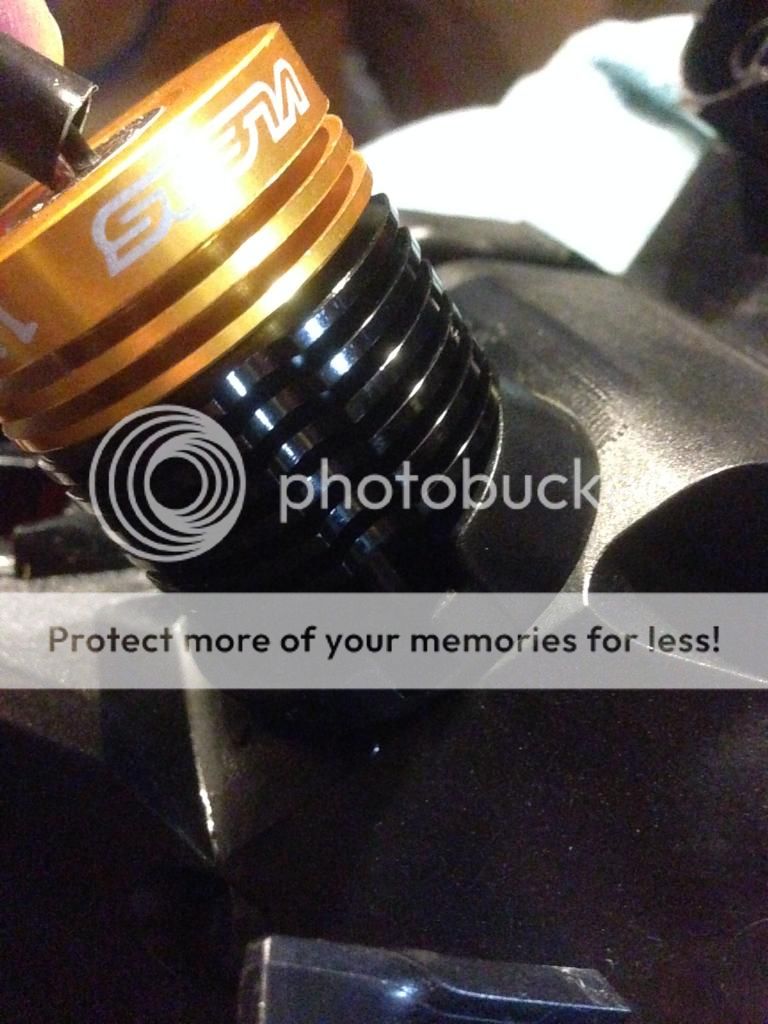
And we will run into more clearance issues. Explanation: The Tritions also have adjustablitly into how far they stick into the housing/focus on the reflectors. However, due to how tight it is behind the assembly, this adjustment has to be backed all the way in so that the bulb/heatsink don’t stick out. As the adjustment lock (the orange part in the photo below) is usually on the tail end of the bulb, it has to live down by the connector, where it can’t be slid off due to the size of the plastic. However, I had a solution to prevent this from knocking around too much:
After shaving, we have the bulb in!
So the Tritions have these control boxes, that normally wouldn’t be a problem… If i had room… However, there is just enough to set it down below the assembly in a gap in the body and plastic of the bumper cover. Here I hard mounted it, and ran the cables from below it up around a white plastic spacer that was back there.
From this picture you can see the box mounted at the top, the white spacer in the bumper, and the triton cables coming out at the bottom.
So, again the triton system is very modular, so the adapter to the 7443 bulb in addition to the stock socket are kind of a long assembly (about 4”)… This needs to go somewhere, and not rattle around. So I decided to use some 3/4” pipe foam insulation I had lying around and wrap it around the connectors. This then got shoved down into the space between the steel of the body and the plastic of the bumper.
Everything wired back up, and the connector assembles snugged down into the bumper (shown in the left of this picture, the anodized orange part)
And the finished product:
Final Thoughts:
The light output is pretty impressive, I would says slightly brighter than the incandescent 7443 bulbs. Not crazy bright, but the activation is so much more crisp that they really grab your attention. Total time for both assembilies was probably about 2~2.5 hours, mostly because I had to figure out how to route everything, and I was in no rush/didn’t want to damage anything. Even with the shaved down plastic, I checked to make sure the stock bulb assemblies still work, and they do if I ever need to go back to stock. Final video of both bulbs replaced:
Last edited:


