
I've noticed not being able to turn my fog lights on without the low beams being on kind of defeates the purpose of having fog lights to begin with, and after searching online for a mod where I can switch my fog lights on and off with just my parking lights being on, and failing, I decided to just do it myself. While this doesn't make the fog lights FULLY independent, it's better than the stock setting. So, here ya go. Sorry in advance for the crappy iPhone photos.
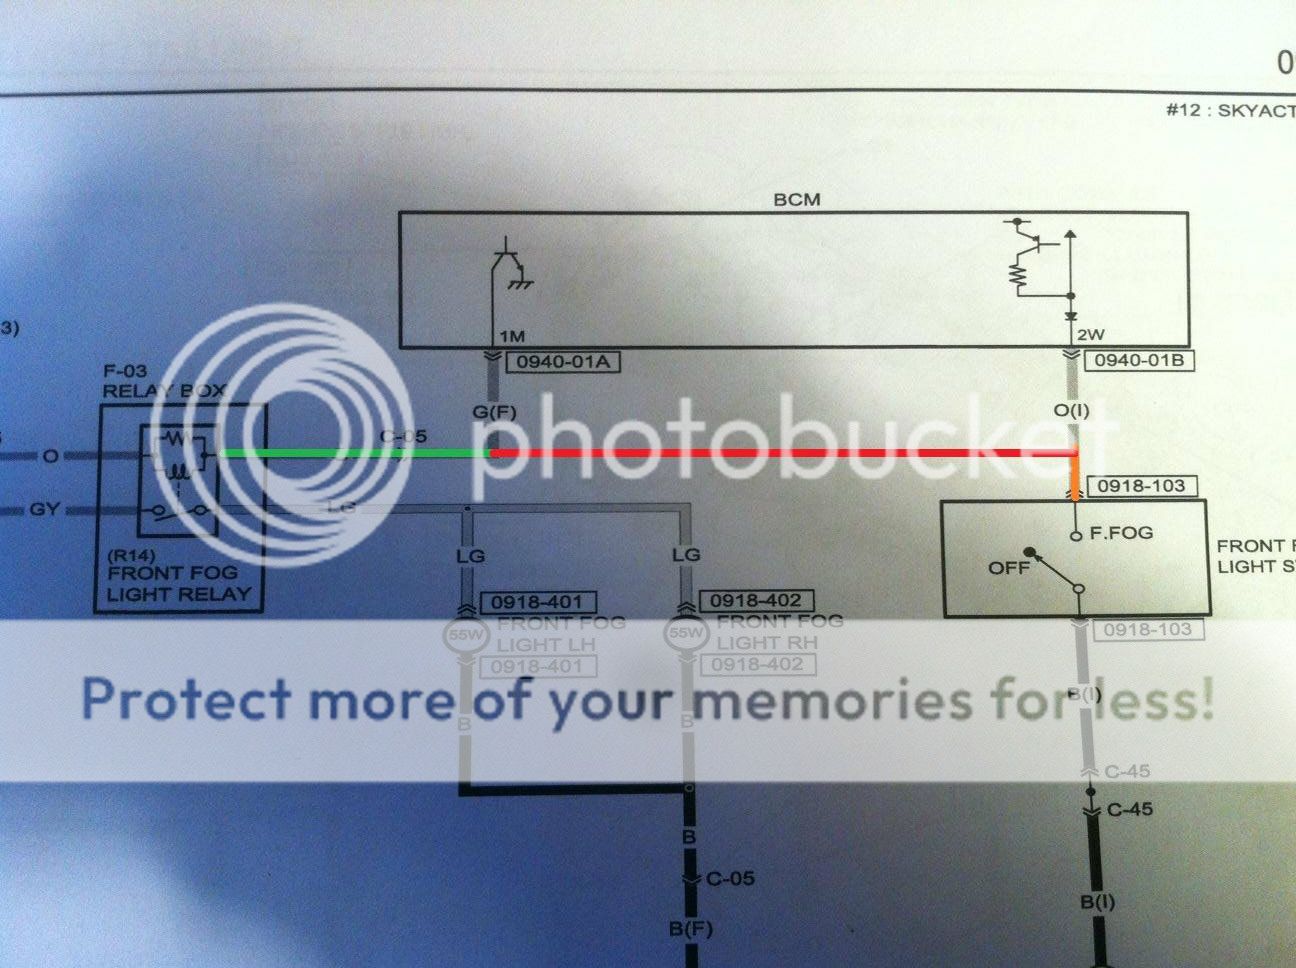
In essence, all you're doing here is bypassing the BCM. You're taking the green wire and splicing it to the orange wire with a jumper (my red wire). Here's the wiring diagram:
Tools required:
Wire strippers
Crimps, if using butt splice connectors
Electrical Tape
10-12" of copper wire used for a jumper (Any color, I used red)
Philips tip screwdriver
(2) Wire nuts or (2) butt splice connectors (recommended)
10 mm socket or nut driver (optional)
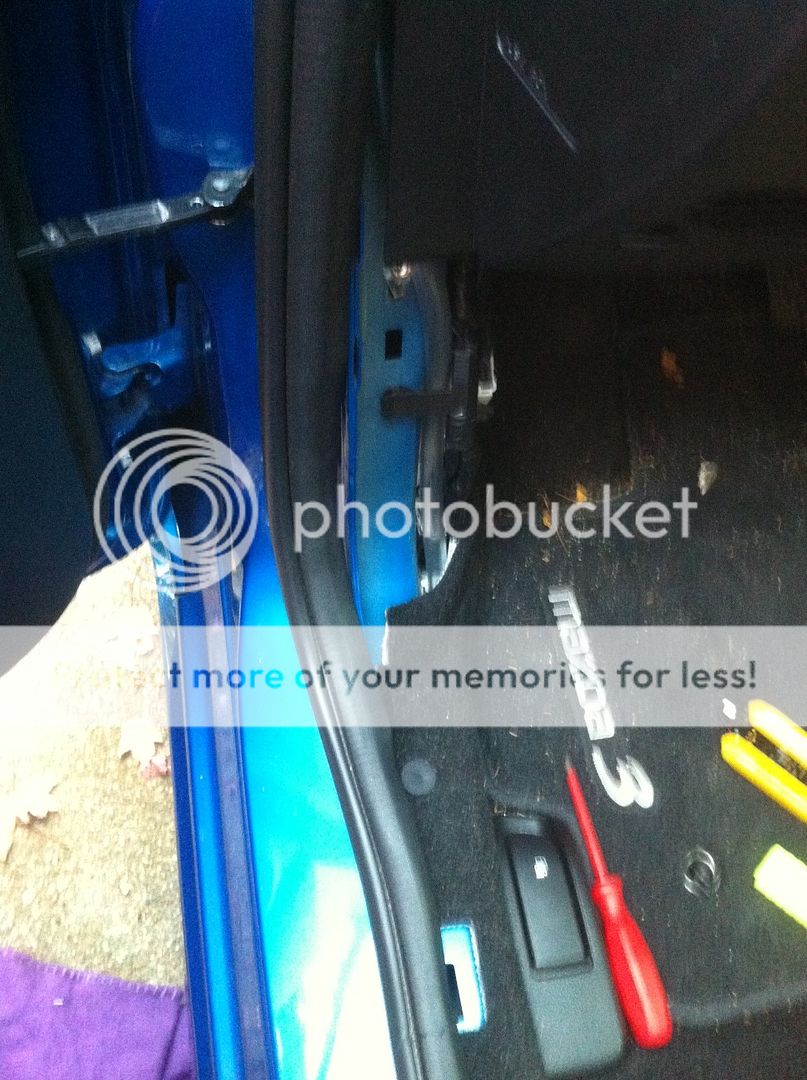
Step 1: Remove driver's side scuff plate and cowl
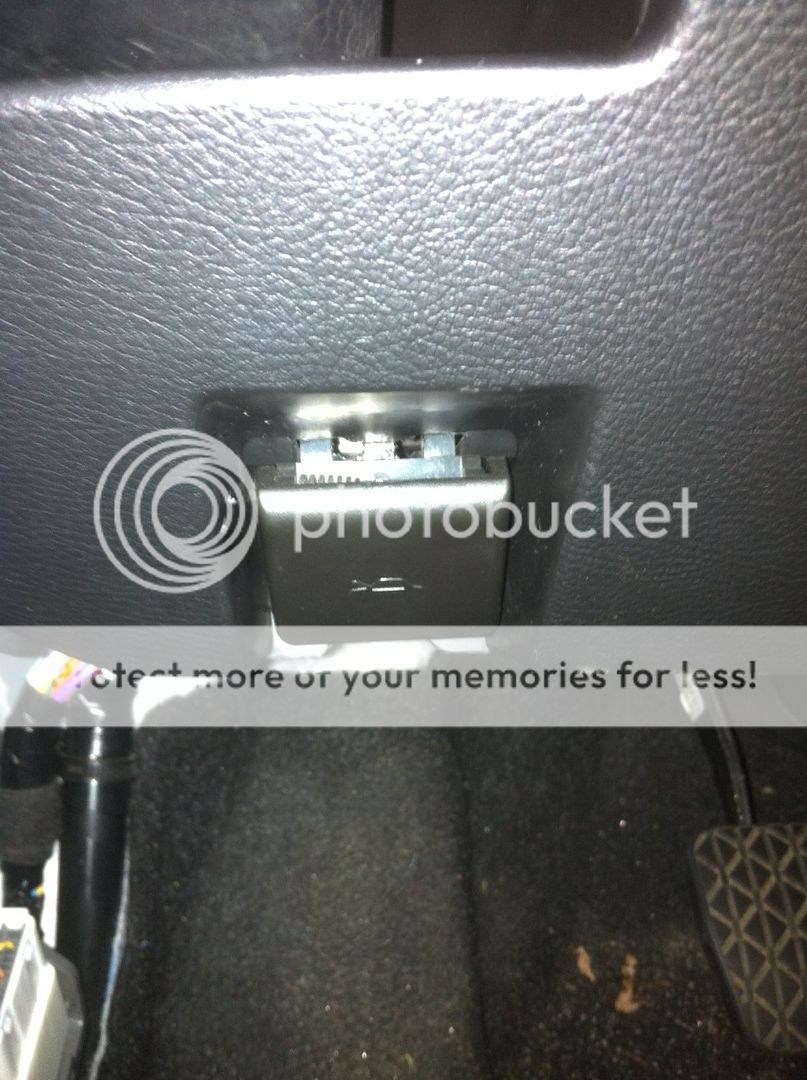
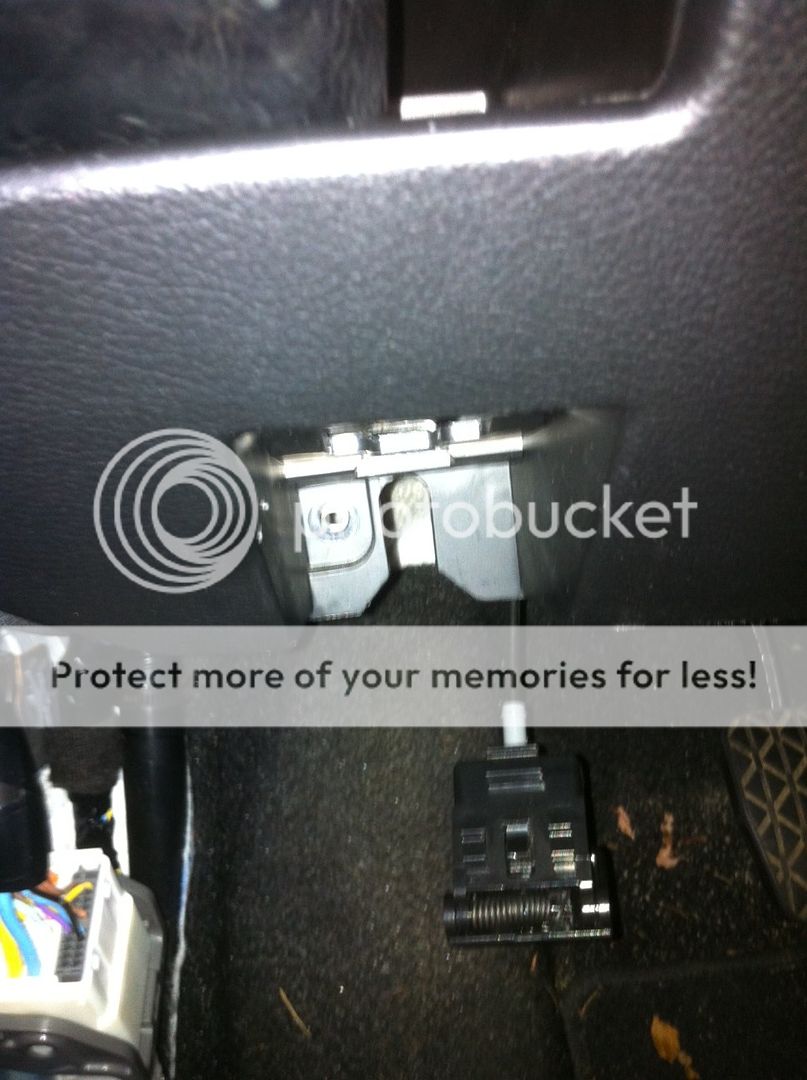
Step 2: Pull out the hood release switch and the screw sitting just behind it
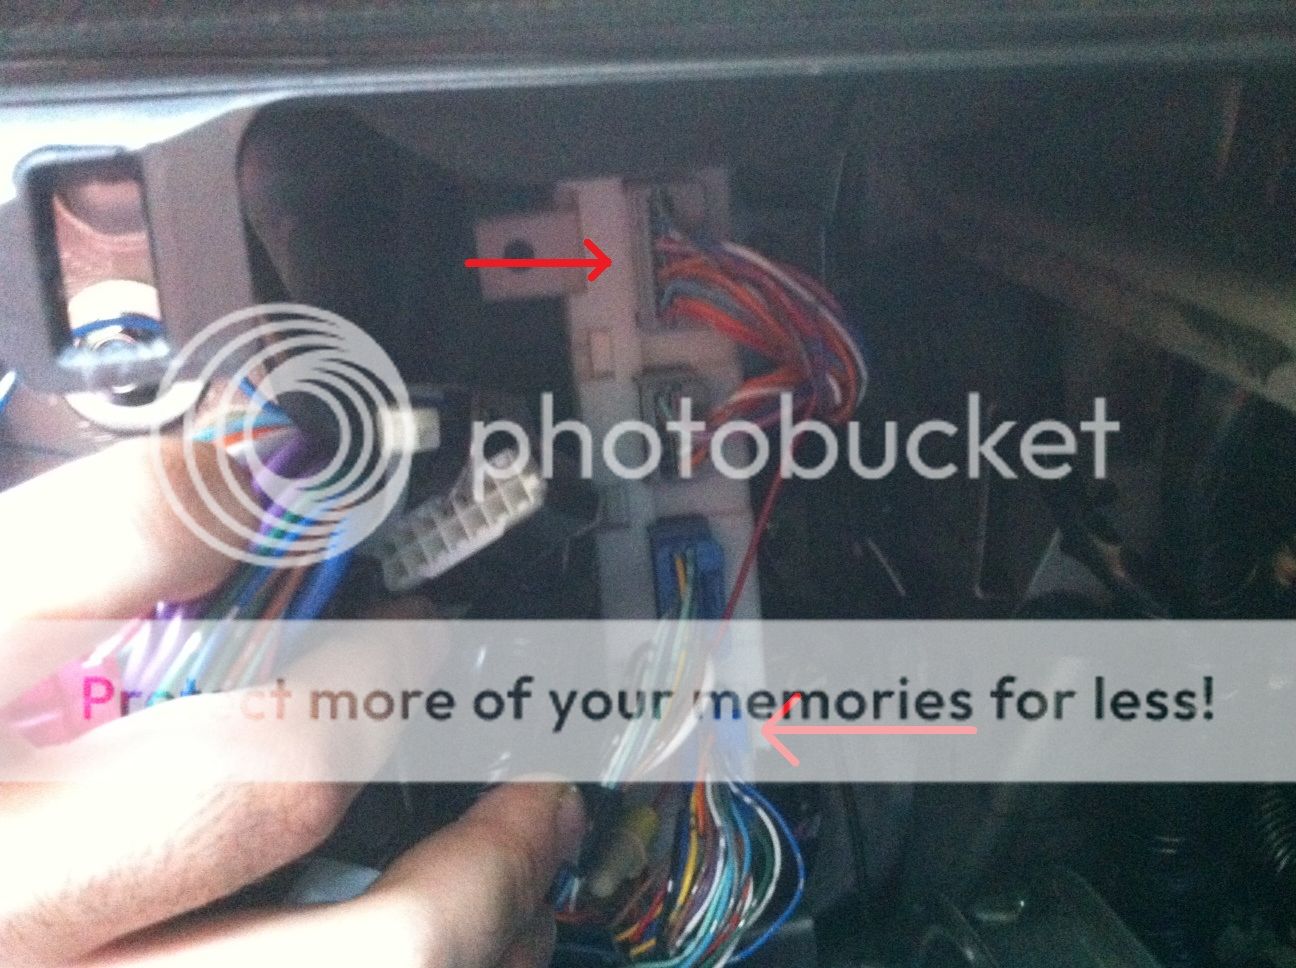
Step 3: Pull the lower trim panel forward and try to place it out of the way--without warping or breaking it. The red arrow in the picture below shows where you'll be working, unfortunately. You can use the 10 mm socket or nut driver to release the fuse block and pull it out of the way if it's a bother.

Step 4: Look into the work area, and you'll find the BCM (pictured below). Also in the picture, you'll see two arrows pointing to two different wire harnesses. Carefully pull these two harnesses out of the BCM (by NOT pulling on the wires)
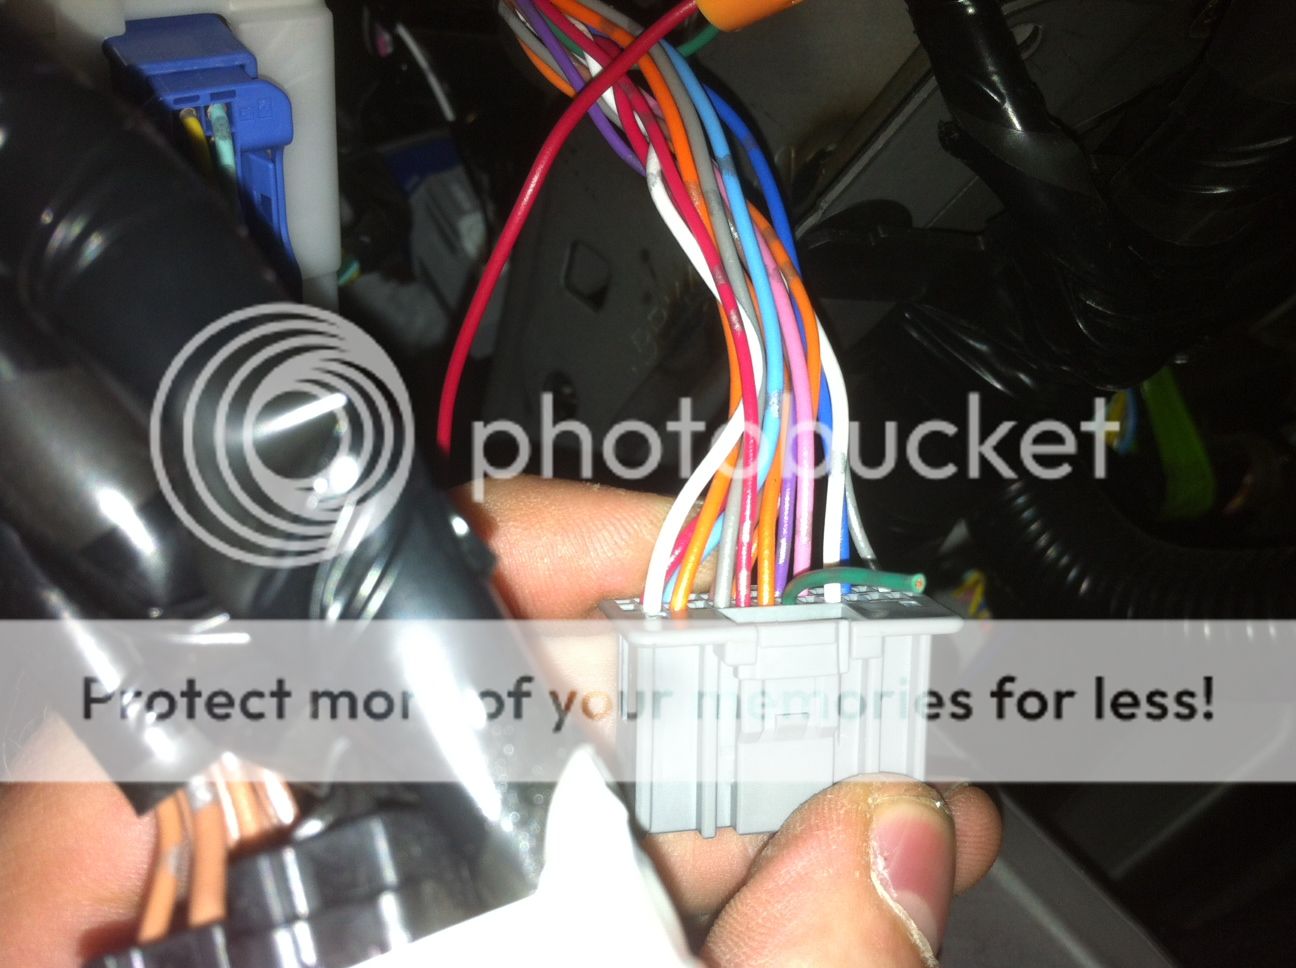
Step 5: On the gray harness (the top one), find the pictured green wire. Cut about 1" to 1 1/2" from the connector. Tape the end of the short wire with electrical tape and strip the end of the now-free longer green wire.
Step 6: Take your 10-12" jumper wire and splice it to the green wire you stripped. I used a wire nut as this was when I was still testing it, but I prefer (and plan to replace with) a butt splice connector.
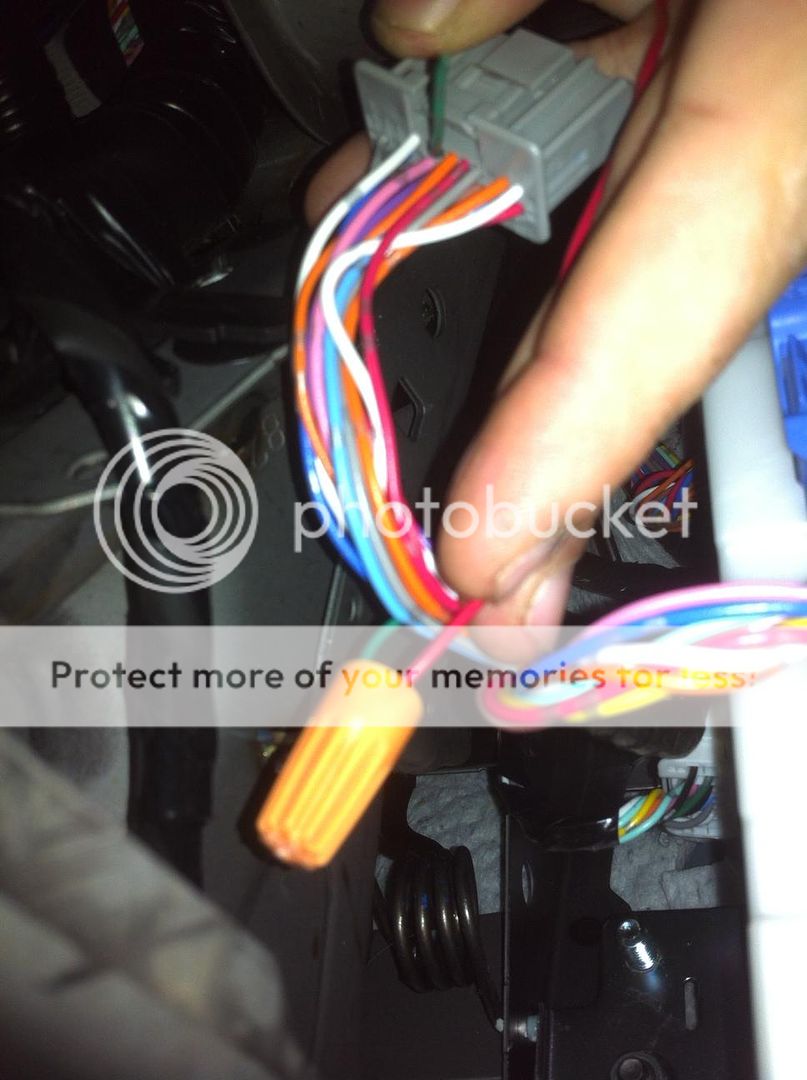
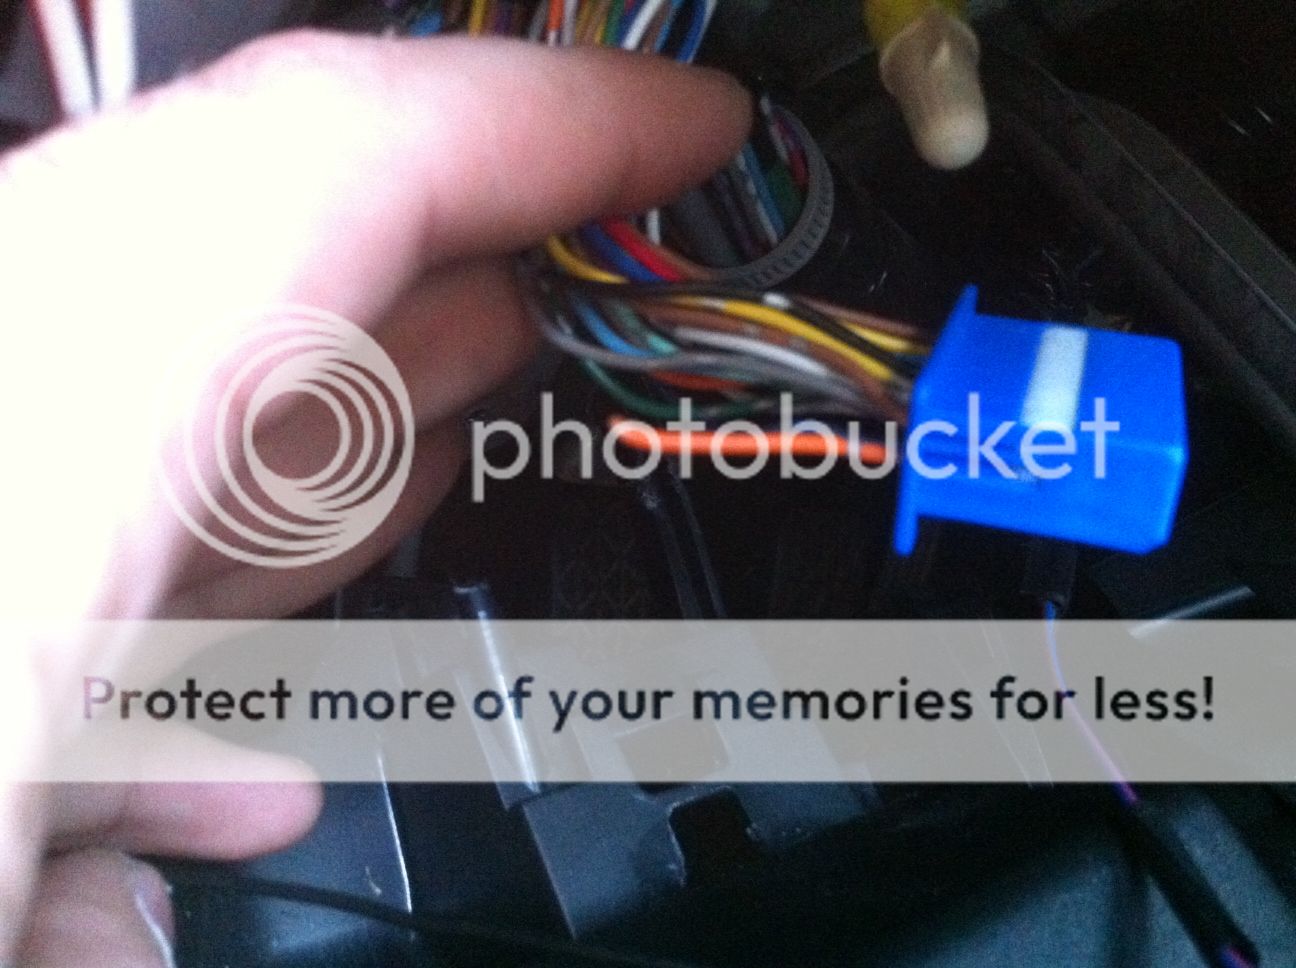
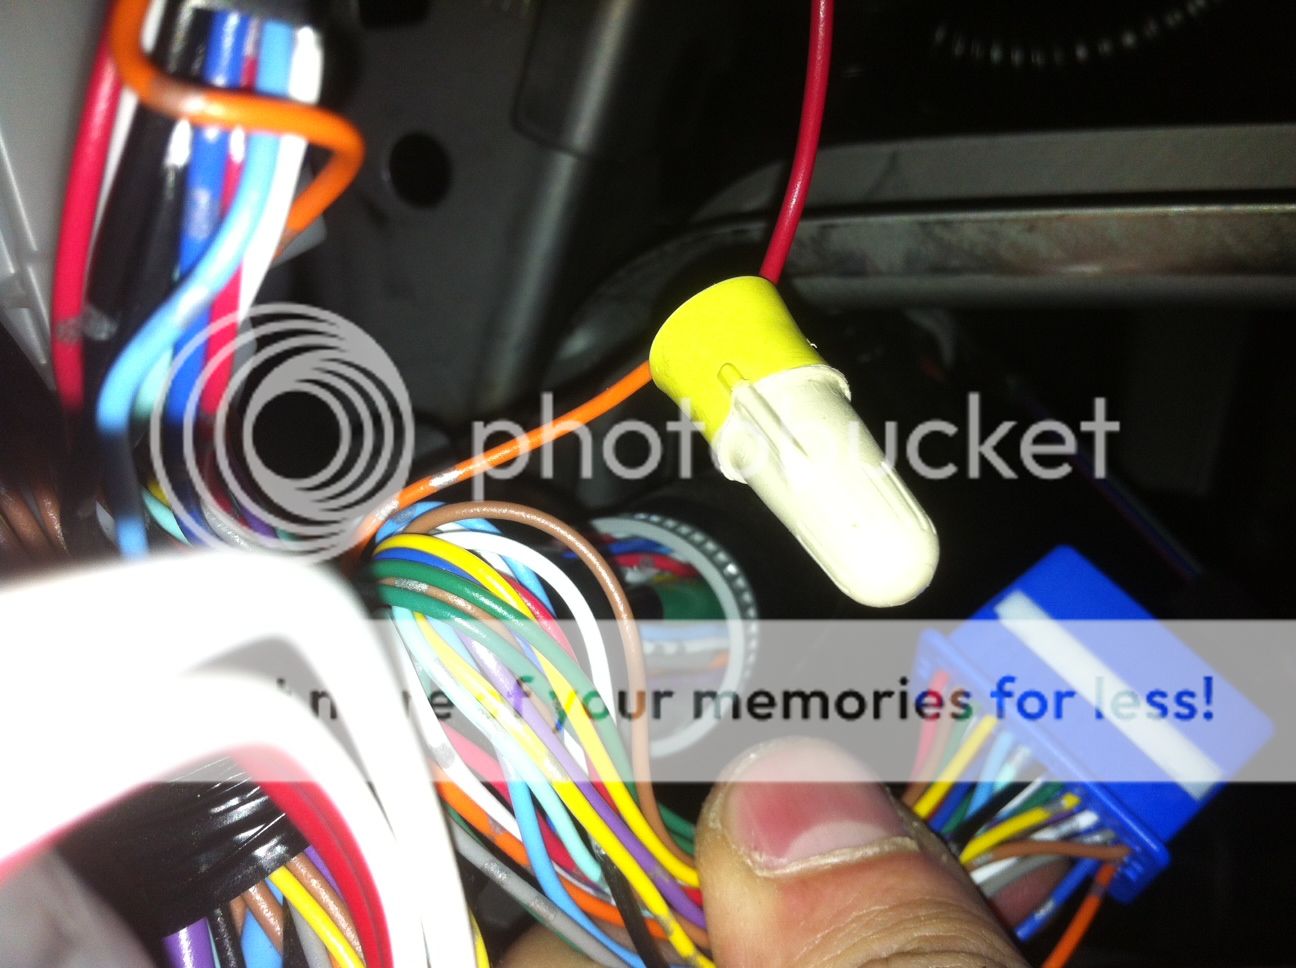
Step 7: Now take your blue wire harness, locate the orange wire on the end (beside the blue wire, below the brown wire--pictures below). Cut about 1" to 1 1/2" from the connector. Tape the short wire with electrical tape, and strip the end of the longer, free orange wire.
Step 8: Take the free end of your jumper wire and splice it with the orange wire you just stripped.
Step 9: Plug the wire harnesses back in the correct spot. The gray harness goes to the top port on the BCM, and the blue harness connects into the bottom port. Use the picture above if confused or just don't trust my word.
Step 10: If you unbolted the fuse block to move it, put it back in place and bolt it in. Push the lower trim panel back where it belongs, insert the screw into the bottom where the hood release sits, and put the hood release back where it goes. Snap in the cowl and scuff plate.
Now we're done!")

In essence, all you're doing here is bypassing the BCM. You're taking the green wire and splicing it to the orange wire with a jumper (my red wire). Here's the wiring diagram:
Tools required:
Wire strippers
Crimps, if using butt splice connectors
Electrical Tape
10-12" of copper wire used for a jumper (Any color, I used red)
Philips tip screwdriver
(2) Wire nuts or (2) butt splice connectors (recommended)
10 mm socket or nut driver (optional)
Step 1: Remove driver's side scuff plate and cowl
Step 2: Pull out the hood release switch and the screw sitting just behind it
Step 3: Pull the lower trim panel forward and try to place it out of the way--without warping or breaking it. The red arrow in the picture below shows where you'll be working, unfortunately. You can use the 10 mm socket or nut driver to release the fuse block and pull it out of the way if it's a bother.
Step 4: Look into the work area, and you'll find the BCM (pictured below). Also in the picture, you'll see two arrows pointing to two different wire harnesses. Carefully pull these two harnesses out of the BCM (by NOT pulling on the wires)
Step 5: On the gray harness (the top one), find the pictured green wire. Cut about 1" to 1 1/2" from the connector. Tape the end of the short wire with electrical tape and strip the end of the now-free longer green wire.
Step 6: Take your 10-12" jumper wire and splice it to the green wire you stripped. I used a wire nut as this was when I was still testing it, but I prefer (and plan to replace with) a butt splice connector.
Step 7: Now take your blue wire harness, locate the orange wire on the end (beside the blue wire, below the brown wire--pictures below). Cut about 1" to 1 1/2" from the connector. Tape the short wire with electrical tape, and strip the end of the longer, free orange wire.
Step 8: Take the free end of your jumper wire and splice it with the orange wire you just stripped.
Step 9: Plug the wire harnesses back in the correct spot. The gray harness goes to the top port on the BCM, and the blue harness connects into the bottom port. Use the picture above if confused or just don't trust my word.
Step 10: If you unbolted the fuse block to move it, put it back in place and bolt it in. Push the lower trim panel back where it belongs, insert the screw into the bottom where the hood release sits, and put the hood release back where it goes. Snap in the cowl and scuff plate.
Now we're done!