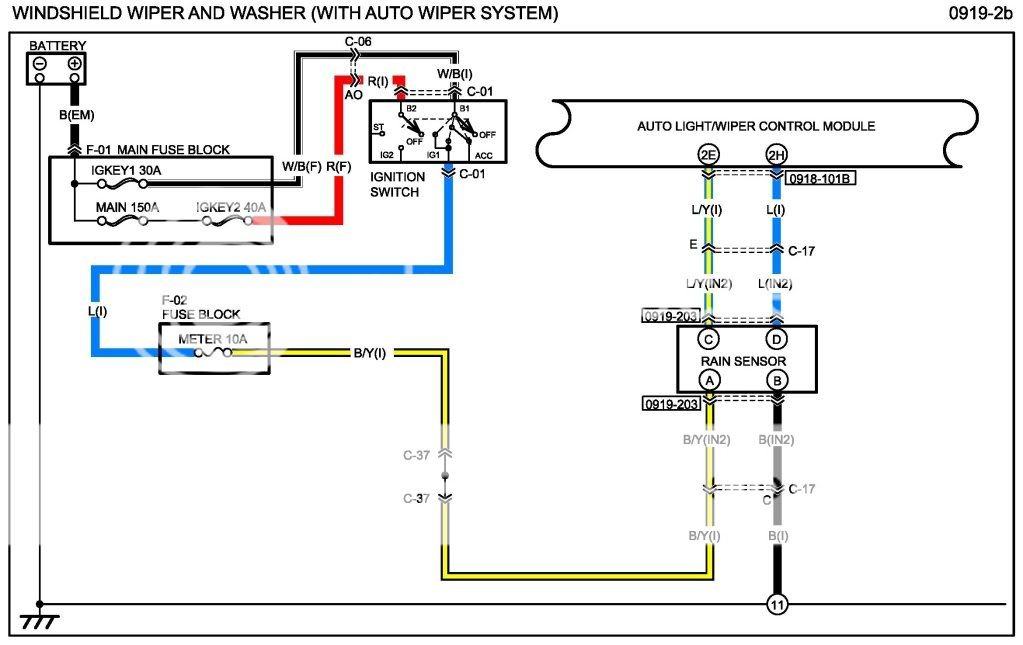
I have a 2010 CX-9 GT. After reading the nice write up by "petesamprs" ( http://www.mazdas247.com/forum/showthread.php?t=123753689 ) on wiring a Valentine 1 radar detector to the fuse panel, I opted to find power a little closer to the radar detector. The auto dimming mirror uses switched 12v power. In the install directions from http://www.mazdas247.com/forum/showthread.php?t=123765756 the color code for the wire is described as Black w/ yellow stripe. Sure enough, the cable bundle that leads from the mirror/ rain detector into the overhead contains the black/ yellow wire. I'll show some detail below, but I removed the overhead console to obtain access to the wire bundle. The bundle is covered in a foam tape which can be stripped away to work on the connection. The Valentine kit has a direct wire adapter with a mechaical connector to tap onto an existing wire. That did NOT work - - the gauge of the vehicle wiring is too small for the connector to work. Instead, I stripped a portion of insulation from the blk/Y wire and soldered the Valentine 1 power cable (with fuse) onto the 12v switched wire. I then covered the splice with electrical tape and re-installed the parts. I also used a BlendMount holder from MGT ( http://store.nexternal.com/mgt/blendmount-c101.aspx ). I would have liked to have run the radar detector telephone/ power line inside the rain sensor cover. But, I couldn't easily reove the cover and did not want to damage my wife's car (with less than 100 miles on the odometer).
Remove console by removing the clear lenses over the lights, dropping the sunglass container and removing the two exposed phillip head screws.

Remove the three cable bundles attached to the hanging console.


Identify the bundle closest to the windshield and leading from the mirror to the left (fuse panel). It is covered in grey foam tape.

Remove a section of foam and strip a small piece of the insulation off of the black/ yellow stripe wire. Solder the red power wire from Valentine to the exposed wire and cover with electrical tape.

Drill a small hole forward of the existing (mounting) screw holes and attach the ground wire (supplied by Valentine).

Insert the power. ground and telephone cables into the overhead and run the black telephone cable out the front of the overhead liner and down to where the radar detector will be mounted.


Remove console by removing the clear lenses over the lights, dropping the sunglass container and removing the two exposed phillip head screws.
Remove the three cable bundles attached to the hanging console.
Identify the bundle closest to the windshield and leading from the mirror to the left (fuse panel). It is covered in grey foam tape.
Remove a section of foam and strip a small piece of the insulation off of the black/ yellow stripe wire. Solder the red power wire from Valentine to the exposed wire and cover with electrical tape.
Drill a small hole forward of the existing (mounting) screw holes and attach the ground wire (supplied by Valentine).
Insert the power. ground and telephone cables into the overhead and run the black telephone cable out the front of the overhead liner and down to where the radar detector will be mounted.
Last edited: