Clarion NX-708 (Japan system) Install on P5

MadBiker

Luv my MP5!
:
2002 Protege5
Hi Guys

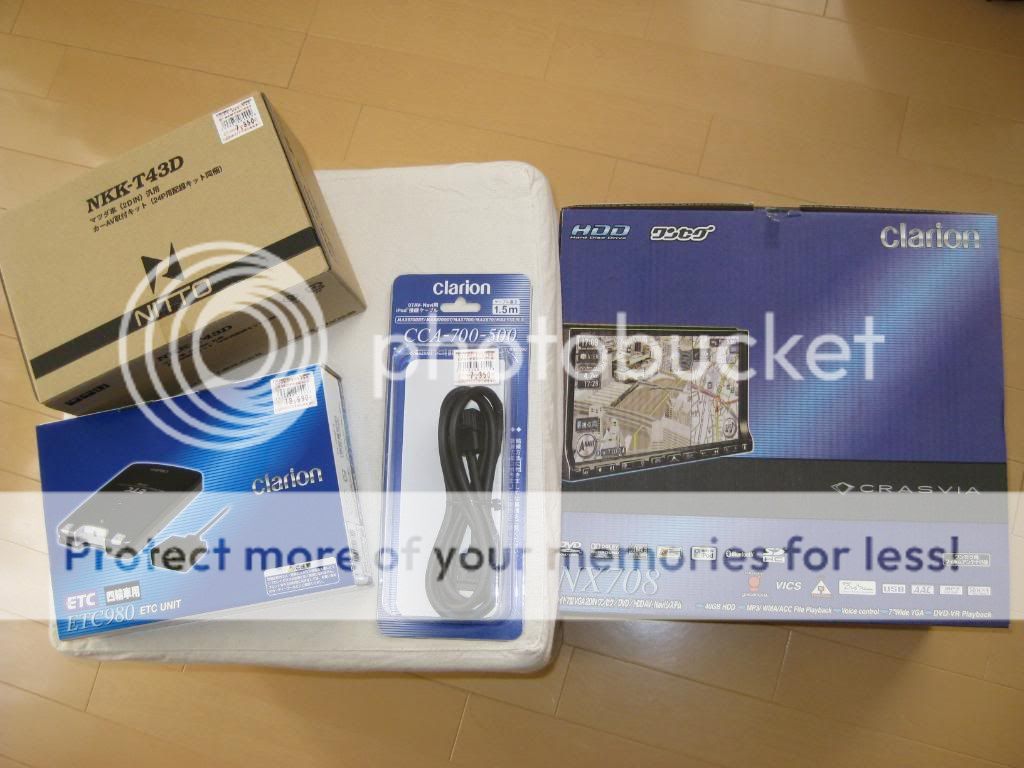
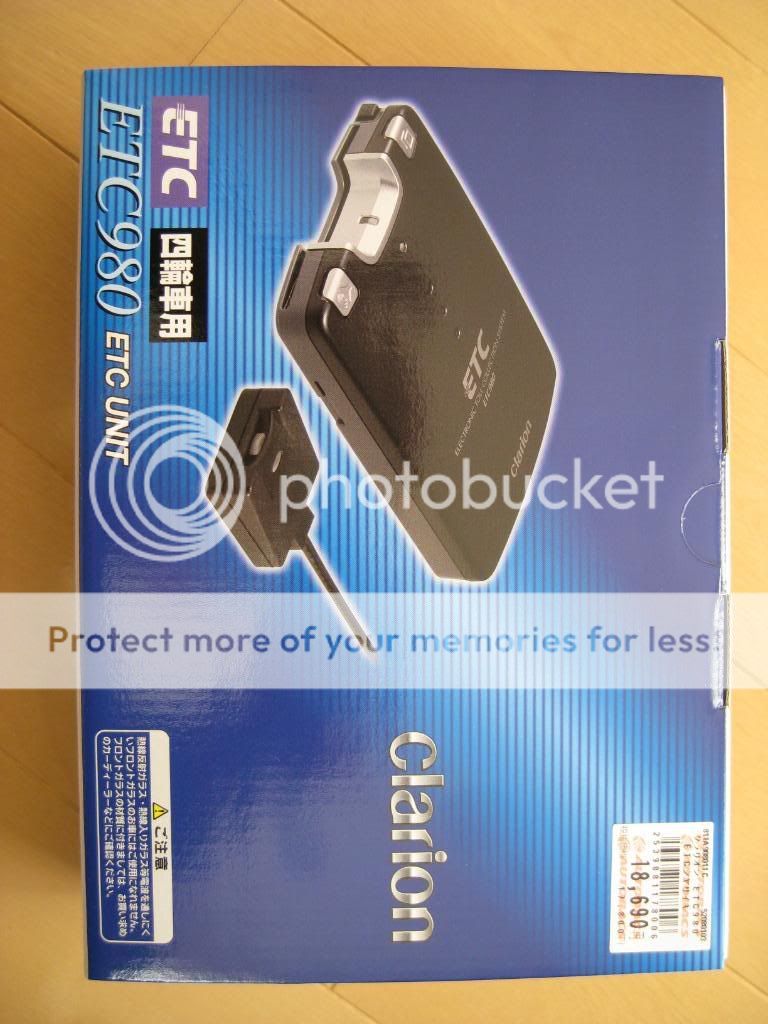
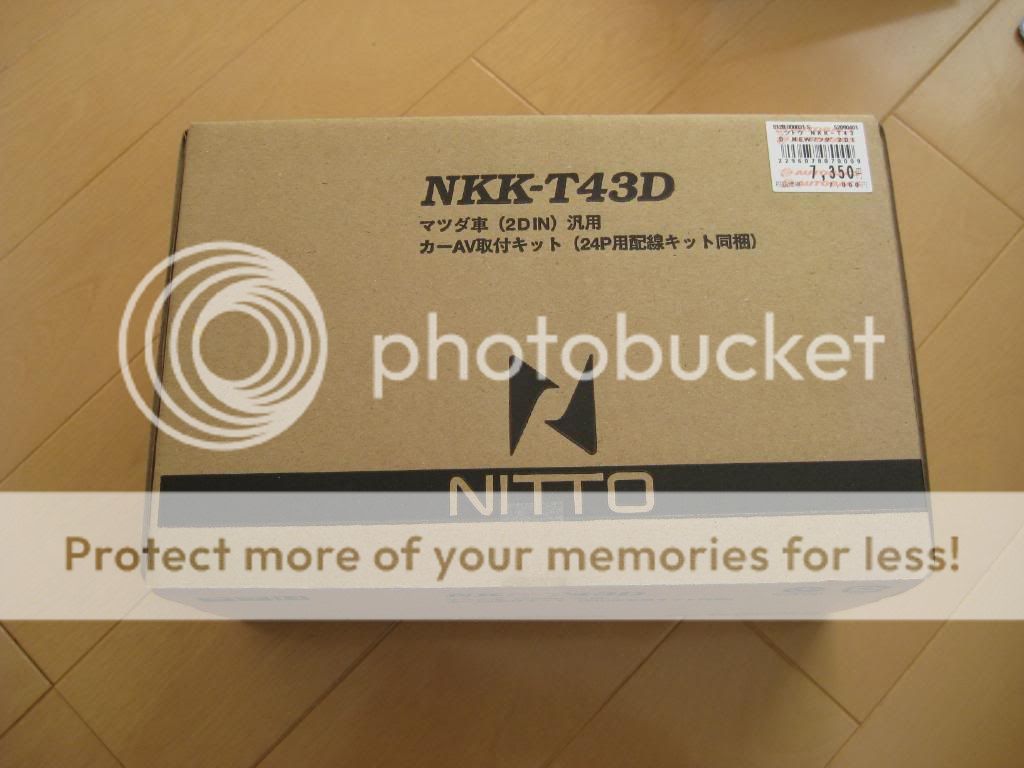
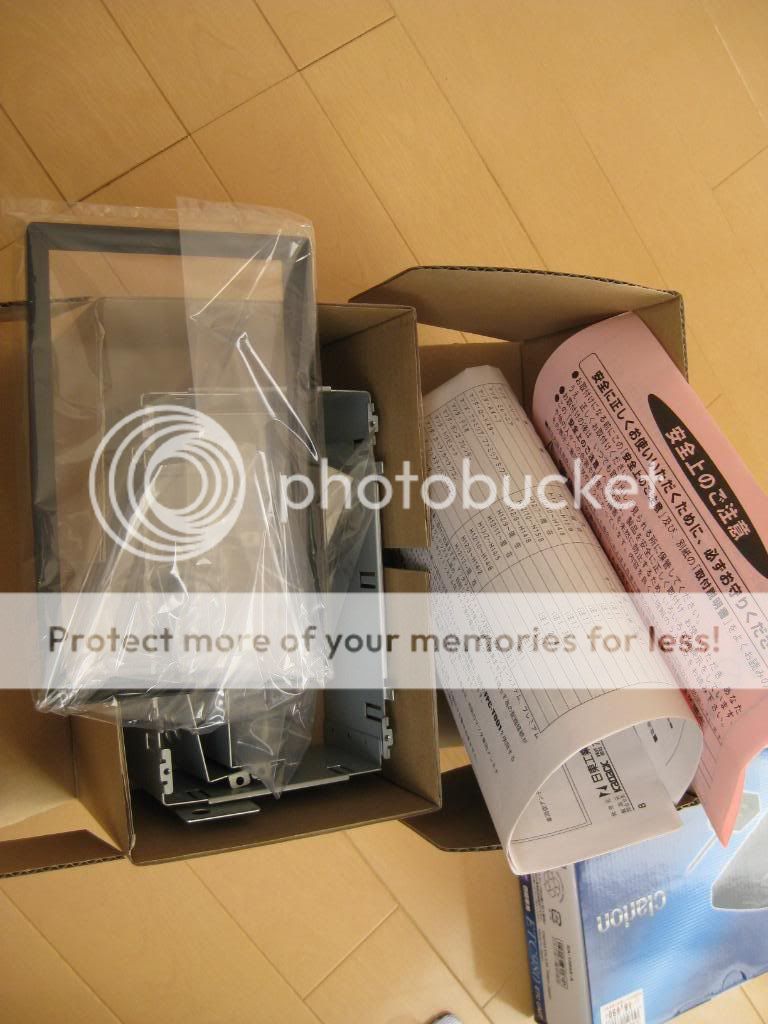
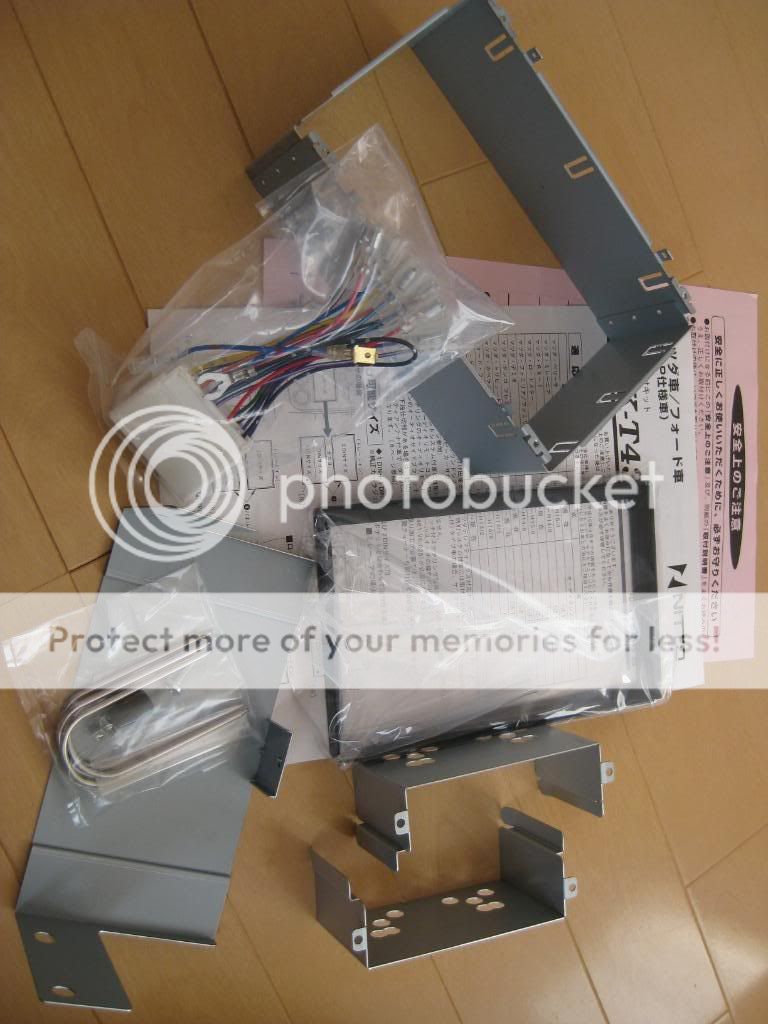
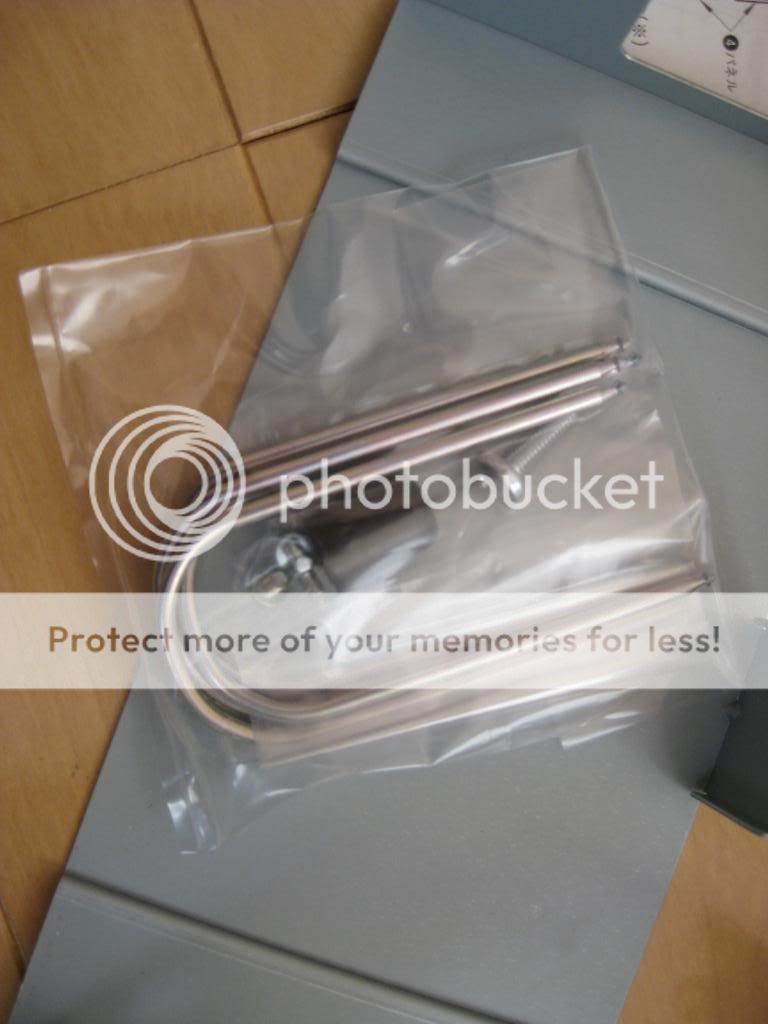
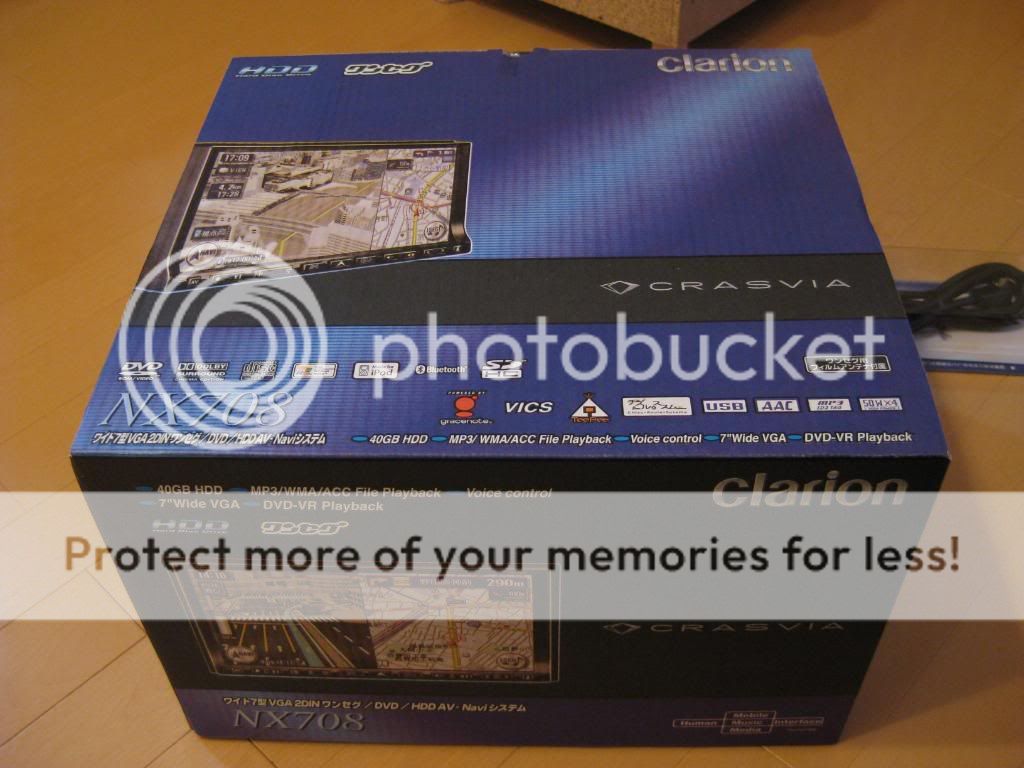
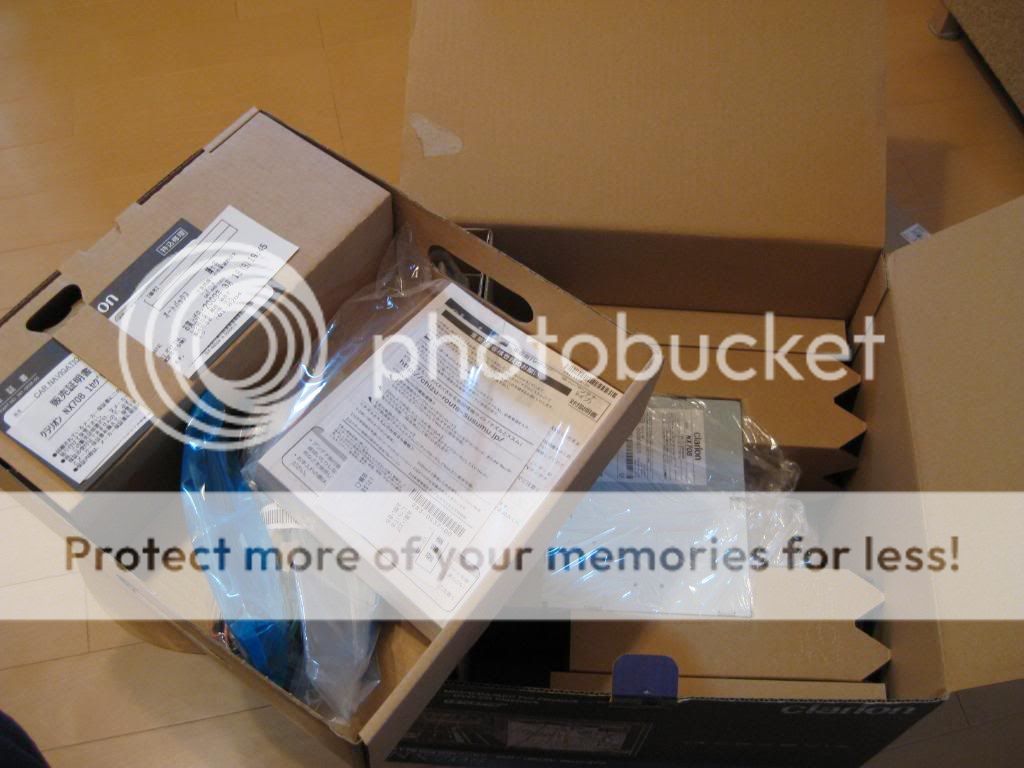
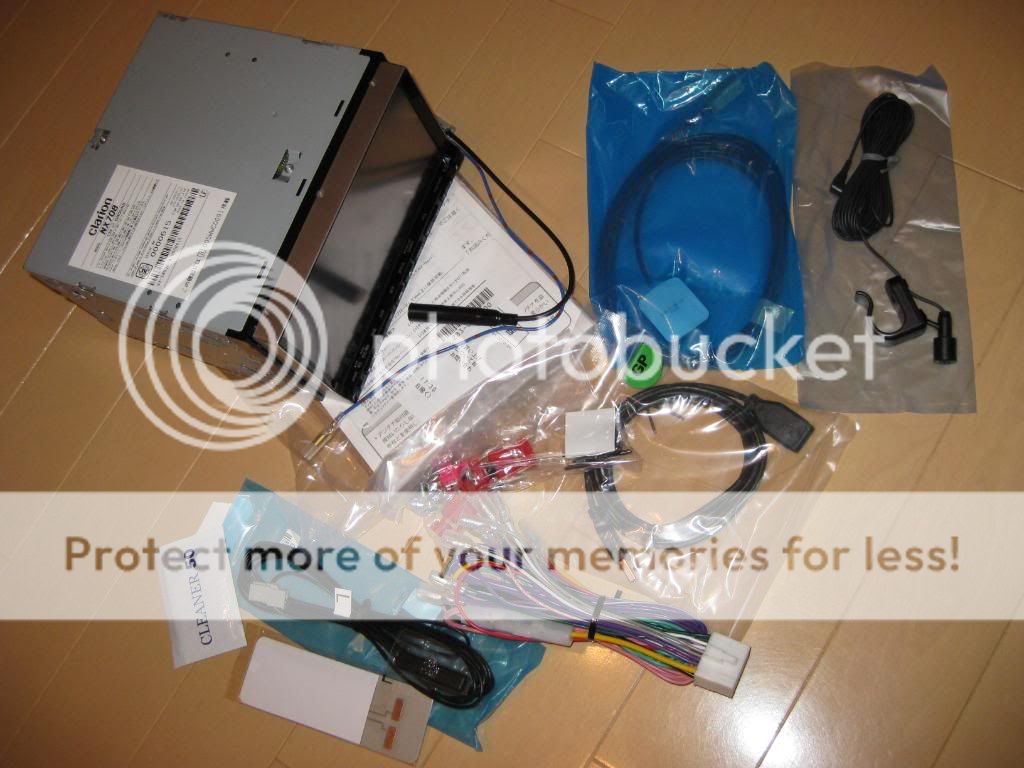
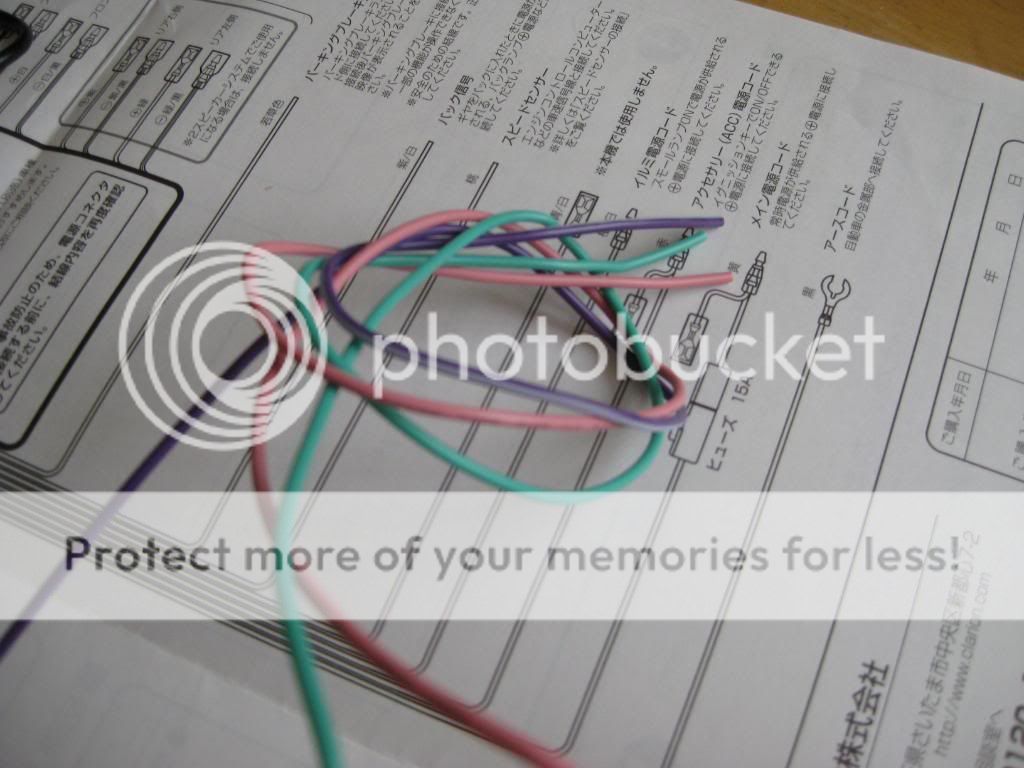
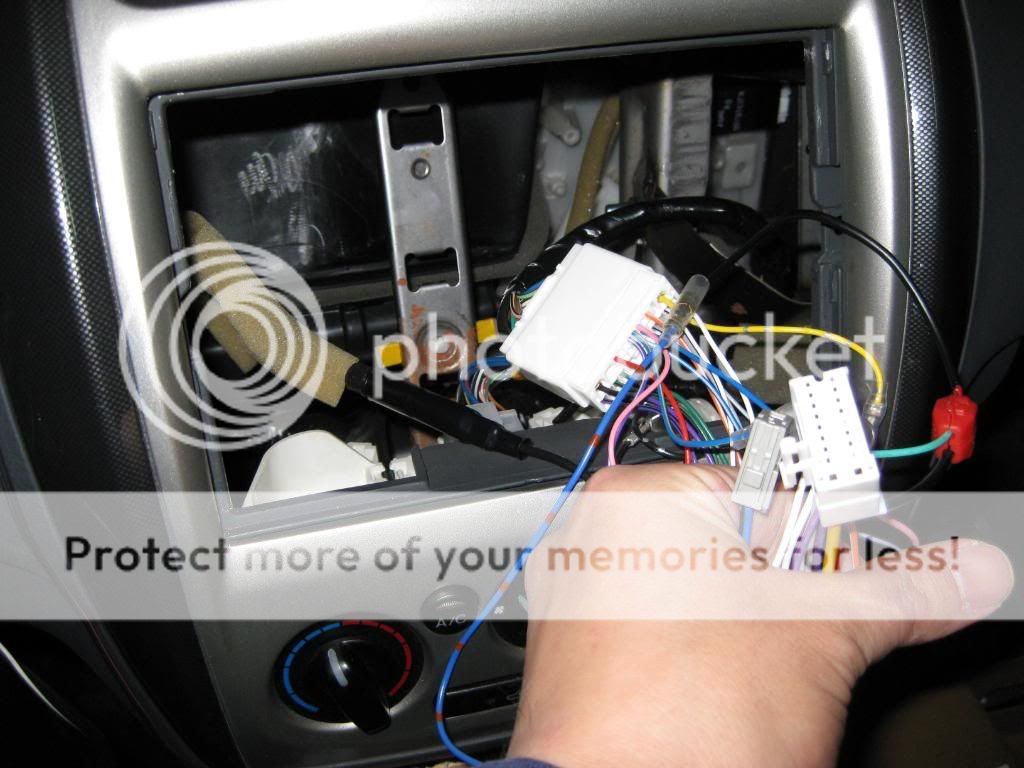
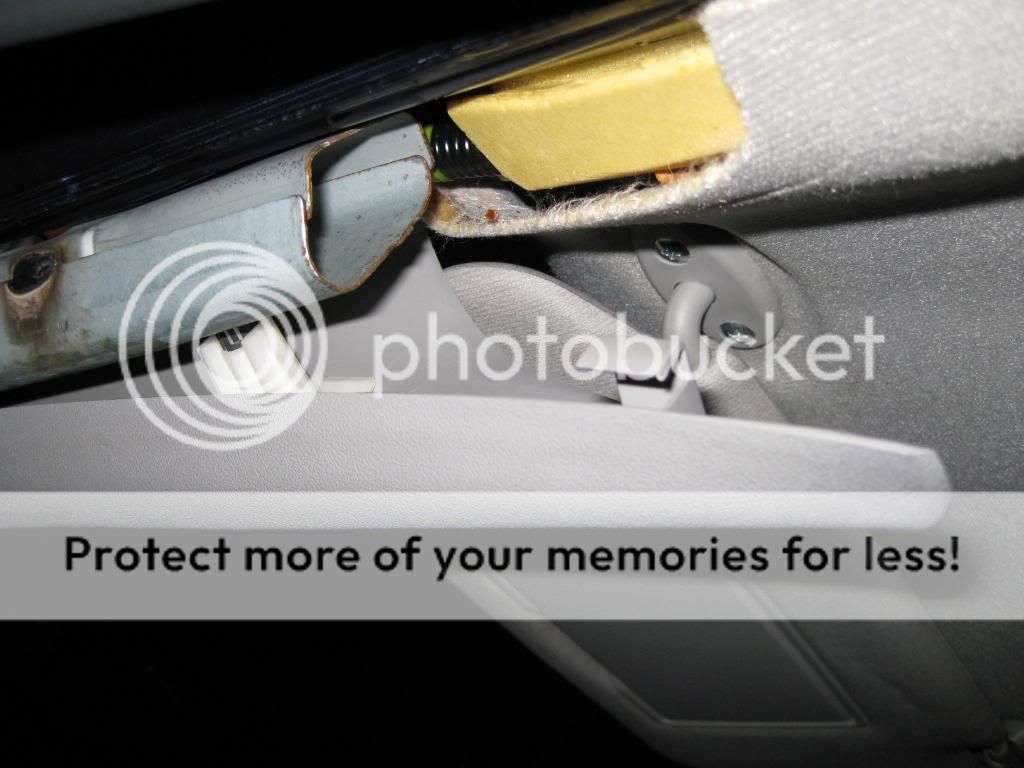
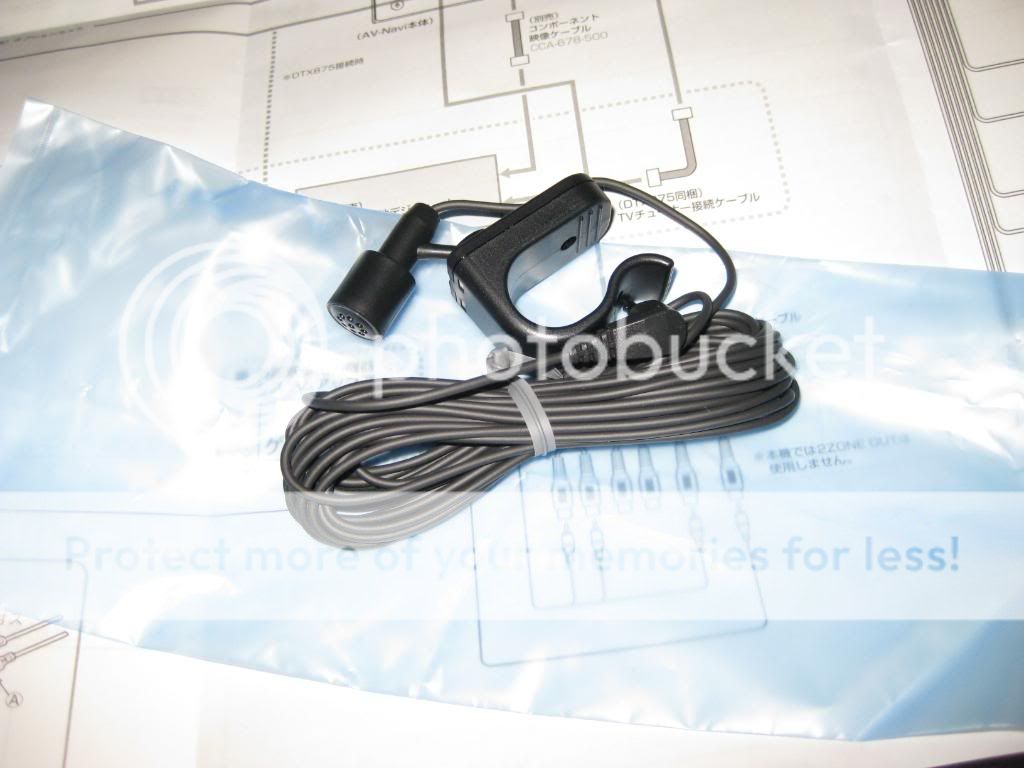
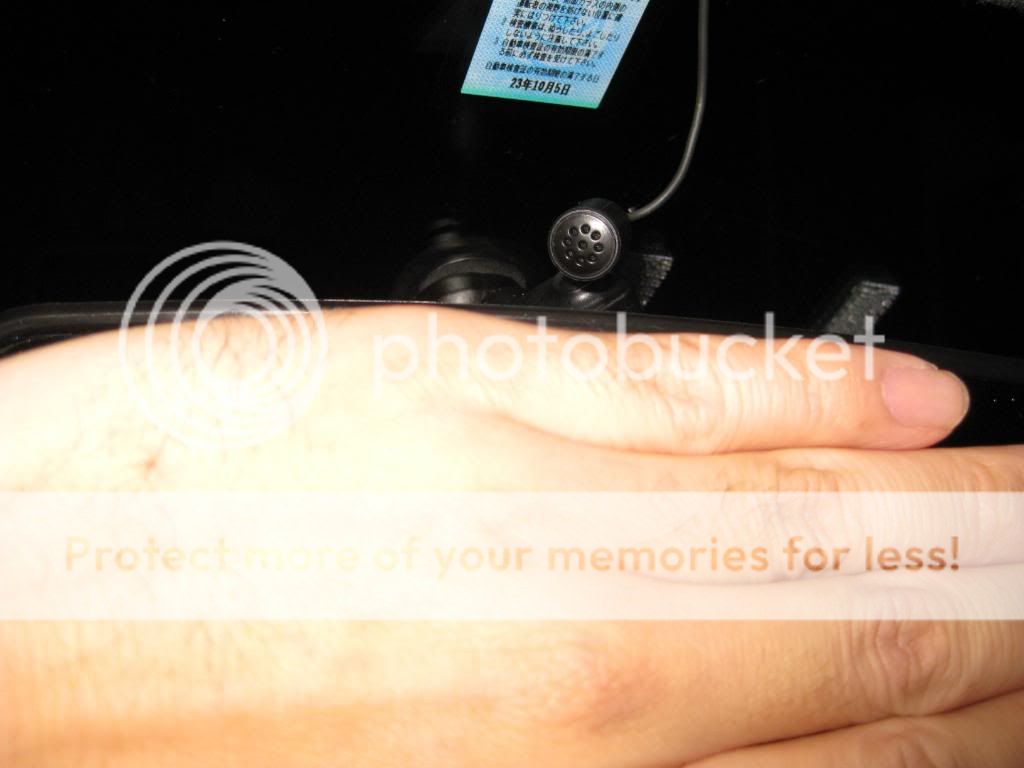
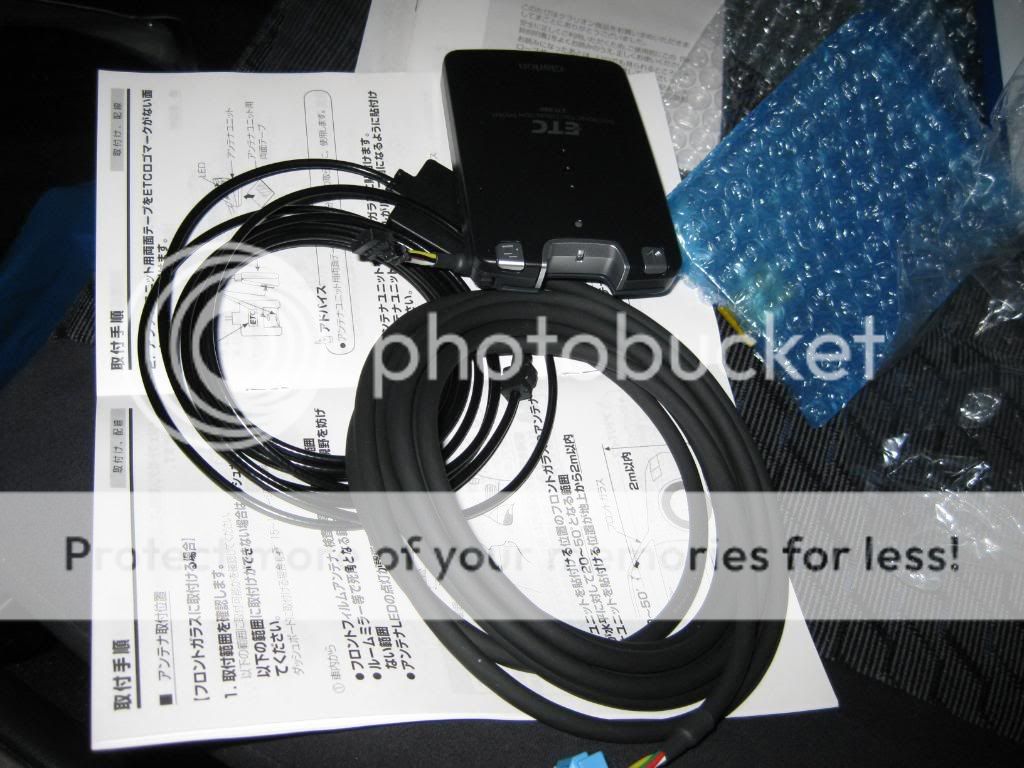
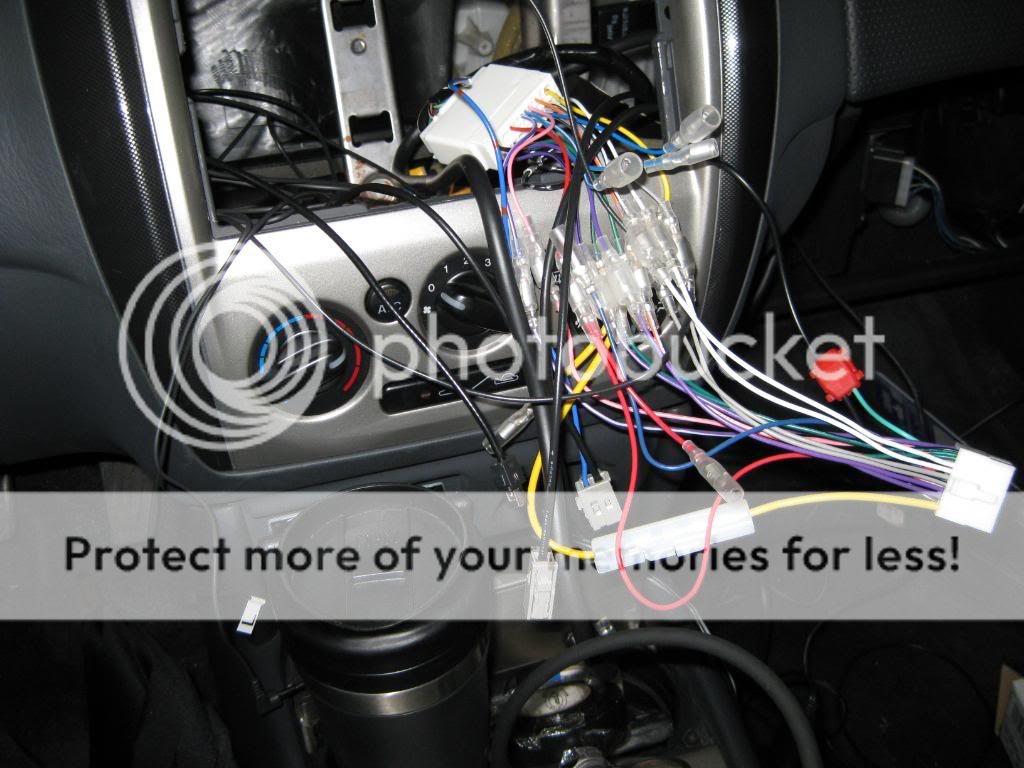
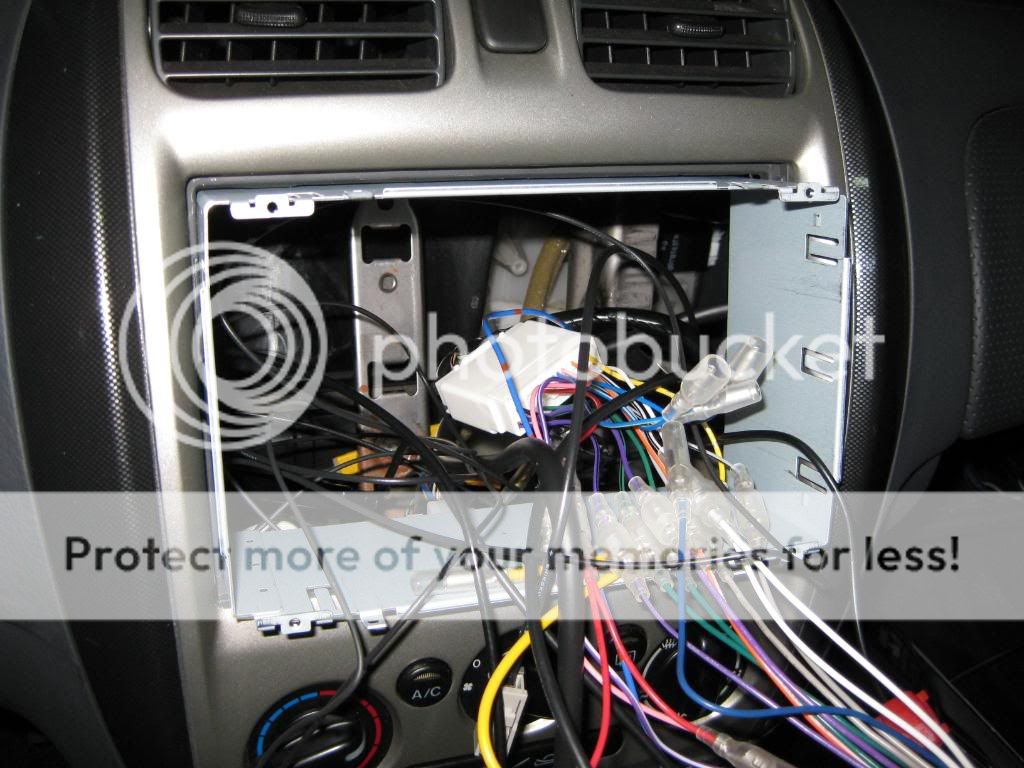
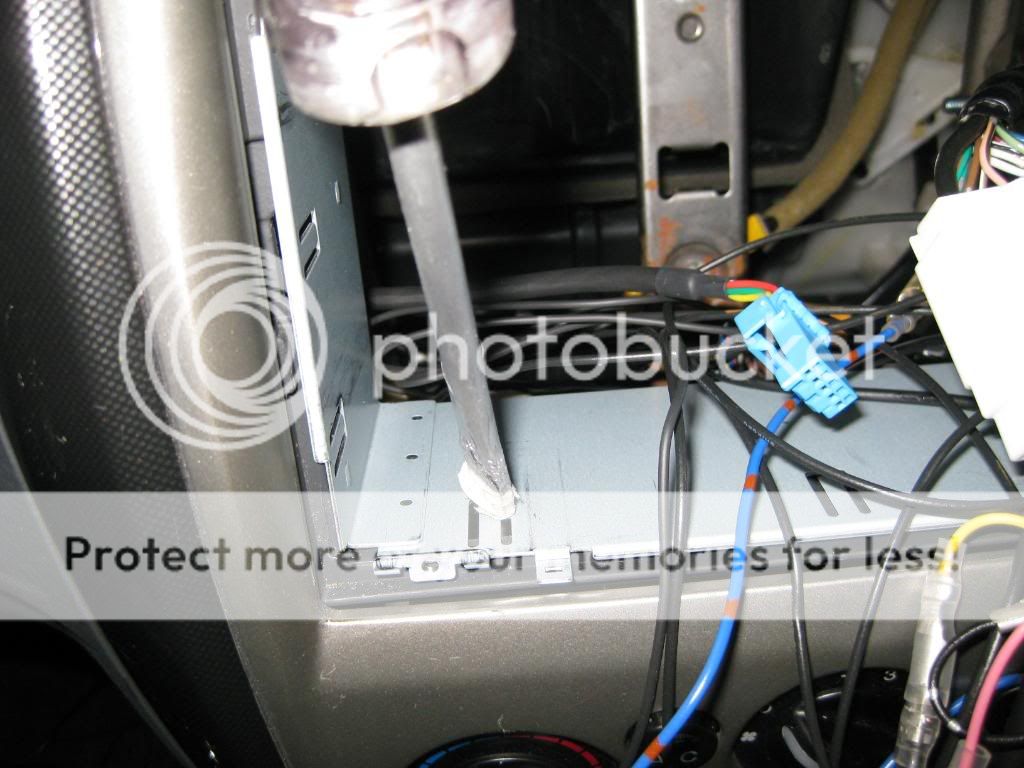
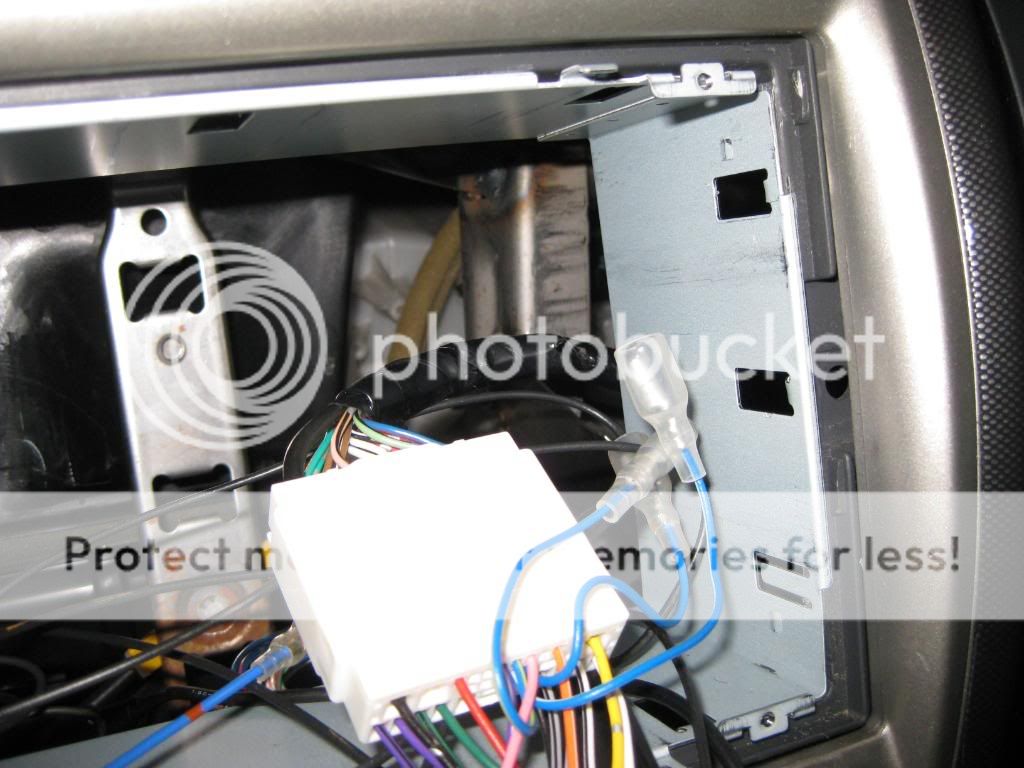
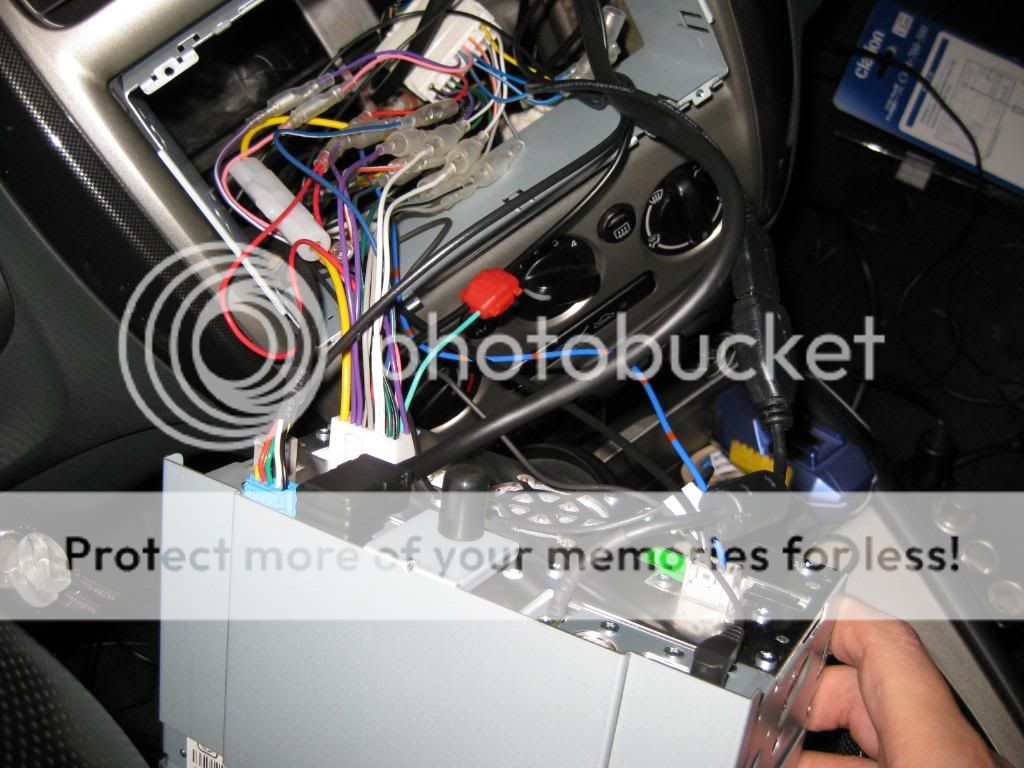
Now that I'm almost done installing the Clarion HDD Navigation system I'll be posting pics of the install. Just one catch: I need quick help on the speed sensor wire - my question is posted in the thread below. If someone can confirm my suspicion, I'll be happy to tear out my nav and rewire... and then post all the glorious pics!!

http://www.mazdas247.com/forum/showthread.php?t=123613242

Thanks!

(Edit: Figured out the VSS wire - install is complete!!. Pics coming up!)
 
Last edited:
Clarion NX708, ETC, iPod Cable

The Clarion NX708 is an HDD in-dash Navigation unit with voice control, bluetooth mobile phone connectivity, HDTV, DVD, CD playback and USB, SD Card media support with touchscreen controls.

For my Protege5 (which I imported to Japan from good 'ol armpits of the US, New Jersey), I decided to also install the iPod cable and the ETC unit (Japan's overblown overexpensive and pork-written-all-over-it toll collection system - EasyPass was so much simpler!).

AutoBacs had a great deal on the unit with 15000 yen (about US$150) cashback so I went and made the purchase. However AutoBacs policy did not allow them to perform the installation on my car (as it was foreign even though built by Mazda in Hiroshima)....soooooo I did the install myself.

Took me 2 weekends plus several evenings during the week to get everything done.

Oh yes, by the way, the Devils rule. Stanley Cup this year whoowhoo!

Pics will be in next post.
 
Last edited:
Unopened Boxes

This is the stuff I bought at the local Autobacs. The Clarion NX708 HDD Navigation Unit, the 2-Din Install Kit, Clarion ETC Unit (for Japan's highway robbery "Electronic Toll Collection" system) and the iPod cable.

Indidivual contents of the packages is below.


IMG_0478.jpg


Here's the iPod cable by itself - the NX708 supposedly can play iPod Video as well which would be sweet!

IMG_0480.jpg
 
2 Din Cage for Protege

This might be of interest to those of you who are looking for a 2 Din cage for installing aftermarket headunits and navigation systems. Includes the Ford Radio removal tools, the cage, brackets that attach to the head/nav unit, wiring harness for Protege (you'll have to check the pinouts though since this is for JDM spec Familias) and trim piece.

IMG_0483.jpg


IMG_0484.jpg


IMG_0485.jpg


IMG_0486.jpg


p.s. sorry about taking forever to post these - I live and work as a "salaleeemannnu" in here in Japan and basically have zero time for myself... as you'll see, I did some of this stuff in the middle of the night...
 
The Clarion NX708 HDD Navigation Unit

Here's the biggy. The navigation unit itself, the harness, electrotaps, Digital TV Antenna and wires, GPS Antenna and wires, microphone for voice command AND bluetooth telephony. Cool, huh?

IMG_0488.jpg


IMG_0489.jpg


IMG_0490.jpg


OK next up are pics of the installation. If I knew what I was doing, I could've finished this in a couple of hours. As it turned out though, I didn't know what I was doing and in the process did some things wrong, tore the microphone cable (had to solder the dang thing to repair it) etc. Took me 2 weeks to get it done.
 
Connectors, Wires, Connectors blegh

This is what the back of the Navigation Unit looks like. Man look at all those connectors...

IMG_0492.jpg


These are the harnesses - from the Nitto Installation Kit and the Clarion kit.

IMG_0494.jpg


This is where I made mistake no. 1: I assumed the VSS was wired into the Protege Audio Connector so I cut the purple wire and bought hardware to strip the wires and crimp connectors onto them.

IMG_0495.jpg


IMG_0496.jpg


IMG_0497.jpg


IMG_0499.jpg


The completed harness, or so I thought....

IMG_0503.jpg
 
Last edited:
Attaching the Brackets

So next up was attaching the brackets to the Clarion HDD Nav Unit. Again these parts were in the "Nitto NKK T43D" kit.

IMG_0504.jpg


IMG_0505.jpg


IMG_0506.jpg


Here's the important part - see the bolt that sticks out the rear from the attached bracket? This bolt actually is for supporting the Navigation Unit in the same way the OEM head unit is supported. As you'll see in a later picture, a frame member has one of 2 holes into which this bolt is inserted and rests on the frame. As I found out later, this bracket needed to go on the top of the Nav Unit so it doesn't block the fan vent, not as shown in this picture.

IMG_0509.jpg


IMG_0510.jpg


And finally hook up the harness to the Clarion HDD harness...

IMG_0511.jpg
 
Protege OEM Head Unit Removal

OK Folks, there were many questions in this forum on removing the OEM unit and there were responses but noone posted any pictures. Well, here are some pictures. The Nitto NKK Kit included the Ford Radio Removal Tools which are U-shaped thingys (there's a pic several posts up - scroll up, dudes). The removal was quite simple.

First, remove the trim pieces:

IMG_0512.jpg


IMG_0513.jpg


IMG_0514.jpg


Insert the Ford Radio Removal thingys:

IMG_0515.jpg


IMG_0516.jpg


And push outwards on the thingys with both hands while you pull the radio out. I don't have pics of that because I only had 2 hands lol. Here it is partially pulled out:

IMG_0517.jpg


IMG_0518.jpg


Once you have the head unit out, don't forget to unplug the radio antenna cable and the speaker connector. Simple enough so far, right? Wroong!!! I didn't know what I was getting myself into so this was the start of a tortuous 2 weeks....


IMG_0519.jpg
 
Grounding the Nav Unit

19 days since my last post - this is taking way too much time. Anyways, if you want to be able to use the Navigation Unit while you are driving, don't follow the directions on connecting the ground wire to the handbrake signal wire. Just ground it to the car frame.

Several posts before this one there's a pic of the harness with the green wire tapped to the black ground wire. Then I just ground the wire to the frame as you can see in the picture below. I just used a nut and bolt set that's available in any hardware store. There's probably an easier way to do it (because I dropped several nuts and bolts before I was able to thread the needle lol)


IMG_0520.jpg


Then connect the harness to the car harness - it's quite a bundle already but this is just the tip of the iceberg.

IMG_0521.jpg


IMG_0522.jpg
 
Routing the cables down the A pillar...

Some of the cables like the Digital TV Antenna, Microphone and ETC (Highway Electronic Toll Collection) antennas need to be routed down the A pillar. So to install these cables you need to remove the pillar cover. Open the door (on the driver side) and pull down on the weather strip. It should pop out.

Then remove the pillar cover. No tools are needed for the Protege. There are 3 clips along the length of the cover so just pull and remove. Don't worry, it won't break.

Once you have it removed, attach the cable clips to several points along the bare pillar to help keep the cables in place (I don't have pics of that, but use your judgement - not difficult)


IMG_0525.jpg


IMG_0526.jpg
 
Now for the dang cables

Microphone for bluetooth mobile phones (the Clarion has bluetooth connectivity) and Voice command capability. The clip fits perfectly on the mirror arm, so I ran the cable along the top of the windshield, down the pillar, behind the steering wheel and to the Nav Unit.

IMG_0524.jpg


IMG_0529.jpg


Digital TV antenna (they call it "One seg" here in Japan).

IMG_0532.jpg


IMG_0534.jpg


ETC Unit and cables - the thinner cable has to run from the top of the windshield in the same manner as the Microphone cable.

IMG_0535.jpg


This is the GPS antenna cable that needs to be placed at the forward most location behind the windshield. The cable runs along the bottom of the windshield (cables can be pushed under the dash where it meets the windshield quite easily), to where the dash meets the A pillar, then behind the steering wheel to the Nav Unit.

IMG_0523.jpg


Here are the other cables, in order: USB connector cable and iPod Cable (Video iPod works too, but I don't have one - yet). I ran these from the glove compartment side to the Nav Unit. FYI, the glove compartment comes out really easily, so just play around with it to remove it.

IMG_0530.jpg


IMG_0531.jpg
 
Installing the 2 Din Bracket

Soooo when you've finally routed the cables, you have a mess coming out of the opening like this:

IMG_0537.jpg


Take the bracket and insert into the opening. Of course, pass all the calbes and harnessing through it.... duh!

IMG_0538.jpg


This part kind of surprised me, but the way the bracket is held in place is by bending the tabs back to lock it into place. I didn't bend all the tabs since I thought I might want to remove it later on.

IMG_0540.jpg


IMG_0541.jpg
 
Slick? Yes but I was sick to try this on my own...

Pretty slick.

hey thanks, wasn't sure if anyone was actually following this. Hopefully when I'm done posting, it'll be a good resource for other folks that want to install electronics on their own.
 
Haha OK OK I'm working on the rest... Test fitting the Nav Unit

So I was thinking at this point, "Dang this is not as bad as I thought." But as you can see it already was a horrific project for me since I was working basically in the middle of the night (after coming home from 12 hour workdays - I am in Japan after all) and I was undoing and redoing things.

I also was going back and forth to my wife's Familia which had a similar Clarion system installed professionally and taking it apart at times to see how it was done.

So next up was test fitting the Nav Unit to make sure it would actually fit even with all the cables and harnesses. Here's how the back of the unit looks with all the connectors inserted:


IMG_0539.jpg


But of couse me being a non-professional installer, I could not get the unit seated fully into the bracket. Turns out that I had to make sure that this rubber capped bolt thingy that the screwdriver is pointing to:

IMG_0543.jpg


had to be inserted here to support its weight:

IMG_0542.jpg


After many, many tries, swearing etc. it finally slid in - had to stick my hand behind the console to lift the rear of the unit up so it actually went in the hole indicated above. I also had to make sure the mass of cables was not getting in the way. Here's what it looked like:

IMG_0544.jpg


I was thinking "Whoowhoo!!" but this was just the beginning of my travails. This is where things went south.
 
Last edited:
Took it for a drive....

Then I took it out for a test drive (sorry don't have pics of the Nav Unit powered on) to see if GPS was working, TV was working, speed sensor was working but.... NOT!!! I ignored the fact that the VSS was not wired to the audio connector, even though other Mazda vehicle pinouts include it (Here's a link to pinouts: http://mazda-speed.com/faq/audio/#01).

So I started a lot of research on the Protege VSS, and it turns out I had to get at the 16bit ECU. I also had to undo the wiring on the harness (I felt like Homer Simpson "Doh!") because in my brilliant ignorance I wired the Nav Unit harness VSS wire to the audio connector (See the pink wire in the picture below?):


IMG_0503.jpg


More swearing.... for you folks doing your install, here's the link to the How-To on connecting to the VSS:
http://www.mazdas247.com/forum/showthread.php?t=123643872

So I reconnected the Nav Unit pink VSS harness wire to the long wire that I had cut (wire crimper and connects come in handy here), and started tearing the front passenger side of the car apart to get at the ECU. Basically the instructions in the how-to above are accurate, but flipping the plate over was a huge pain in the butt.


IMG_0545.jpg


and don't forget to unplug other connectors or you'll damage them when flipping the ECU plate over:

IMG_0546.jpg


Since I couldn't see pin 58 on the connector because of the mass of wires, I looked for the green and red wire and electrotapped the pink wire to it. Here's what it looks like:

IMG_0547.jpg


Took the Protege out for a test drive. GPS antenna is getting a location signal, the map works, routing works but the cursor on the screen does not advance as it should be. No VSS. ARRRGHGHGHGHHGHHH!!!!

So I went back to AutoBacs, found the salesman that sold me the system and pleaded for help. Hahahaha - I had connected to the WRONG green and red wire - there are 2 (yes TWO) green and red wires coming out of the ECU and I tapped the wrong one. He helped me find it, tap it and ran the self-diagnostic on the Clarion, and finally!!! VSS was working and the unit was tracking the car!!! Here's how it looked with 2 taps coming from the green and red wires on the ECU. Only one of them is the real VSS wire:


IMG_0549.jpg
 
Last edited:
joy is short lived.

in my excitement upon returning home, when getting out of the car my foot dragged on the microphone cable and i ripped it, tore it apart and could not believe it so I had to remove nav unit, disconnect all the wires, remove weather strip, remove A pillar cover remove wire to repair to try to repair it (hopingitcanberepaired) but of course this is just no ordinary wire since it's a microphone cable which has a sleeved cable in the wire which means simple wire-twisting and electrical tape does not work and i had to search the internet on how to repair it and found that i can solder it but the hardware store was closed by this time so i couldn't go buy tools for repair so i was stuck for the remainder of the evening just cursing myself for being stupid and careless and a klutz for not being careful with wiring like this all around the car...

IMG_0548.jpg


to be continued... don't worry I will get to the end
 
Last edited:
Back