
edit 26 May 2007: Changed pictures to photobucket so hopefully nobody will have a problem seeing them & they are bigger to boot! (hi)
I have an 06 3i & just went over 40,000 miles last week. The rears discs have been grinding for about a week or so & I figured it was time to get some new pads.
Took my car to Tires Plus & I was shown that the pads has almost worn down to the rivets & they had also grooved the rotors pretty bad. Tires Plus wanted just about 400 bucks for new rotors & pads + labor.
Well on a whim, I went back to the Mazda dealer that I purchased my car from. Got the pads rotors & new air filter for 225. Ok, should be a quick in & out job. Little did I know...
Started off no problem. Loosened the lug nuts & then jacked the passenger rear up. Jack stand in place & everything is a go.
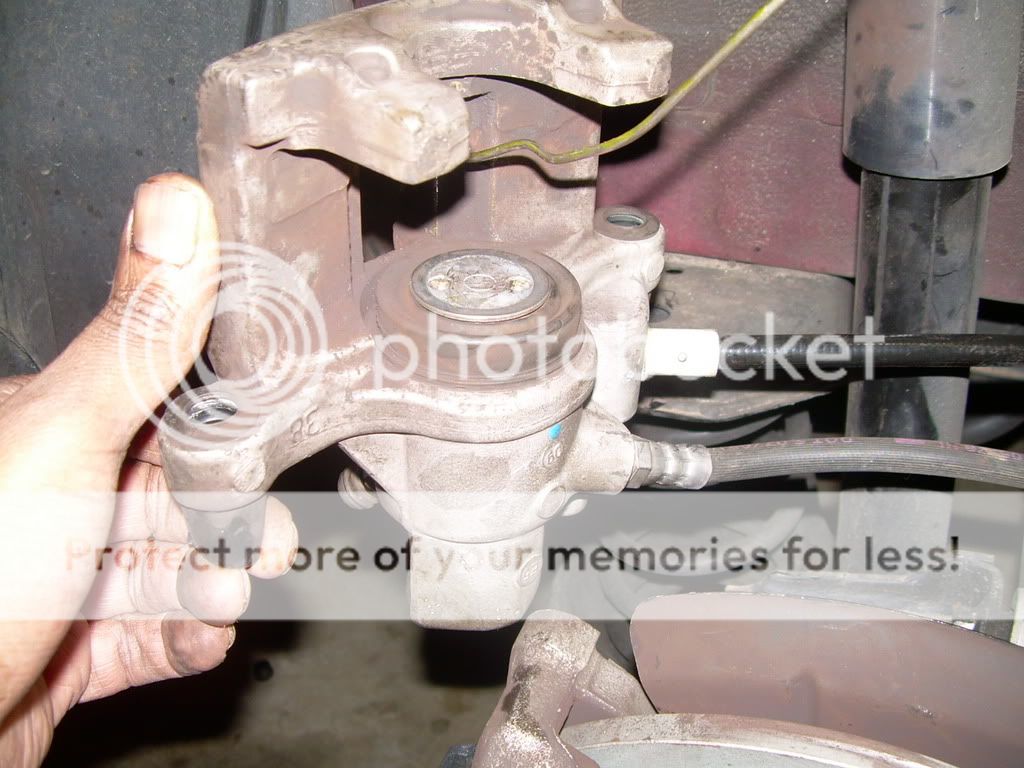
First part: take the caliper off. There are 4 bolts total. The extreme top & bottom bolts use a hex key. The two inner bolts need are 14mm. Take the extreme top & bottom bolt off & you should be able to work the caliper off. Don't do as I did & take the inner hex bolts off first, as there is really no room becuase of the brake line. I did it but it was nerve wraking. Once you get the two extreme top & bottom bolts off you will have plenty of room to get to the inner bolts.
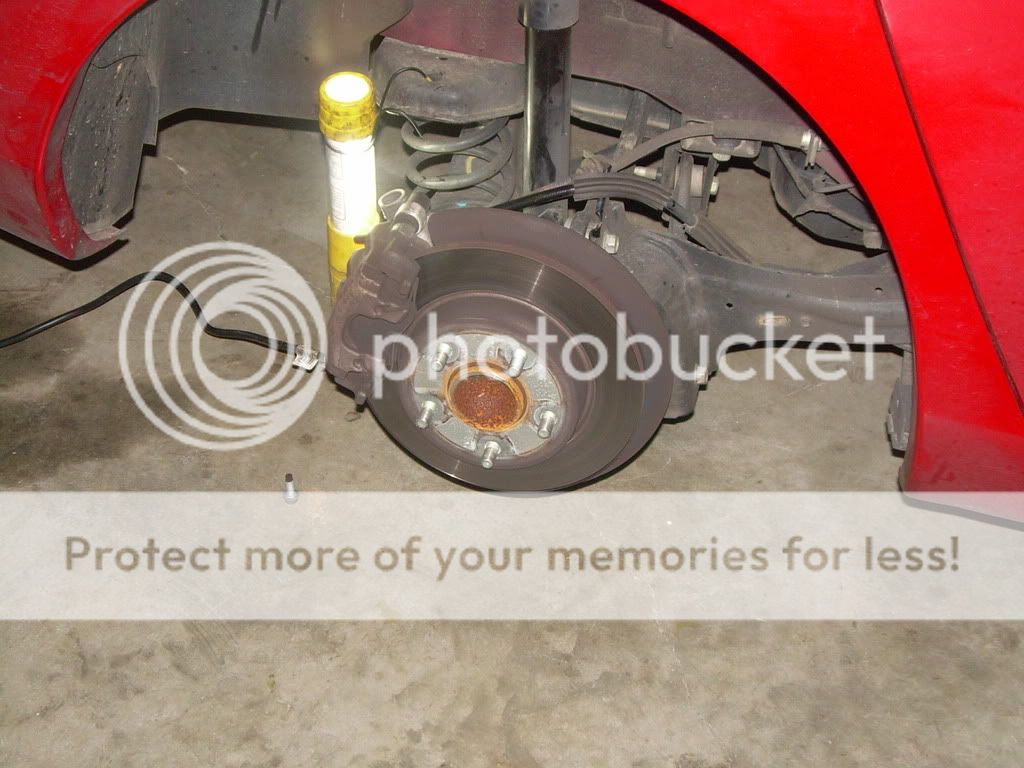
This is one of the bolts. All 4 bolts are on the inside, & the normal lefty-loosey & righty-tighty rules still apply, but you will be moving your hands in the opposite direction. edit:Per RickC below all 4 bolts do not have to come off
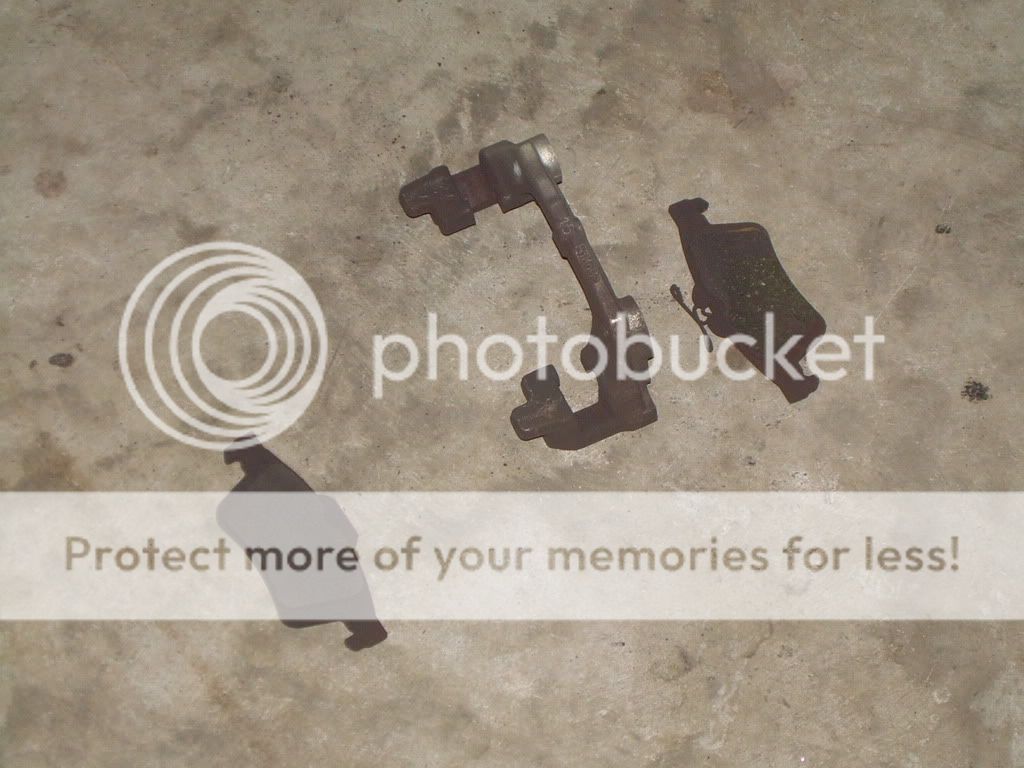
This is the piece that is connected by the two inner 14mm bolts
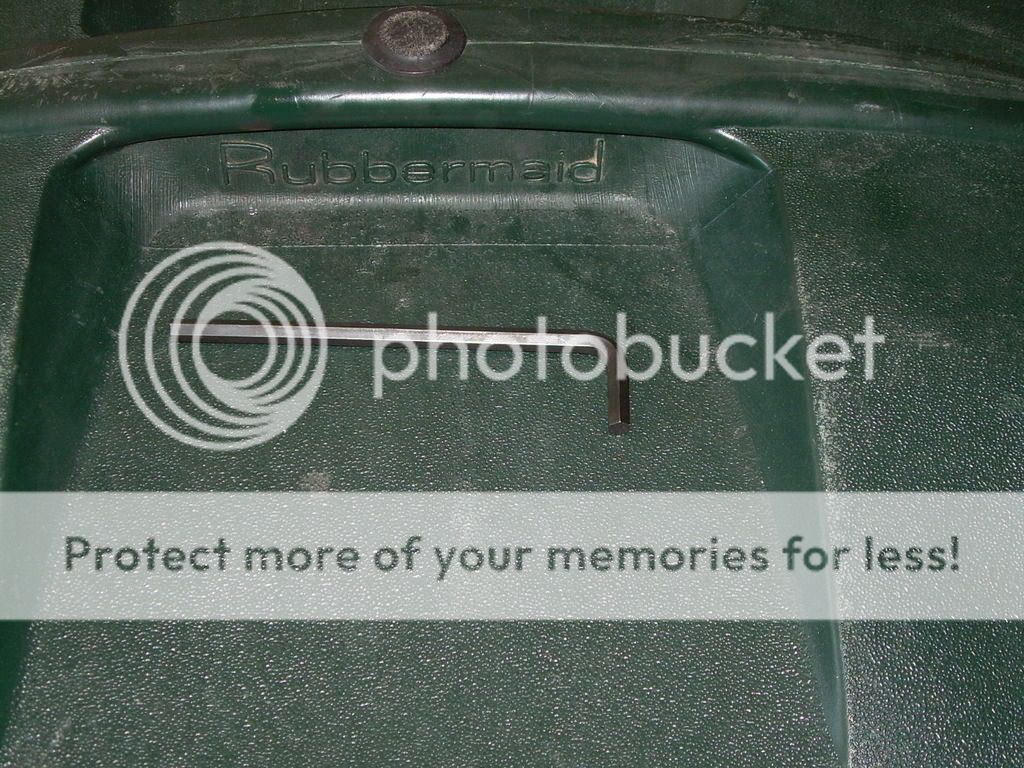
I don't know the size of this key. I have a set of 12 & this was the 3rd largest.
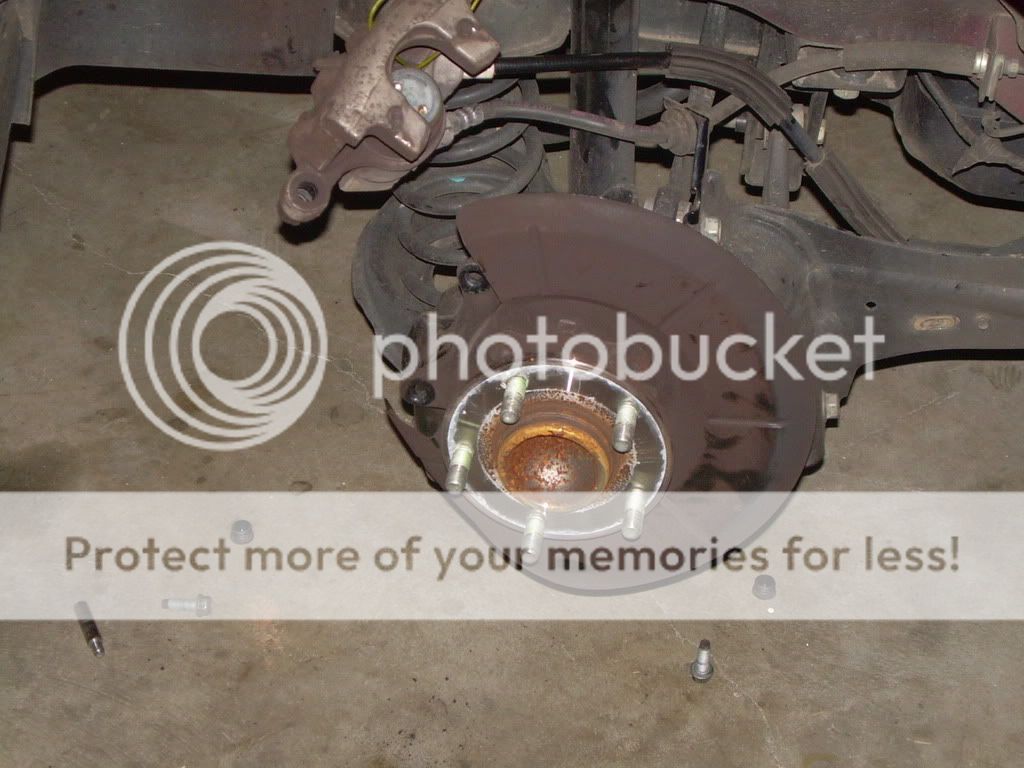
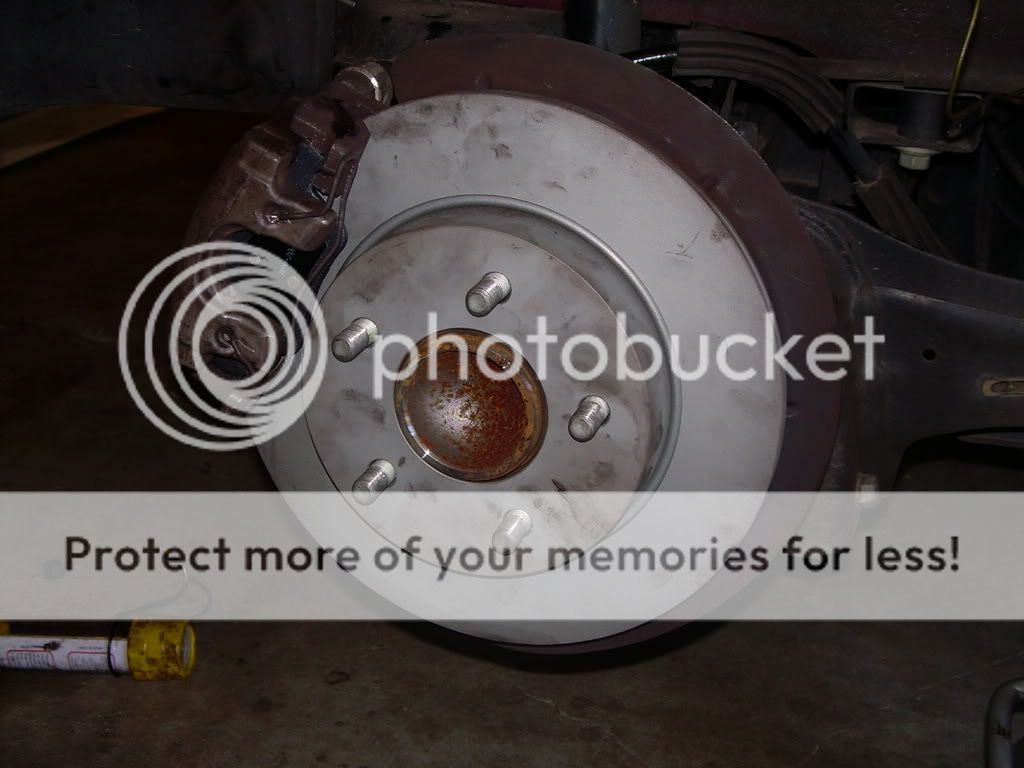
Caliper off (use a coat hanger to support it), pads off & old rotor will just come right off. The two little black things are the rubber caps that cover the two outer hex bolts.
This was the onus for me that started this thread. That caliper has to go back in before you can put on the new pads & or rotors. DO NOT JUST USE A C-CLAMP TO FORCE IT!!! Because this is the rear, the caliper piston is tied into the Emergency hand brake. You have to push & twist, in a clockwise direction at the same time. Ahh lowswr, you say, how the hell I am supposed to do that. Well run, don't walk to Harbor Freight part # 40732-OVGA Caliper Tool Set for Disc Brakes
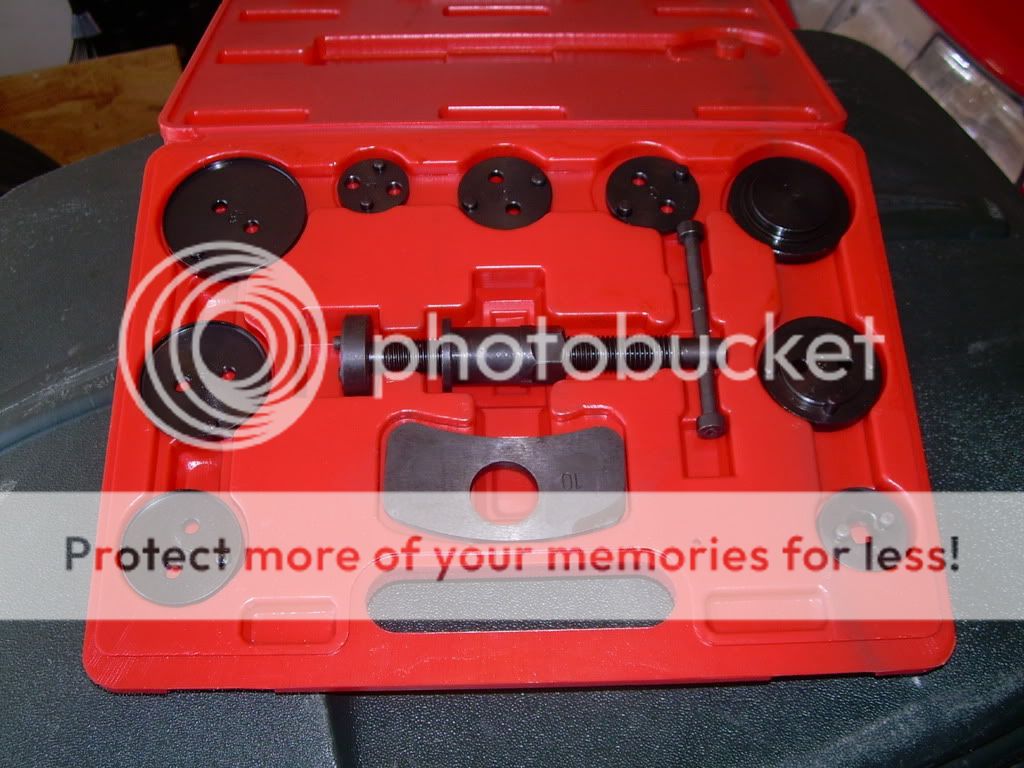
In my 40 years, this has got to be one of the best spent 40 bucks I ever did.
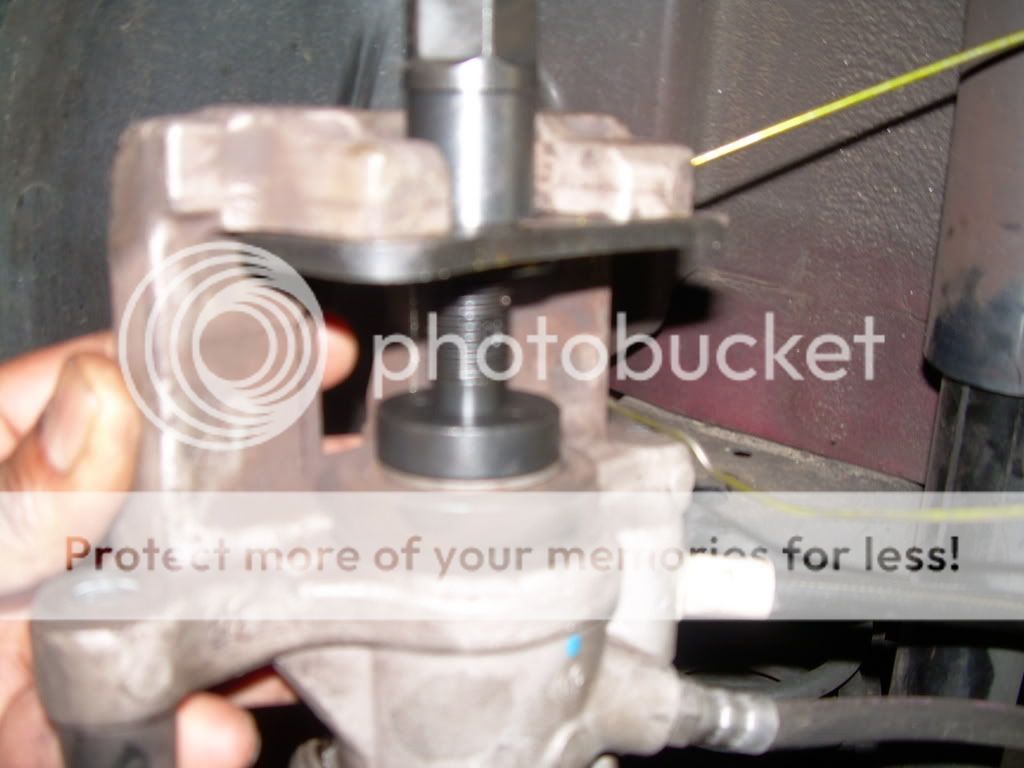
The kit comes with 10 discs of different sizes. Mazda 3 owners don't need any of them. The screw tool has two nibs that will fit perfectly in the two holes on your piston. The plate & the screw tool are separate, but it is easy to figure out how to slide the plate over the handle. Once you get the plate under the outside "teeth" of the caliper, use a 24mm wrench to tighten the plate up. Then just turn the handle (& thus the piston) in clockwise direction. Now you can do this with just some needle nose pliers, but take it from me. Spend the 40 bucks!
I tried for about 4 hours with needle nose pliers. Took less than 3 minutes to get that piston all the way in with the tool")
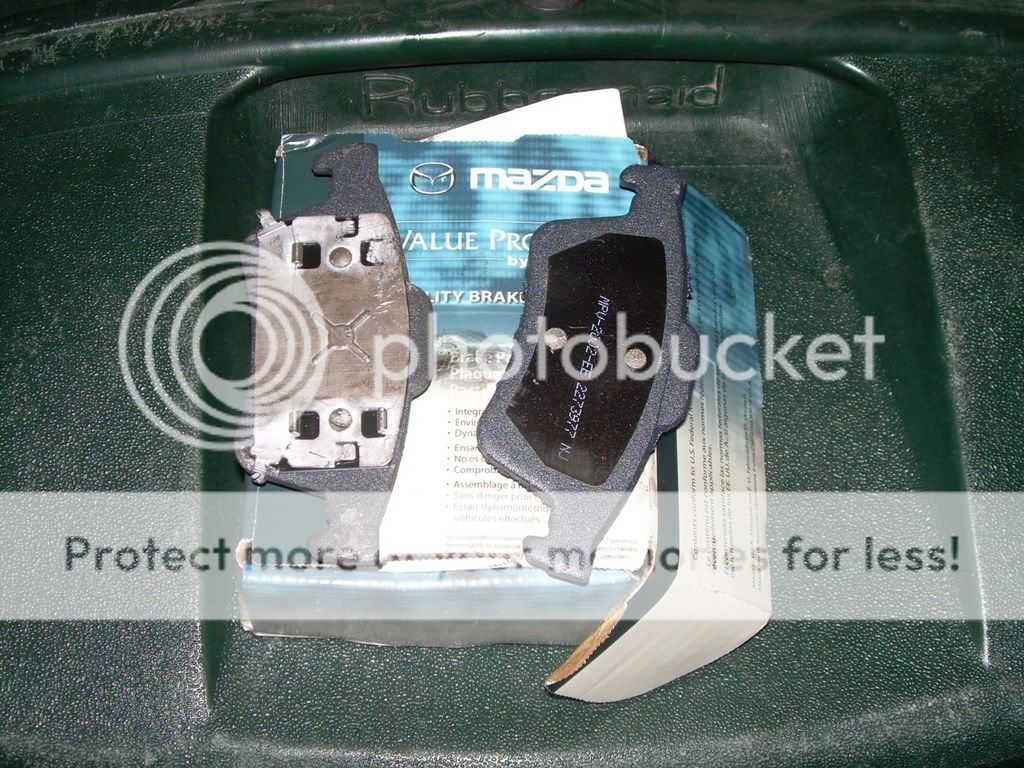
I did not know that the brake pads from Mazda came as matched sets. I just grabbed the first two out of the box & spent 90 minutes thinking I had the wrong parts. One with the metal & one without GO TOGHETHER. I put the metal one on the inside, facing the piston.
New Pads & Rotor installed.
Now I am sure that for a lot of people this is old hat. I myself have changed front rotors & pads many times, but I had no idea that it was more involved for the rears. However, I hope that some will find this useful.
That kit will work for many different car manufacturers & from what I understand, if you have anti-lock brakes, you need to twist the piston, in some cases, even for the fronts.
edit: I realized that the extreme outer bolts use the hex key & the inner bolts are 14mm. Text changed above
I have an 06 3i & just went over 40,000 miles last week. The rears discs have been grinding for about a week or so & I figured it was time to get some new pads.
Took my car to Tires Plus & I was shown that the pads has almost worn down to the rivets & they had also grooved the rotors pretty bad. Tires Plus wanted just about 400 bucks for new rotors & pads + labor.
Well on a whim, I went back to the Mazda dealer that I purchased my car from. Got the pads rotors & new air filter for 225. Ok, should be a quick in & out job. Little did I know...
Started off no problem. Loosened the lug nuts & then jacked the passenger rear up. Jack stand in place & everything is a go.
First part: take the caliper off. There are 4 bolts total. The extreme top & bottom bolts use a hex key. The two inner bolts need are 14mm. Take the extreme top & bottom bolt off & you should be able to work the caliper off. Don't do as I did & take the inner hex bolts off first, as there is really no room becuase of the brake line. I did it but it was nerve wraking. Once you get the two extreme top & bottom bolts off you will have plenty of room to get to the inner bolts.
This is one of the bolts. All 4 bolts are on the inside, & the normal lefty-loosey & righty-tighty rules still apply, but you will be moving your hands in the opposite direction. edit:Per RickC below all 4 bolts do not have to come off
This is the piece that is connected by the two inner 14mm bolts
I don't know the size of this key. I have a set of 12 & this was the 3rd largest.
Caliper off (use a coat hanger to support it), pads off & old rotor will just come right off. The two little black things are the rubber caps that cover the two outer hex bolts.
This was the onus for me that started this thread. That caliper has to go back in before you can put on the new pads & or rotors. DO NOT JUST USE A C-CLAMP TO FORCE IT!!! Because this is the rear, the caliper piston is tied into the Emergency hand brake. You have to push & twist, in a clockwise direction at the same time. Ahh lowswr, you say, how the hell I am supposed to do that. Well run, don't walk to Harbor Freight part # 40732-OVGA Caliper Tool Set for Disc Brakes
In my 40 years, this has got to be one of the best spent 40 bucks I ever did.
The kit comes with 10 discs of different sizes. Mazda 3 owners don't need any of them. The screw tool has two nibs that will fit perfectly in the two holes on your piston. The plate & the screw tool are separate, but it is easy to figure out how to slide the plate over the handle. Once you get the plate under the outside "teeth" of the caliper, use a 24mm wrench to tighten the plate up. Then just turn the handle (& thus the piston) in clockwise direction. Now you can do this with just some needle nose pliers, but take it from me. Spend the 40 bucks!
I tried for about 4 hours with needle nose pliers. Took less than 3 minutes to get that piston all the way in with the tool
I did not know that the brake pads from Mazda came as matched sets. I just grabbed the first two out of the box & spent 90 minutes thinking I had the wrong parts. One with the metal & one without GO TOGHETHER. I put the metal one on the inside, facing the piston.
New Pads & Rotor installed.
Now I am sure that for a lot of people this is old hat. I myself have changed front rotors & pads many times, but I had no idea that it was more involved for the rears. However, I hope that some will find this useful.
That kit will work for many different car manufacturers & from what I understand, if you have anti-lock brakes, you need to twist the piston, in some cases, even for the fronts.
edit: I realized that the extreme outer bolts use the hex key & the inner bolts are 14mm. Text changed above
Last edited: